Search This Blog

Pages

Showing posts with label Flourishes. Show all posts

December 04, 2020

BELIEVE

Holiday hello all!


Inspired by and playing along with the Challenges below:

Shabby Chic and Vintage Style


SUPPLIES

STAMPS  Hero Arts candles (partial: I omitted the flame portion),  Basicgrey flourishes, Stampin' Up! Harlequin background
DIE CUTS   Momenta #32265 R8
INKS   Distress Antique Linen, Memento Tuxedo Black, Staz-on White
MARKERS   Copic assorted greens
EMBELLISHMENTS   Jolee's Boutique flat back black faceted gems, random flat back reflective red gems, sheer gold ribbon, acetate sheet
CARDSTOCK   mirror gold, random white
OTHER   Pentel Slicci gold pen, Wink of Stella glitter brush pen


STEPS

1.  Trim acetate panel and score to side fold card size
2.  Cut 4 white cardstock panels to the size shown
3.  Stamp one white panel with harlequin background stamp and Distress Antique Linen ink
4.  Ink candles stamp with Memento Tuxedo Black ink (I omitted the flames) on previously stamped panel and again on scrap white cardstock
5.  Color the candles on scrap cardstock with black and gold pens as shown, and trim around each candle.  Adhere to image panel
6.  Color in the leaves with Copic markers and adhere flat back gems where berries are stamped
7.  Ink flourishes with black ink and stamp in desired pattern. Coat with Wink of Stella when ink is dry.
8.  Stamp large flourish in white Staz-on onto acetate cardfront
9.  Use make-up sponge to add ink to edges of cardfront with white Staz-on
10.  Apply ribbon as shown to image panel and along card fold 
11.  Die cut sentiment from mirror gold cardstock and apply over ribbon as shown
12.  Apply flat back faceted black gems as shown


 Thanks so much for being here!

October 29, 2019

One Layer Challenge Card


Stamped flourish corner in brown ink, stippled over with yellow, then orange, then Cajun inks. Used paint pen to add white dots. Stamped tag in brown ink, coloring in/over words and reinforcement circle with black marker. Used fussy-cut masks to sponge sky around main bird, etc and top edge of card. Colored images with Copics and added white accents. Shadowed side of tag for faux-dimension with grey marker.

Bird colors inspired by the Flicker:


STAMPS: Invoke Arts "Flight Tag" (#5306-E3), Impression Obsession "Flourish 2" (#H5575)

INKS:  Stampin' Up!: Crushed Curry, Pumpkin Pie, Cajun Craze, Early Expresso, Bordering Blue, Basic Black marker.  

COPIC MARKERS: W3 Warm Gray No.3, BG72 Ice Cream, B95 Light Grayish Cobalt, YG95 Pale Olive, YG67 Moss, E71 Champagne, E44 Clay, E25 Cariba Cocoa, E07 Light Mahogany, YR21 Cream, YR24 Pale Sepia

OTHER: Judi-Kins Color Dusters, Sakura Pen-Touch 1.0mm Opaque/Permanent paint pen


 Thanks for stopping in!
May you be blessed and may you be a blessing...  :o)


October 28, 2019

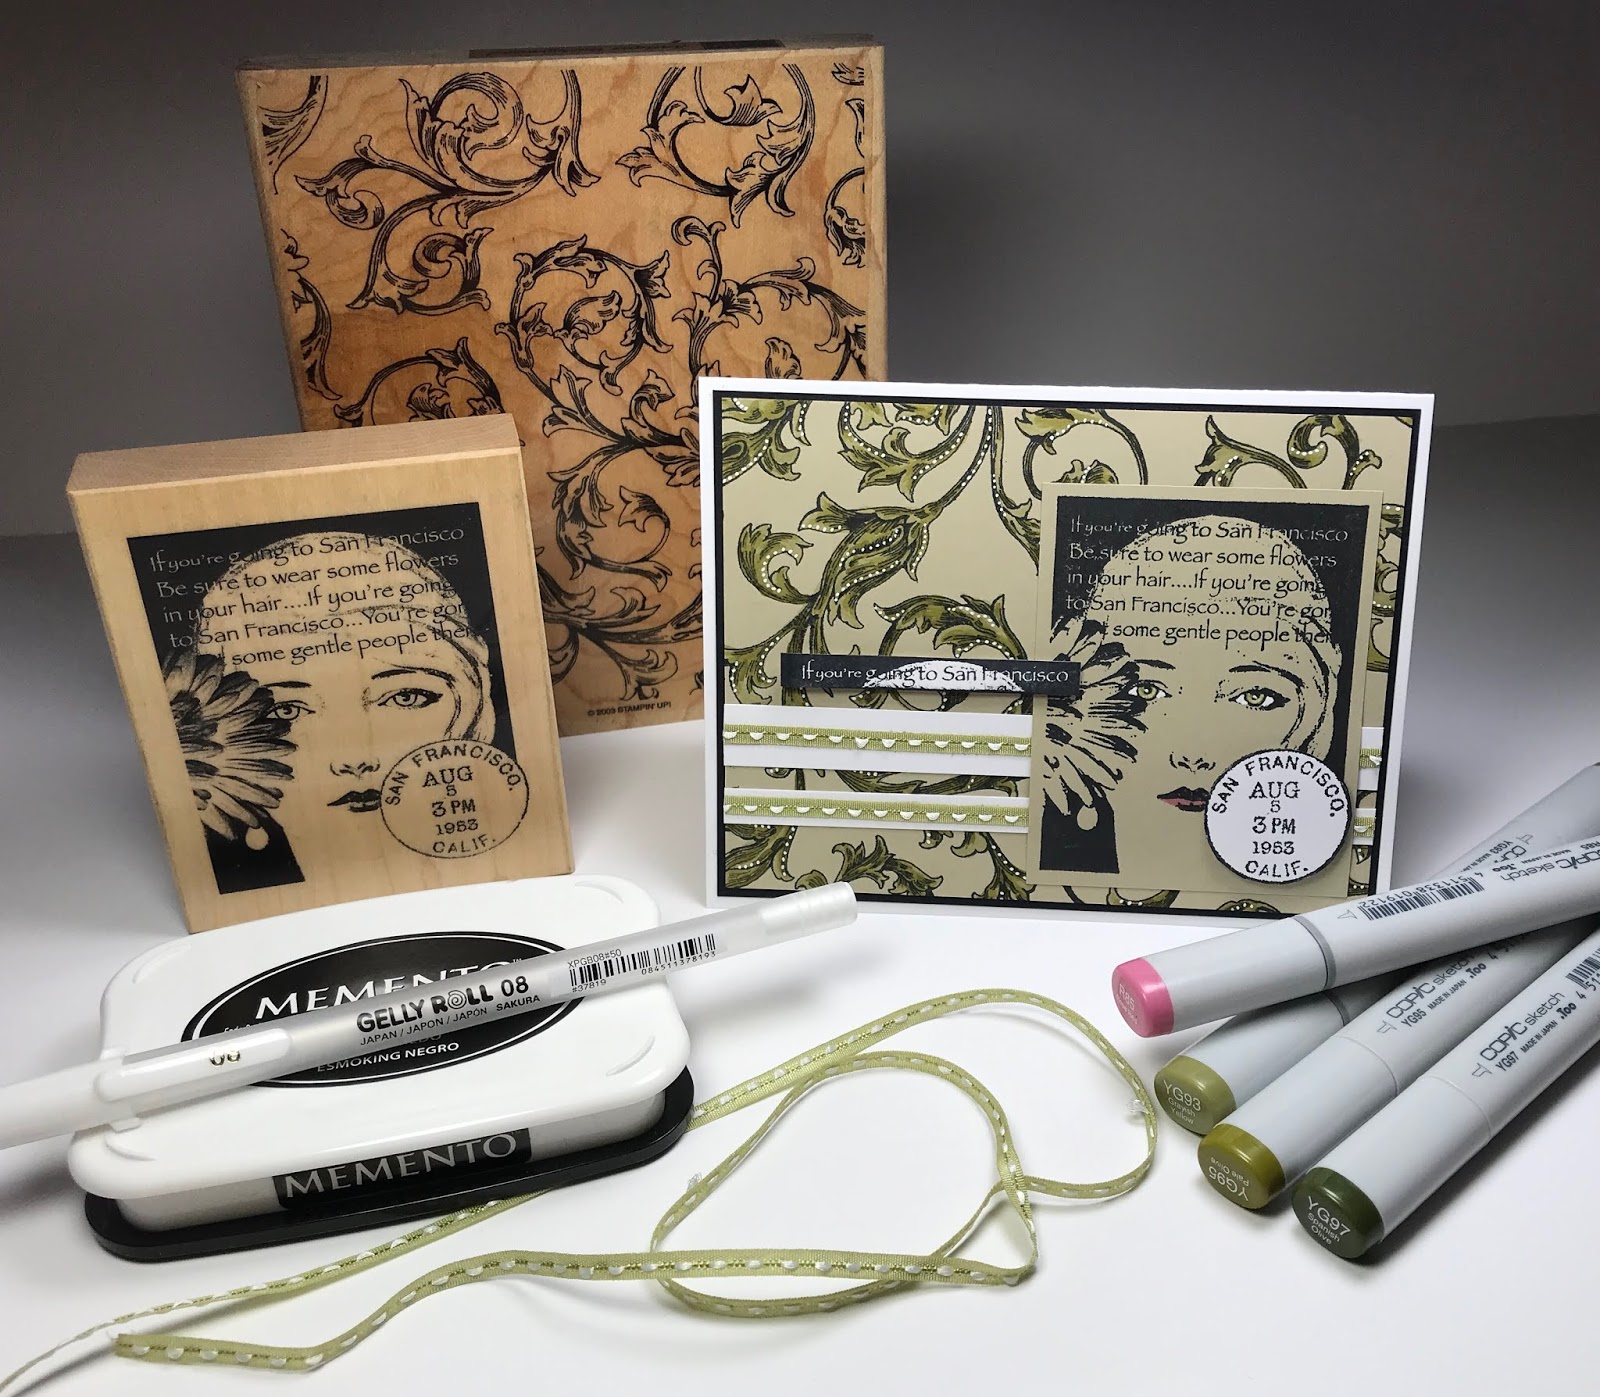
Challenge Card and It's Been Awhile!


Background is colored in with Copic markers and highlighted with an opaque white pen.  Sentiment and postmark are pop-dotted for dimension.  


Stamps: B Line Designs #BG119E "Flowers in Her Hair", Stampin' Up! "Antique Background"

Inks: Memento Tuxedo Black

Markers: Copic #YG93, YG95, YG97 & R85, Gelly Roll 08 White


Update: So happy to have a Top Cup at SSC with this card!


Thanks for stopping in!
May you be blessed and may you be a blessing....  :o)


April 28, 2009

Faux Designer Paper in Brilliance Inks

Sorry about the poor photo quality - I could not capture the essence of this card adequately, but wanted to show the shimmer of the inks. If you click on the photo you will be able to see a bit of detail...
STAMPS: I purchased the face, muse and leaf branch stamps used as unmounted and don't know who made them. If you do please leave a comment and I'll give credit - thanks! viney flourish - PSX, corner floral - Rubber Monger, large bkgd - JRL 'Floral Tapestry' INKS: Brilliance Pearlescents - Orchid, Coral, Lavender and Purple, Versamark SUPPLIES: All Night Media border punch, clear embossing powder, craft iron, heat gun, glue pen, colored pencils TECHNIQUES: Technique Junkies Faux Designer Paper NOTES: the border was punched from the face panel and a white strip was applied behind it ~ hard to see, but I stamped 'Muse' over parts of the bkgd ~ the edges of the panels were sponged with color direct from the Brilliance pads
Thanks for looking, and PLEASE believe me when I say this looks so much better in person!! LOL