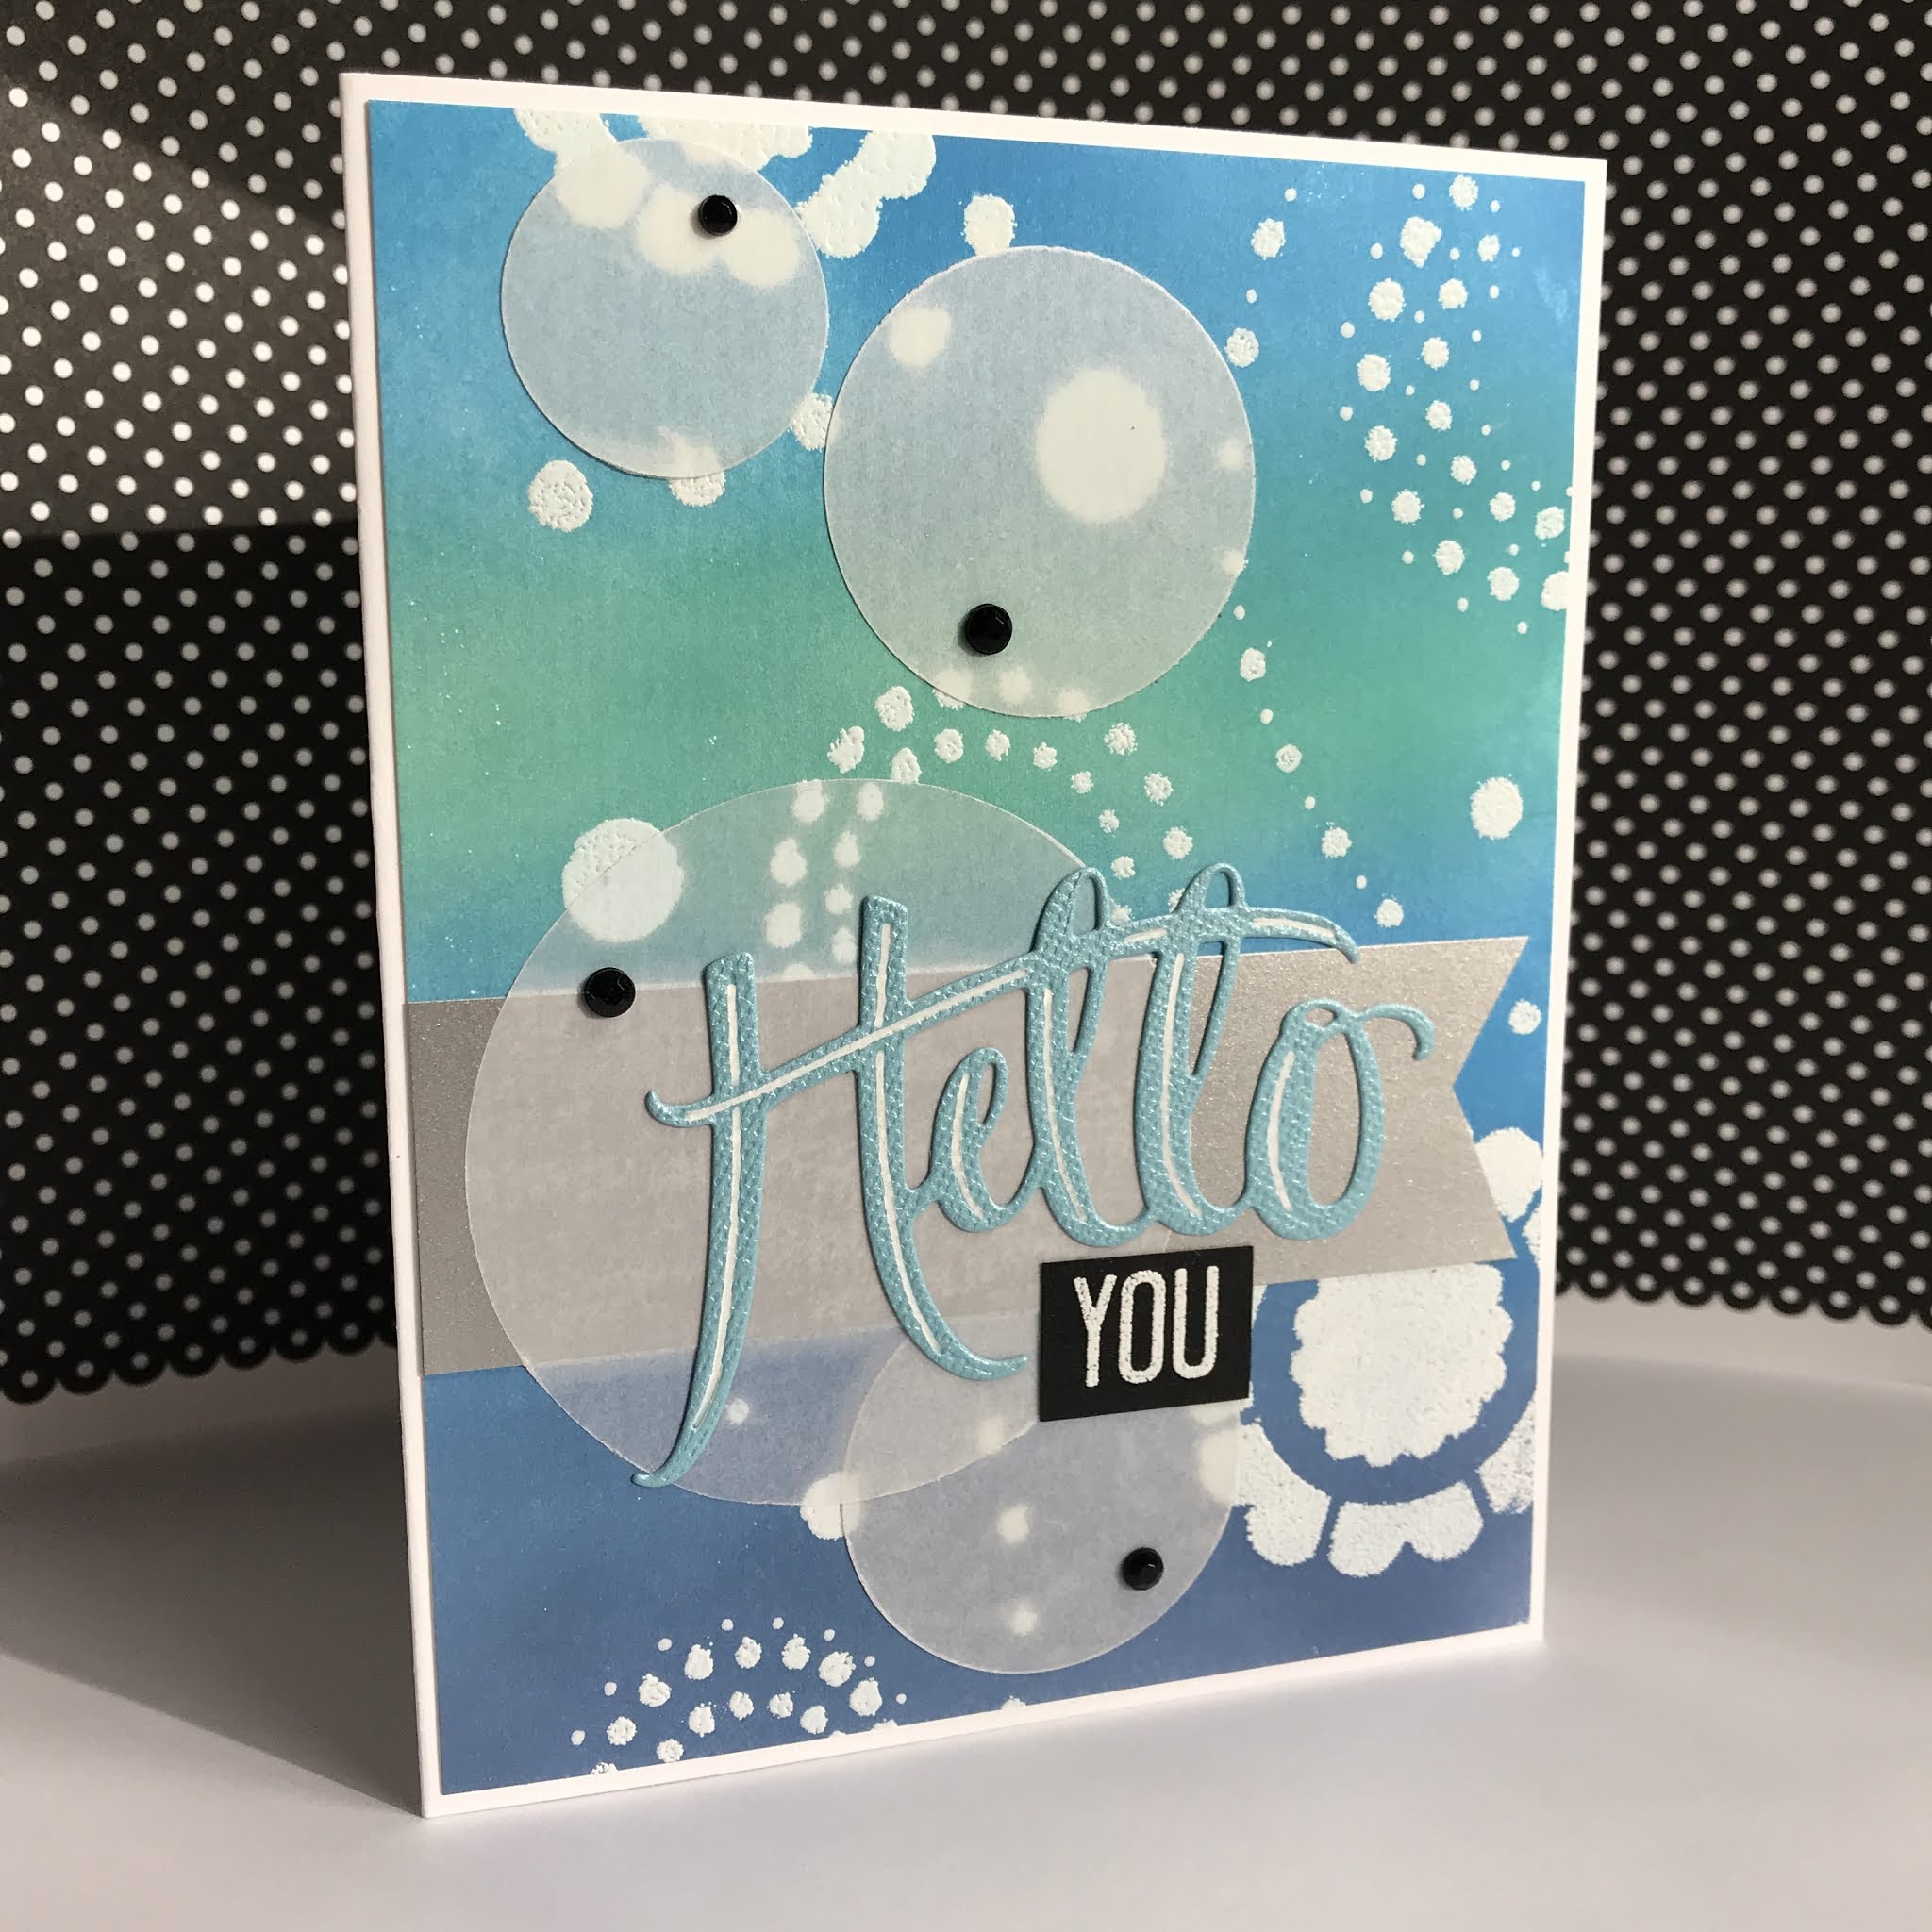
Search This Blog

Pages

Showing posts with label Emboss Resist. Show all posts

December 03, 2020

CIRCULAR HELLO

Hello you!

(Whites and vellum on this card show up less yellow in real life)


And here's a variation with snow:


SUPPLIES

STAMPS  word you (partial stamping) - Stampin' Up! "Hooray It's Your Day" set, snowflake - unknown
DIE CUT  hello - ekSUCCESS "Word Set" #54-80027, (or punches) generic circles 
STENCIL  Complements border stencil - "Galaxy" 
INKS  Versamark, Distress Oxides: Faded Jeans, Salty Ocean & Peacock Feathers
CARDSTOCKS  generic heavyweight white, black, matte silver, blue textured, vellum
OTHER  flat back faceted black gems - Jolee's Boutique, white embossing powder


STEPS

1. Lay stencil over white cardstock and sponge Versamark pad over open areas
2.  Sprinkle Versamarked images with white embossing powder and heat emboss
3.  Use blending brushes to ombre your colors over embossed images
4.  Use soft cloth to wipe color off of embossing
5.  Use circle punches or die cuts to cut circles from vellum
6.  Cut strip from silver cardstock and notch one end with scissors
7.  On black cardstock, stamp YOU with Versamark and emboss with white powder
8.  Run HELLO die with blue textured cardstock through embossing/cutting machine of choice
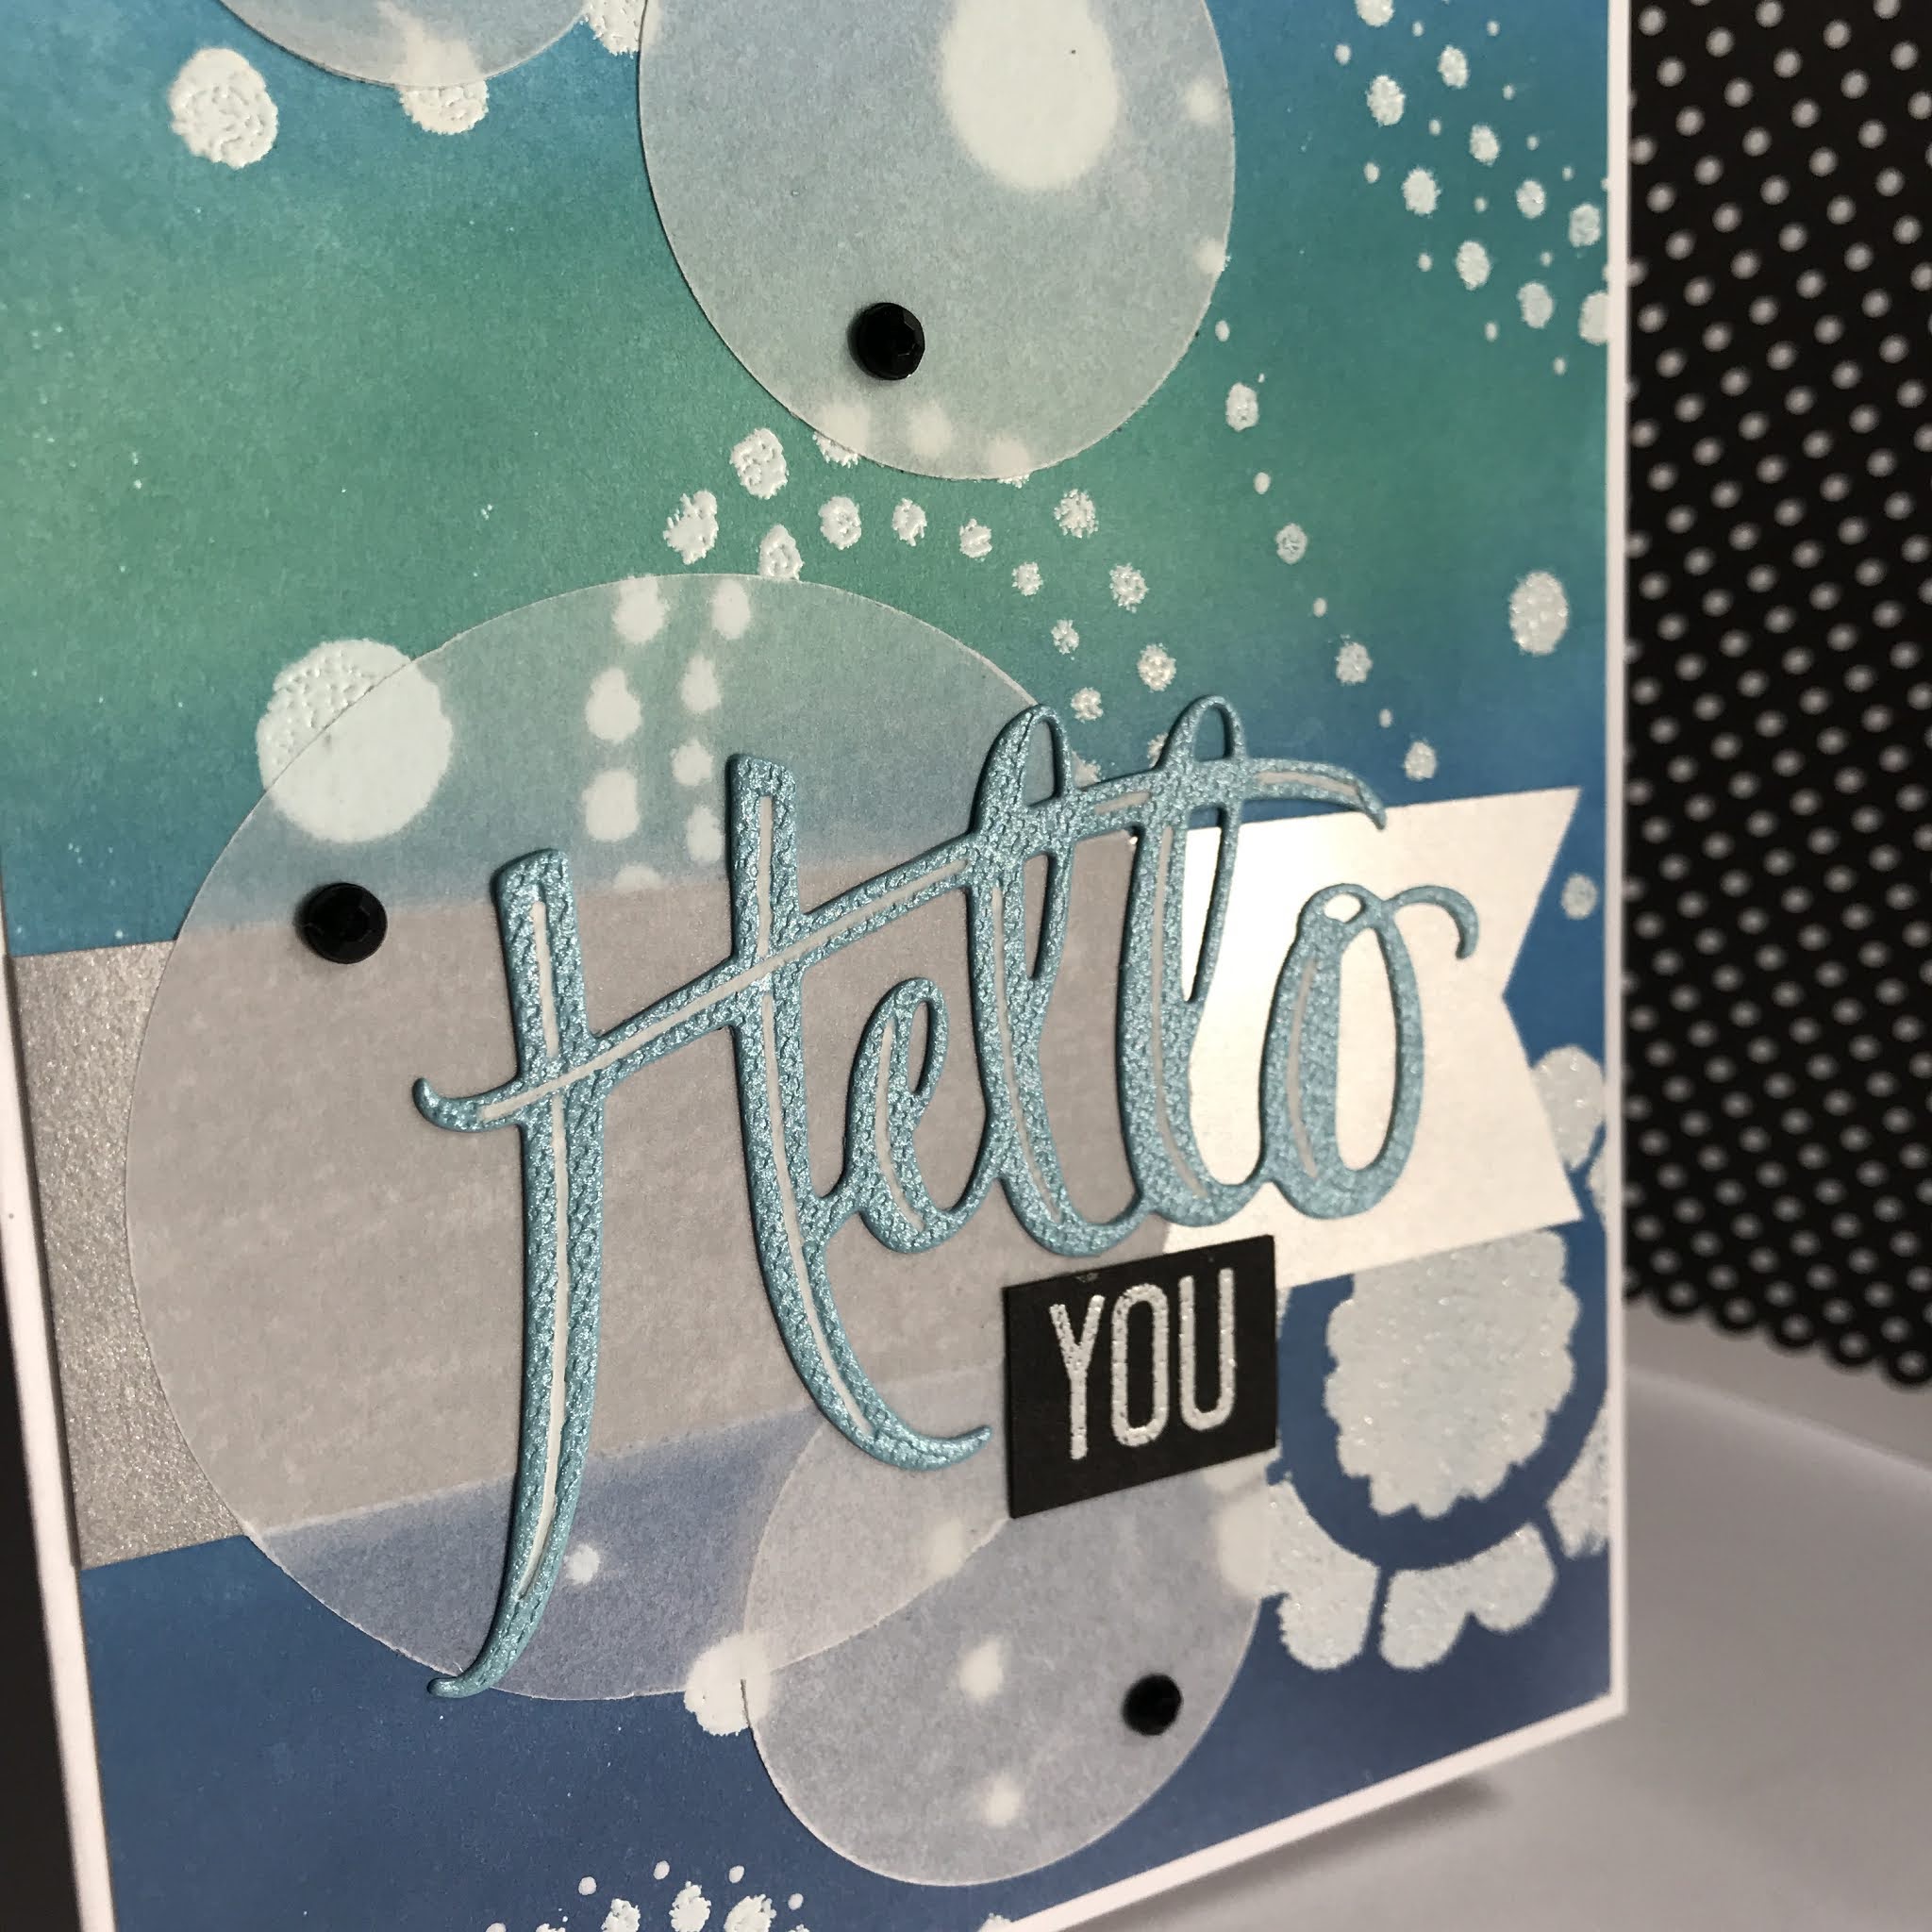
9.  Highlight divets in die cut with white gel pen
10.  Apply Xyron or other clear glue of choice to all circles
11.  Place elements on image panel as shown
12.  (Optional) Add snowflakes in black ink


Playing along with the following Challenges:

My something sparkly is the faceted black gems and silver paper banner  :o)


 Thanks for coming by today!

November 21, 2020

ONE DAY

A peaceful hello!

I thought this was an especially calming sentiment for the times we're in. Easy to say and hard to do, I know.


SUPPLIES

Stamps: fern - unknown (it was gifted to me unmounted on cling), sentiment - I Brake for Stamps
Ink: Distress, Versamark
Embossing Powder: Embossing Arts in Silvery Pearl
Embellishments: Stampin' Up! flat back mini pearls, random gold sequins
Cardstock:  Neenah Classic Crest Solar White 110 lb, random matte gold


STEPS

1.  Cut white and gold panels to size for a side fold white card
2.  Stamp fern in Versamark ink and heat emboss with powder
3.  Stamp sentiment in Distress ink
4.  Using blender brushes, apply inks as shown and wipe excess off image
5.  Apply sequins and pearls as shown with liquid glue
6.   Layer panels to white card front as shown


Playing along with the following Challenges:

I chose the bottom row: Sparkle and Shine, Sentiment and  Clean and Simple 

I chose the vertical row on the right: Sentiment, Emboss and Gold


Thanks much for being here today!


May 07, 2009

The Sweetest Pair

Oh how I love little kittens (and big cats LOL) Isn't this one of the sweetest images ever? She looks so proud and she's being so gentle with the little kitty. If you love animals too, don't forget the two links on my sidebar - you can play a daily trivia and contribute kibble to dog and cat shelters free to you whether you get the correct answer or not - it's a win-win!!
(Click on photo for detail)
Card measures 5 1/2" x 4 1/4"
STAMPS: I Brake For Stamps - Stampinbak line
INKS: Stampin' Up! So Saffron, More Mustard, Blush Blossom, Bravo Burgundy, Ruby Red, Close to Cocoa, Staz-On Timber Brown, Adirondack Slate, Versamark SUPPLIES: Dove blender pen, heat gun, Fiskars border punch, Cuttlebug, CB folder Tapestry, hardware - SU, ribbon - Michael's, Tim Holtz Distressing Tool, white gel pen, Post-It, stencil brush - tiny SPECIALTY PAPER: glossy TECHNIQUES: resist, TJ Torn Frames NOTES: okay, late last night when I was coloring the image with the blender pen and SU inks, the hair was actually dark brown and the dress was mustard but by the time I scanned it just now it had faded out to the colors shown - probably the only almost-grey three year old ever ROTFLMBO - that's artistic license for ya! ~ the bkgd behind the girl was made by stamping the scroll in Versamark on glossy, setting it with a heat gun, then sponging first yellow and then pinkish-red over the edges (got this color scheme from a beautiful card in one of the magazines currently out - sorry, I think it was the Catch Up issue, but I'm not positive... - but the designer was Barb H and the card has a geisha on it) ~ I got the idea for the gray surrounding the image from Ank de B on the IBFS Yahoo group. I don't do her form of artwork justice but I love the effect - makes the image come more alive. Oh, made this panel by stamping the girl in Staz-On, masking, then doing the above resist technique, which I was inspired to do by Kristy C, another fabulous contributing artist over at the IBFS group. Yikes, sounds like I don't have an original thought in my head today LOL but I get so little stamp time in the summer that I get inspiration wherever I can or my stamp gears would get totally rusty! ~ just a hint on the resist technique - my Versamark had a slight reaction where it touched the Staz-On so you may want to mask more thoroughly than I did... ~ bkgd paper was made more visually textural by lightly brayering both shades of yellow ink on white cs
Hope you enjoyed this card, and thanks for stopping in!