Search This Blog

Pages

Showing posts with label Masking. Show all posts

July 31, 2021

VACATION TIME

Hello!

This card measures 4 1/4" x 5 1/2" and folds flat for a standard A2 envelope - Yay!


TECHNIQUES

fun folding, Copic coloring, die cutting, fussy cutting, ink sponging, stenciling

(for original card and more info on construction see this post where I first tried this fold)


STAMPS & DIES

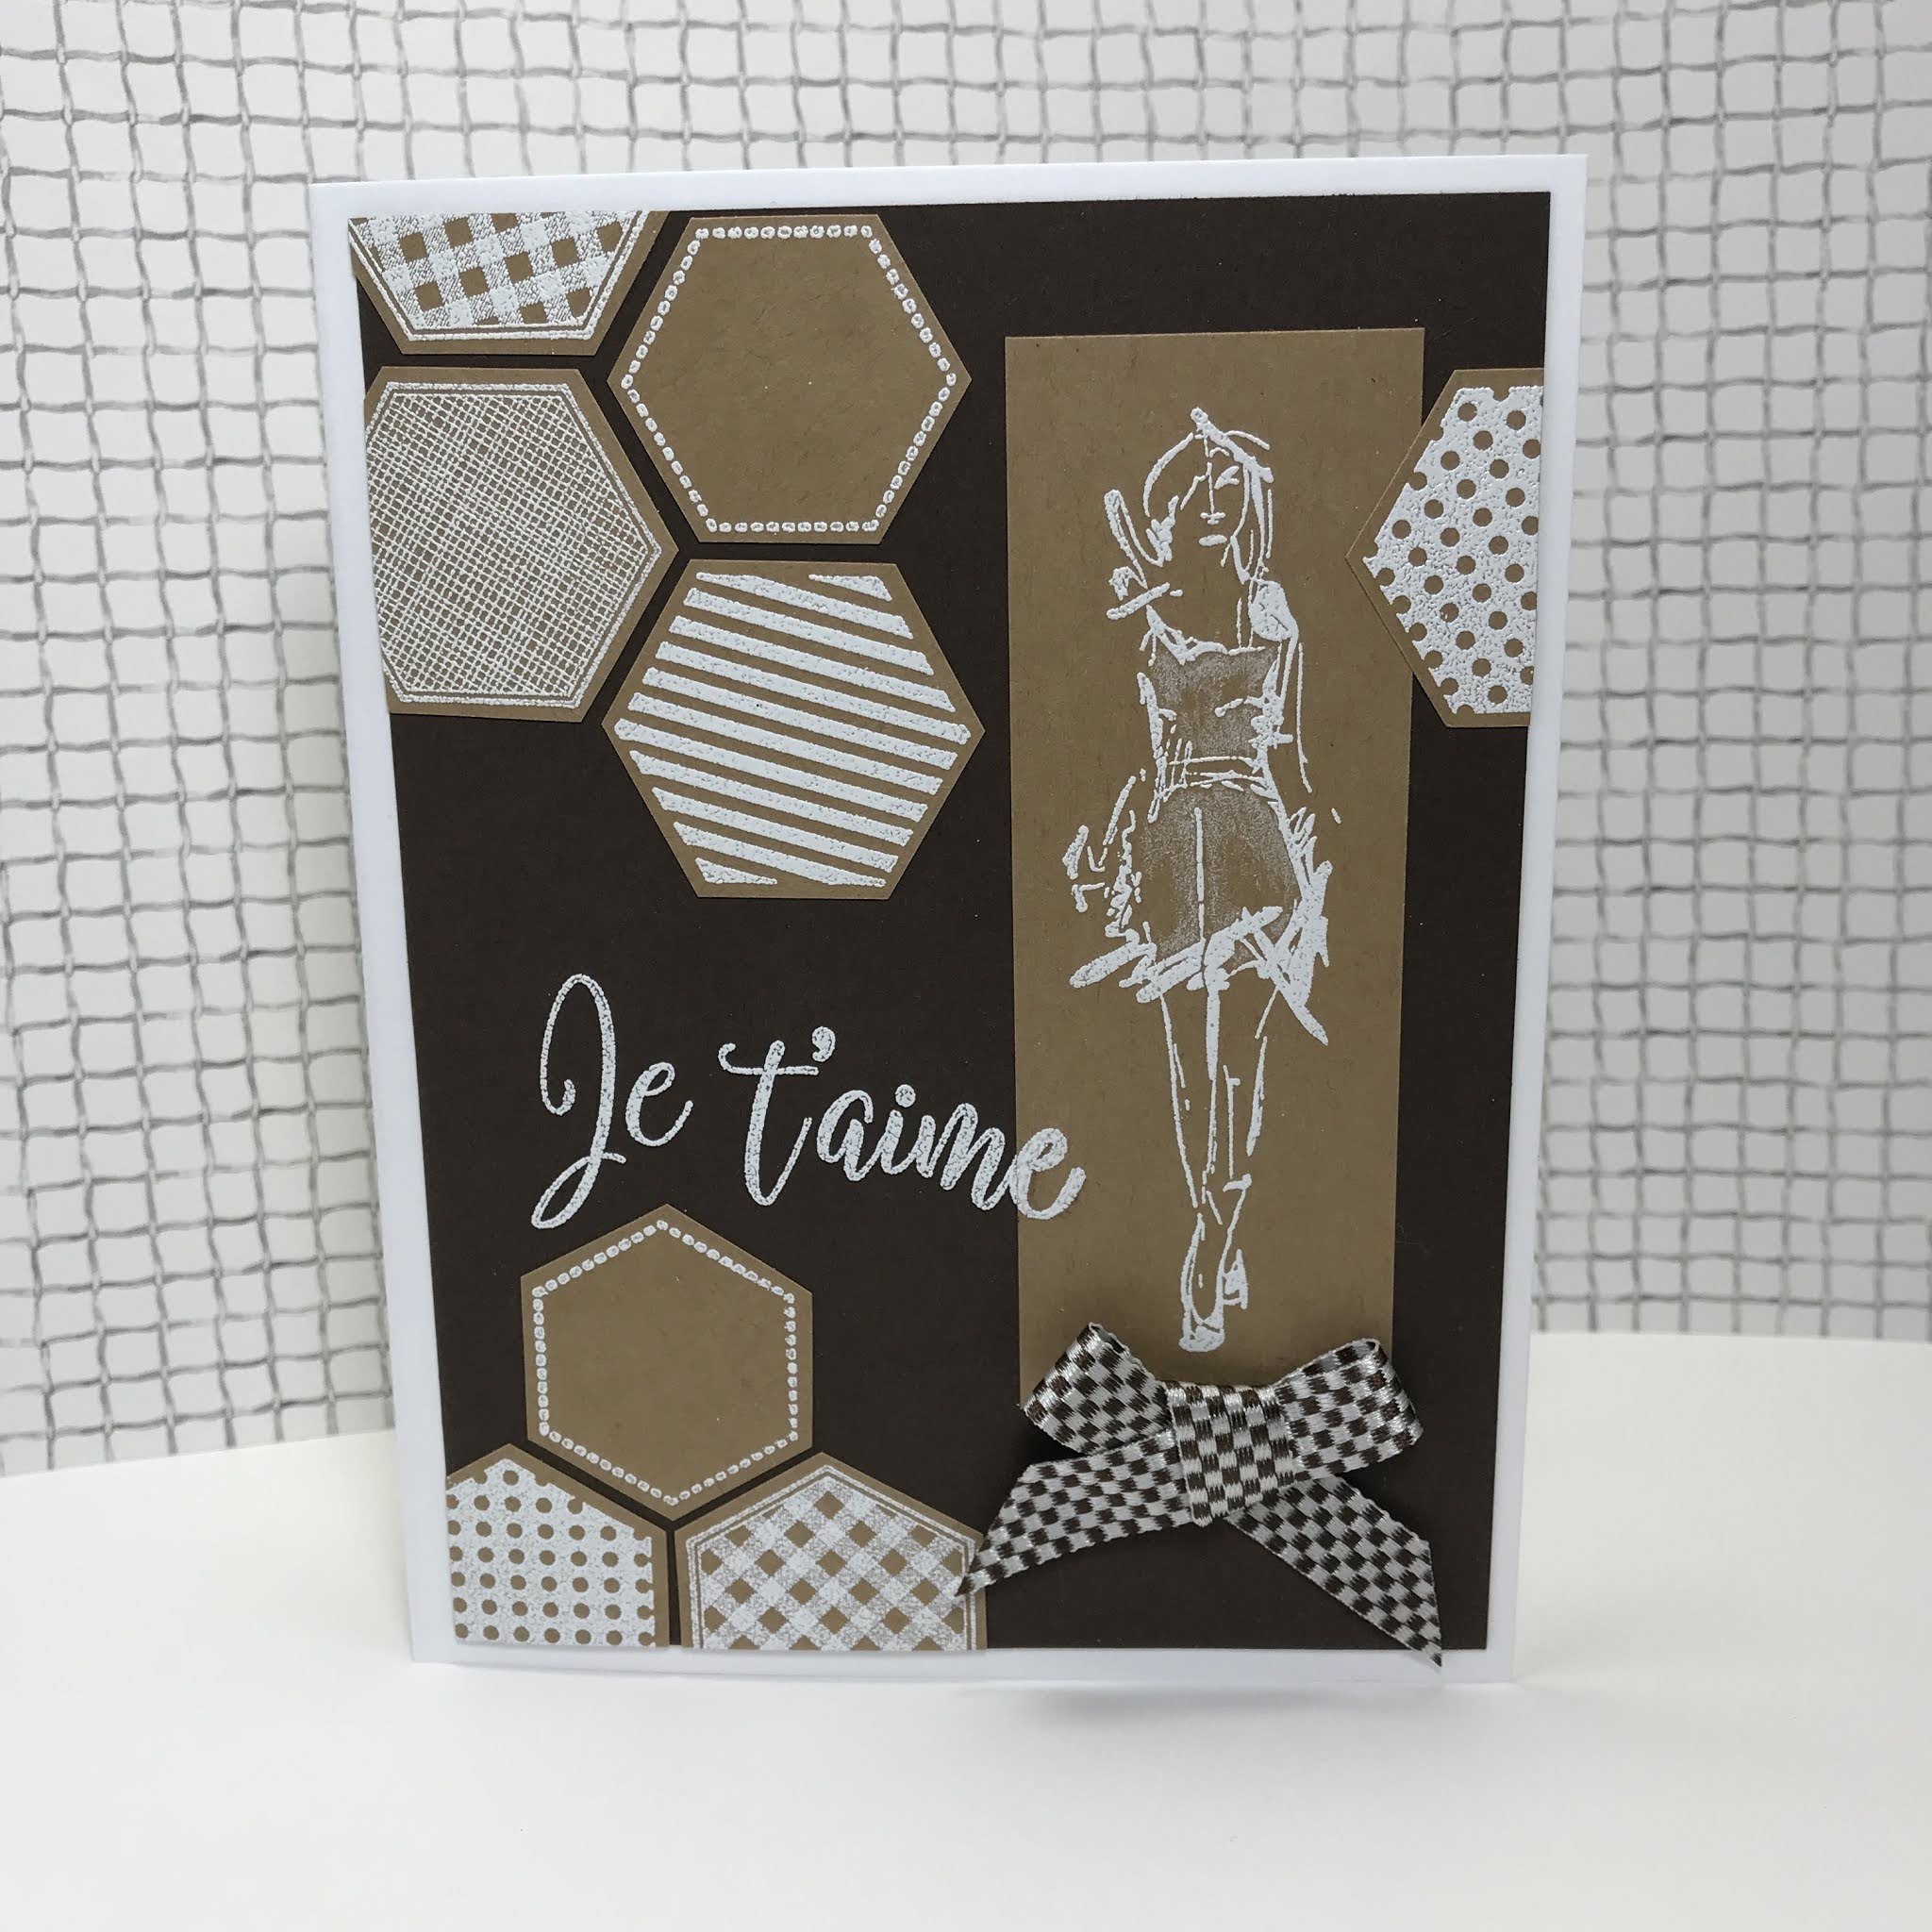
sunbather stamp - Art Impressions  #I-1888 
(I added the 'tattoo' to her upper arm - it reads 
I ❤ Bob  :o)

shell stamps - Stampendous 'Sushi Bowl Party'

oval die - Spellbinders Nestabilities ovals

OTHER

word stickers - Tim Holtz idea-ology 'Small Talk' #TH93704
glitter glue - Stickles 'Frosted Lace'
gems - Hampton Art Studio G #VAC0638


Playing along with the following Challenges:


Thanks for floating by today!


July 12, 2021

HELLO HEDGEHOGS

Hello, hello!!


Stamps and dies - hedgehogs are Penny Black Good News! #2360F, stamped words and hello die by Hero Arts set #DC151
Stencils - Set the Scene Grass #TESN66 by Taylored Expressions and Cloud Edger by A Colorful Life


Techniques are stenciling, masking, colored pencils and stacked word dies.


Word variations:


Playing along with the following Challenge:


 2 Crafty Critter Crazies  (ends 7/25).

Penny B Friends  (ends 8/6).

Daisy Chain  (ends 7/26).

Thrilled to have you here today!

GENTLE GIRAFFE

Welcome!


Stamps are Jane Davenport #JDS-053
Stencil is Wavy Weave by A Colorful Life


Techniques are stenciling, masking and colored pencils


Playing along with the following Challenges:

Crafty Animals #52  (ends 7/27).
Alphabet Challenge  (ends 7/14).
Daisy Chain  (ends 7/26).


Have a beautiful day!
 

January 24, 2021

ONE ITEM, MULTIPLE LOOKS! SERIES {#5} Featuring Figure Stamp

 Welcome to my new series One Item, Multiple Looks!  

 I'm really excited to inspire myself and others to

* explore and stretch the supplies we own 
* let go of anything we don't love
* choose wisely when repurchasing 
*  explore the endless techniques and styles available to us

I will be posting one new grouping featuring a different specific crafty item each week for at least the month of January or so.  To access all posts in this series just click on the topic One Item Multiple Looks! in the sidebar Index of Posts...  Hope you enjoy!

This week's item is a rubber stamp of a wonderful fashion figure from Stampinback:


Gray Cityscape Card


SUPPLIES

STAMPS  building, words and figures - Stampinback
INKS  Versafine Onyx Black, Stampin' Up! Going Gray
DIECUT  Stampin' Up Framelits - Apothecary Accents #127003
EMBELLISHMENTS   random colored aluminum dots
OTHER   Crayola 12 pack crayons, Stickles glitter glue in Frosted Lace
CARDSTOCKS dark and light gray, white


Let's get started!
STEPS 

1.  Cut cardstock panels to fit a standard white card in layers as shown. Set aside.
2.  Die cut white cardstock (ALTERNATIVE to specialty die cut: search your house for interesting borders and forms you can trace, and then fussy cut for a unique panel).
3.  Stamp buildings in gray ink on light gray panel (ALTERNATIVE to row of buildings: stamp the same building (or) tree, etc repeatedly).
4.  Stamp two background figures on white panel, and again on masking paper (ALTERNATIVE to masking paper: Post-it notes (or) copy paper with removable tape).
5.  Apply masking paper to figures and use stamp positioner to overstamp buildings in gray ink so they will line up with image already stamped on gray card (ALTERNATIVE to stamp positioner: the L shape (long and short side) from a smaller picture frame that lays flat, and a piece of thicker acetate (or) plastic from store bought packaging).
6.  Stamp main figure image on white cardstock scrap in black ink. Allow to dry and then color in with crayons.  Apply glitter glue as desired.  Fussy cut. (ALTERNATIVES: any coloring or glittering mediums you have on hand).
7.  Stamp words in black ink on white cardstock scrap. Cut into rectangle. Adhere to dark gray rectangular scrap.
8.  Time to assemble! Adhere dark gray panel to white cardfront, and layer light gray background panel on to dark gray. Adhere white die cut panel to light gray background, lining up designs.  Use foam tape to adhere figure to white die cut. Adhere word panel as shown.
9.  Time to embellish!  Add metal dots wherever desired to highlight image (ALTERNATIVE to metal dots: any form of dot-like embellishments (or) punch colored cardstock dots and apply gloss medium).
 

Playing along with the following Challenges:


Grunge Frame Card


SUPPLIES

STAMPS  figure - Stampinback, words - Innovative Stamp Creations (Women Around the World II sheet), elements - Stampin' Up! Extreme Elements and Looks Like Spring sets
INKS  Versafine Onyx Black
EMBOSSING FOLDER Sizzix Tim Holtz Alterations  
OTHER   white matte acrylic paint
CARDSTOCKS  random black, medium gray, white, pink


STEPS 

1.  Cut cardstock panels to fit a standard white card in layers as shown. Set aside.
2.  Emboss medium gray panel with folder and apply white matte acrylic paint lightly to raised area, and center as shown with foam brush. Allow to dry. (ALTERNATIVE to acrylic paint: run a white pigment pad over same areas).
3.  Stamp figure in black ink on center of embossed painted panel.
4.  Stamp words in black ink on pink cardstock and trim strip to fit across gray panel (ALTERNATIVE to the perfect words stamp: hand write (or) type (or) cut from magazine, etc).
5.  Stamp random elements with black ink around frame as shown (ALTERNATIVE to grunge elements: use black marker to hand draw doodles and shapes/patterns).
6.  Time to assemble! Adhere black panel to white cardfront, and layer gray panel on to black. Adhere pink word strip to front of card.


Playing along with the following Challenges:


Rainbow Card


SUPPLIES

STAMPS  figure - Stampinback, word circle - Autumn Leaves #AL2618 Sentiments Circles
INKS  Versafine Onyx Black, Distress Oxides, white pigment
STENCIL  Taylored Expressions #TESN07 Bubbly
EMBELLISHMENTS   random faceted mirror back flat back gems
OTHER   waterbrush
CARDSTOCKS random pink, black and white


STEPS 

1.  Cut cardstock panels to fit a standard white card in layers as shown. Set aside.
2.  On large white cardstock panel, use a blending tool and Distress Oxide inks to blend one color into each corner and in center of each side (ALTERNATIVE to Distress Oxide inks: use any pigment or dye inks (or) watercolor a panel (or) scribble markers on your acrylic block and pick up pigment with a paintbrush).
3.  Lay stencil over rainbow colored panel and apply white pigment ink lightly (ALTERNATIVE to stencil: use bubble wrap (or) old school pencil eraser to apply ink).
4.  Stamp figure in black ink onto white cardstock scrap. Use waterbrush to loosely color with Distress inks. Trim panel to rectangle. (see ALTERNATIVES on #2)
5.  Stamp circular words in black ink and trim closely (ALTERNATIVE: stamp any sentiment and punch or die cut into circle shape, adding lines, etc with a black marker or pen).
6.  Time to assemble! Adhere pink panel to white cardfront, and layer rainbow background panel. Adhere white main image rectangle panel to black rectangle and apply to background as shown.  Use foam tape to adhere word circle.
9.  Time to embellish!  Add gems to word circle.


Playing along with the following Challenges:


Monochrome Brown Card


SUPPLIES

STAMPS  figure - Stampinback, elements - Stampin' Up! title unknown - Crafter's Companion French Greetings
INKS  Colorbox Frost White pigment
DIECUT  Stampin' Up Framelits - Apothecary Accents #127003
EMBELLISHMENTS   random colored aluminum dots
OTHER   white color pencil, random ribbon, white detail embossing powder, white gel pen
CARDSTOCKS tan, dark brown, white


STEPS 

1.  Cut dark brown cardstock panel to fit a standard white card in layers as shown. Set aside.
2.  Stamp figure in white pigment ink on tan panel. Heat emboss with white detail powder. 
3.  Use white color pencil to highlight figure.  Cut figure panel into rectangle.
4.  Stamp and heat emboss in white multiple elements on tan cardstock. Fussy cut leaving a border. (ALTERNATIVE to design element stamps: use a white gel pen to draw designs).
5.  Time to assemble! Adhere dark brown panel to white cardfront.  Layer tan elements and main panel with figure on to brown panel as shown.  
9.  Time to embellish!  Stamp word in white and heat emboss.  Fill in any gaps with white gel pen. Adhere ribbon as shown.


Playing along with the following Challenges:


Thanks for stopping by, and I hope you are so inspired to use what you have to make something you love!   Nancy J

November 25, 2019

Stolen Moments

I've always really loved these images.  I believe I got them in 2005. Their cuteness is timeless  :o)


Playing along with the following challenge:


STAMPS: 
penguins - Art Impressions (#G-3060 & G-3061), ice block - Stampin' Up! "Cold & Cuddly" set, phrase - Verses Rubber Stamps (#BB0411-C)

INKS: Memento Tuxedo Black, Distress Ink Faded Jeans, Stormy Sky, Weathered Wood and Black Soot

MARKERS:  Copic

OTHER: Stickles Silver Glitter, Sakura Gelly Roll white pen

1.  Stamp penguins once on white cardstock and once on Post-It notes for masking. 
2.  Place masks over penguins and stamp ice block.
3.  Cut snowline mask from scrap and apply temporarily over penguin masks.
4.  Starting with lightest ink sponge cardstock.  Follow with other inks as shown.
5.  Use black ink to stamp phrase.
6.  Dot white pen onto sky area.
7.  Remove all masking and color penguins in with markers. Shade as needed.
8.  Add glitter glue to ice block and allow to dry.
9.  Layer to white cardfront using foam tape.


Thanks for stopping by!
May you be blessed, and may you be a blessing...   :o)

November 20, 2019

Toads, Frogs...it's all love!

Card for hubby, who loves all things cute
Card is white IRL, and eyeballs are covered with gloss medium.


Playing along in the following challenges:


STAMPS: Stampin' Up! set "Unfroggetable" 

INKS: Stampin' Up! Barely Banana, Memento Tuxedo Black

MARKERS: Copic

OTHER: Sakura Gelly Roll white gel pen, metal ribbon, Ranger Glossy Accents


1. Stamp frog on white cardstock, and off-stamp on Post-It for a mask.
2. Trim mask and place over frog image.
3. Lay stencil down and use dauber to sponge ink over and around mask, fading towards the edges.
4. Use black ink to stamp sentiment.
5. Unmask frog and color in with markers.
6. Highlight areas with white gel pen.
7. Appy gloss to eyeballs and allow to dry.
8. Layer with green panel to white cardfront.


Thanks for stopping in! 
May you be blessed and may you be a blessing.... :o)

November 11, 2019

Penguin Love


I always find it easier to start a card with a nice fresh sketch, especially on tired days.  
Entering this card into the following challenges:


STAMPS: 
penguins - Inkadinkado Dawn Houser (#97180 - O), phrase - Uptown Rubber Stamps Susan Wheeler Holly Pond Hill "Love is in the Air" (#V13259), snowflakes - Stampin' Up! "Serene Snowflakes"

INKS: 
Memento Tuxedo Black, Stampin' Up! Taken with Teal, Not Quite Navy, Brocade Blue, Ballet Blue

MARKERS: 
Copic

OTHER: 
Enamel Accents in black, Sakura Gelly Roll pen in white, Stampin' Up! circle punches, fingertip blender


PROCESS:

1. Stamp penguins in black ink on white cardstock, and again on a Post-It note for masking.
2.  Trim mask so only white areas on adult penguins show when placed on top of main stamping. Remove mask.
3. Use blue inks and snowflake stamps to fill in belly/chest areas. Use fingertip dauber and teal ink to shade. Use white pen to highlight center of snowflakes.
4. Use markers to fill in yellow areas and draw a heart on the little guy. Use grey markers to fill in shadows and borders as shown.
5. Using teal ink, stamp large snowflake on white card, and smaller snowflakes on cardstock scraps.  Punch these out, centering.
6. Stamp phrase on a turquoise strip of cardstock in black ink, and cut a square to go underneath main panel as a border.
7. Affix all components as shown and dot center of circles with the black enamel accents.  Allow to dry.


Thanks for stopping by!  
May you be blessed, and may you be a blessing...   :o)

November 06, 2019

Winter Wonderland


 During coloring one of the blue markers burped ink onto the panel and I was forced to add more spots or start over. Card is pure white IRL.  

1. Stamp children image in black ink, and make a Post-it note mask of them with the second stamping. 
2.Color the children in with markers, and place mask over them.
3. Use Post-its to form top and bottom borders. 
4.Used fingertip daubers to apply blue inks, lightest to darkest. 
5.Unmask children and use acrylic-inked snow stamp on blue panel. 
6.Stamp phrase with black ink.


Stamps: B Line Designs children (#HO140D), Stampin' Up! snow dots background, A Muse Artstamps phrase Road to Friend (#9-8230C)

Inks: Memento Tuxedo Black, Distress Faded Jeans, Broken China, Tumbled Glass

Markers: Copic

Other: Apple Barrel Matte White Acrylic paint, fingertip sponge daubers


Thanks for stopping in!
May you be blessed and may you be a blessing... :o)