Search This Blog

Pages

Showing posts with label Ribbon. Show all posts

August 17, 2021

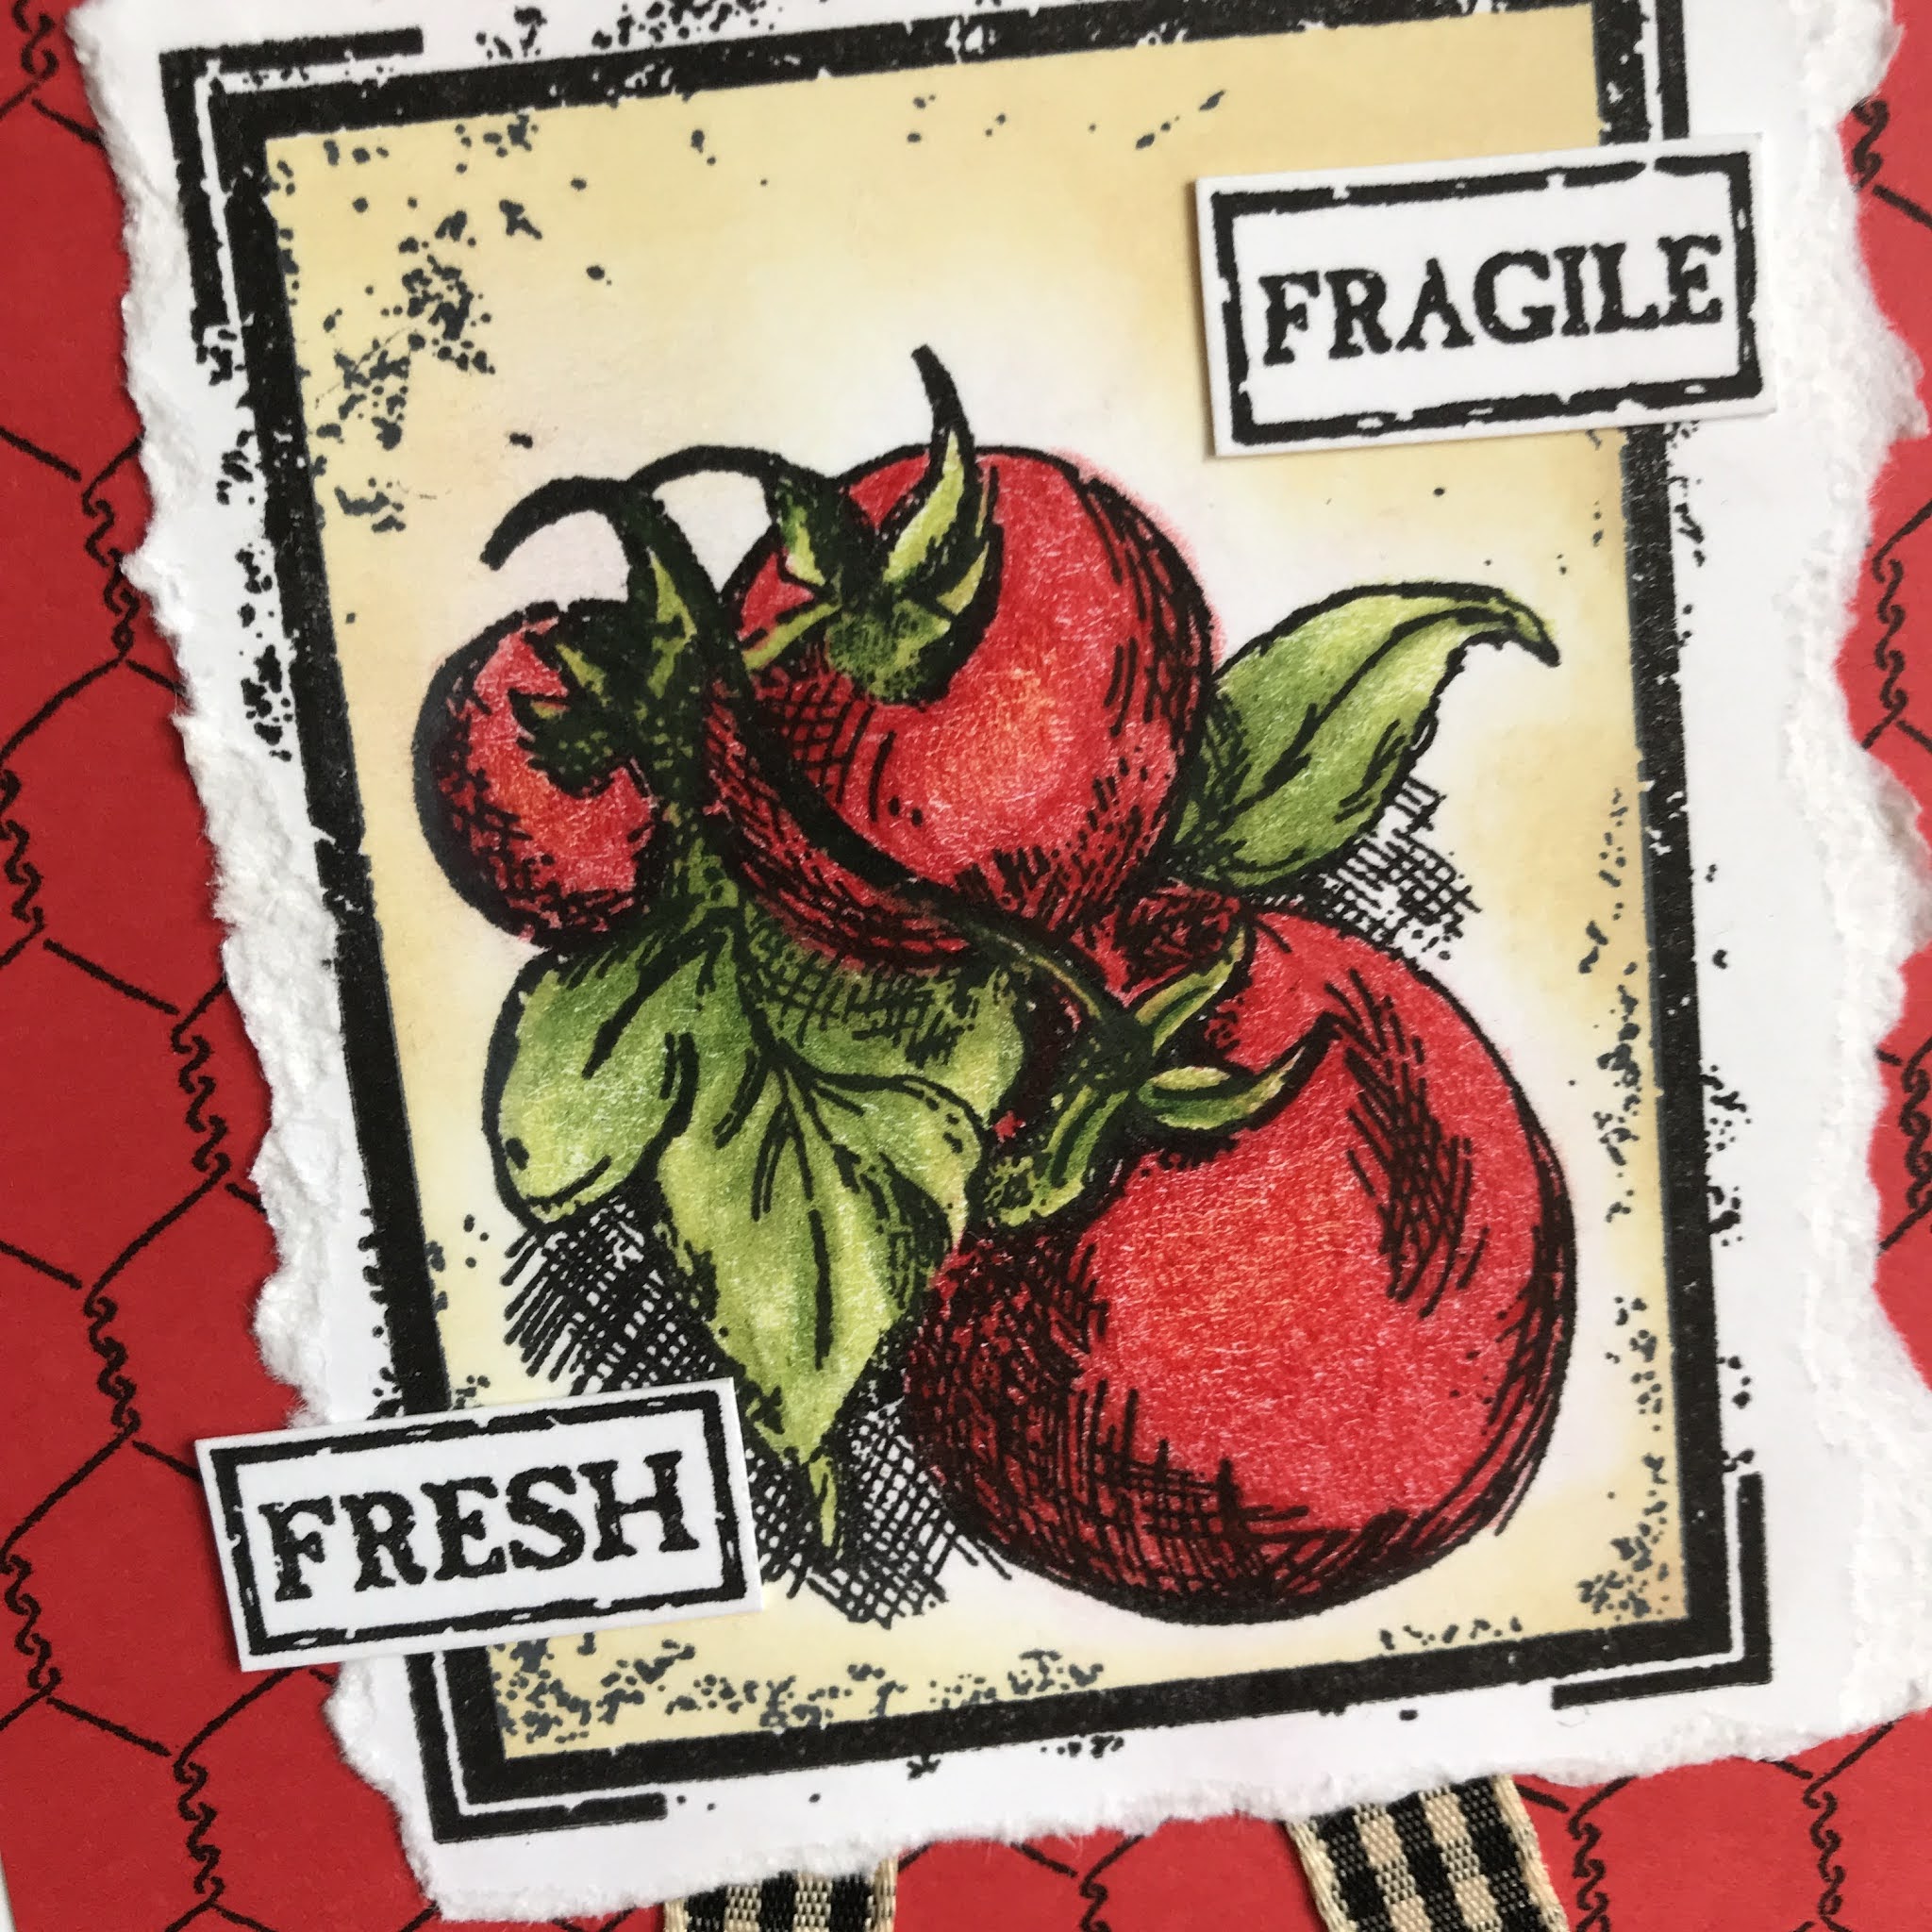
FRESH VEGGIES

Hello!
Enjoy an easy peasy garden trio


TECHNIQUES

colored pencil, ink sponging
I masked off the rectangles and used a brush to apply Distress die ink in Antique Linen around the inside edges

STAMPS 

veggie squares - Close to My Heart "Garden Vegetables" set #D1150
words - Stampin' Up! "Farm Fresh" set
backgrounds - Stampin' Up! "Cheesecloth", "Chicken Wire" & "Checkerboard"


Thanks for stopping in!


January 24, 2021

ONE ITEM, MULTIPLE LOOKS! SERIES {#5} Featuring Figure Stamp

 Welcome to my new series One Item, Multiple Looks!  

 I'm really excited to inspire myself and others to

* explore and stretch the supplies we own 
* let go of anything we don't love
* choose wisely when repurchasing 
*  explore the endless techniques and styles available to us

I will be posting one new grouping featuring a different specific crafty item each week for at least the month of January or so.  To access all posts in this series just click on the topic One Item Multiple Looks! in the sidebar Index of Posts...  Hope you enjoy!

This week's item is a rubber stamp of a wonderful fashion figure from Stampinback:


Gray Cityscape Card


SUPPLIES

STAMPS  building, words and figures - Stampinback
INKS  Versafine Onyx Black, Stampin' Up! Going Gray
DIECUT  Stampin' Up Framelits - Apothecary Accents #127003
EMBELLISHMENTS   random colored aluminum dots
OTHER   Crayola 12 pack crayons, Stickles glitter glue in Frosted Lace
CARDSTOCKS dark and light gray, white


Let's get started!
STEPS 

1.  Cut cardstock panels to fit a standard white card in layers as shown. Set aside.
2.  Die cut white cardstock (ALTERNATIVE to specialty die cut: search your house for interesting borders and forms you can trace, and then fussy cut for a unique panel).
3.  Stamp buildings in gray ink on light gray panel (ALTERNATIVE to row of buildings: stamp the same building (or) tree, etc repeatedly).
4.  Stamp two background figures on white panel, and again on masking paper (ALTERNATIVE to masking paper: Post-it notes (or) copy paper with removable tape).
5.  Apply masking paper to figures and use stamp positioner to overstamp buildings in gray ink so they will line up with image already stamped on gray card (ALTERNATIVE to stamp positioner: the L shape (long and short side) from a smaller picture frame that lays flat, and a piece of thicker acetate (or) plastic from store bought packaging).
6.  Stamp main figure image on white cardstock scrap in black ink. Allow to dry and then color in with crayons.  Apply glitter glue as desired.  Fussy cut. (ALTERNATIVES: any coloring or glittering mediums you have on hand).
7.  Stamp words in black ink on white cardstock scrap. Cut into rectangle. Adhere to dark gray rectangular scrap.
8.  Time to assemble! Adhere dark gray panel to white cardfront, and layer light gray background panel on to dark gray. Adhere white die cut panel to light gray background, lining up designs.  Use foam tape to adhere figure to white die cut. Adhere word panel as shown.
9.  Time to embellish!  Add metal dots wherever desired to highlight image (ALTERNATIVE to metal dots: any form of dot-like embellishments (or) punch colored cardstock dots and apply gloss medium).
 

Playing along with the following Challenges:


Grunge Frame Card


SUPPLIES

STAMPS  figure - Stampinback, words - Innovative Stamp Creations (Women Around the World II sheet), elements - Stampin' Up! Extreme Elements and Looks Like Spring sets
INKS  Versafine Onyx Black
EMBOSSING FOLDER Sizzix Tim Holtz Alterations  
OTHER   white matte acrylic paint
CARDSTOCKS  random black, medium gray, white, pink


STEPS 

1.  Cut cardstock panels to fit a standard white card in layers as shown. Set aside.
2.  Emboss medium gray panel with folder and apply white matte acrylic paint lightly to raised area, and center as shown with foam brush. Allow to dry. (ALTERNATIVE to acrylic paint: run a white pigment pad over same areas).
3.  Stamp figure in black ink on center of embossed painted panel.
4.  Stamp words in black ink on pink cardstock and trim strip to fit across gray panel (ALTERNATIVE to the perfect words stamp: hand write (or) type (or) cut from magazine, etc).
5.  Stamp random elements with black ink around frame as shown (ALTERNATIVE to grunge elements: use black marker to hand draw doodles and shapes/patterns).
6.  Time to assemble! Adhere black panel to white cardfront, and layer gray panel on to black. Adhere pink word strip to front of card.


Playing along with the following Challenges:


Rainbow Card


SUPPLIES

STAMPS  figure - Stampinback, word circle - Autumn Leaves #AL2618 Sentiments Circles
INKS  Versafine Onyx Black, Distress Oxides, white pigment
STENCIL  Taylored Expressions #TESN07 Bubbly
EMBELLISHMENTS   random faceted mirror back flat back gems
OTHER   waterbrush
CARDSTOCKS random pink, black and white


STEPS 

1.  Cut cardstock panels to fit a standard white card in layers as shown. Set aside.
2.  On large white cardstock panel, use a blending tool and Distress Oxide inks to blend one color into each corner and in center of each side (ALTERNATIVE to Distress Oxide inks: use any pigment or dye inks (or) watercolor a panel (or) scribble markers on your acrylic block and pick up pigment with a paintbrush).
3.  Lay stencil over rainbow colored panel and apply white pigment ink lightly (ALTERNATIVE to stencil: use bubble wrap (or) old school pencil eraser to apply ink).
4.  Stamp figure in black ink onto white cardstock scrap. Use waterbrush to loosely color with Distress inks. Trim panel to rectangle. (see ALTERNATIVES on #2)
5.  Stamp circular words in black ink and trim closely (ALTERNATIVE: stamp any sentiment and punch or die cut into circle shape, adding lines, etc with a black marker or pen).
6.  Time to assemble! Adhere pink panel to white cardfront, and layer rainbow background panel. Adhere white main image rectangle panel to black rectangle and apply to background as shown.  Use foam tape to adhere word circle.
9.  Time to embellish!  Add gems to word circle.


Playing along with the following Challenges:


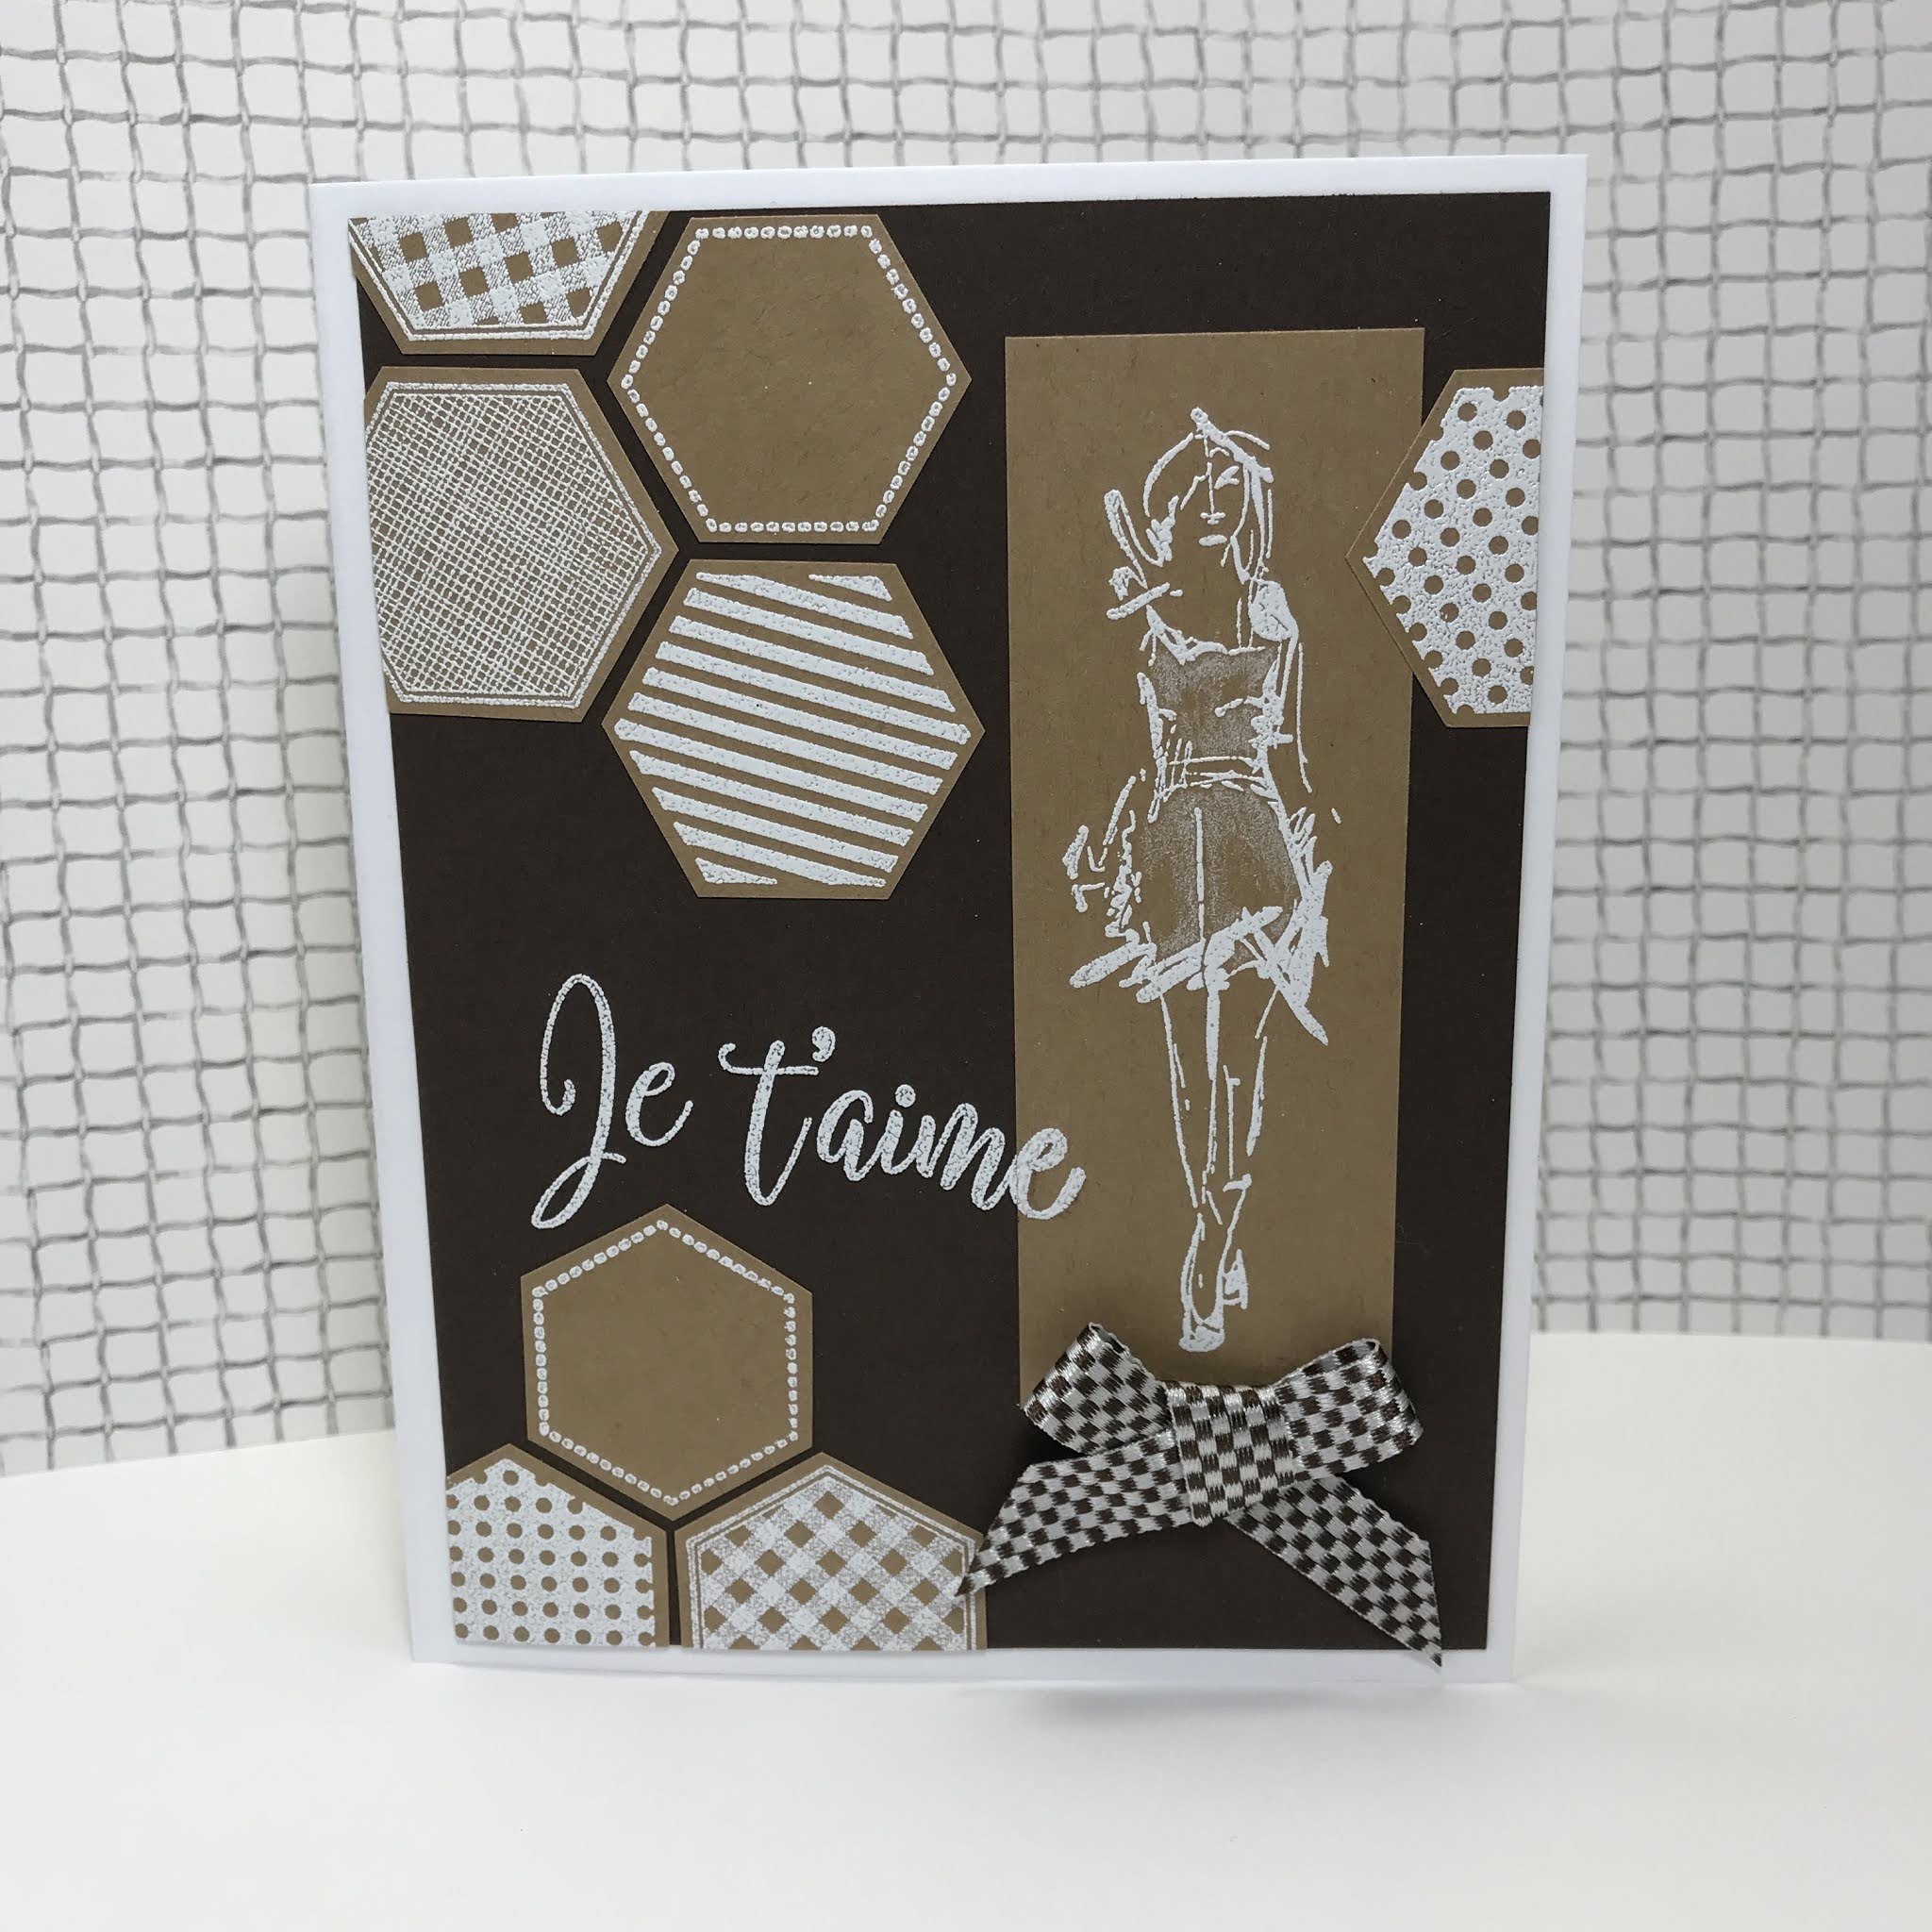
Monochrome Brown Card


SUPPLIES

STAMPS  figure - Stampinback, elements - Stampin' Up! title unknown - Crafter's Companion French Greetings
INKS  Colorbox Frost White pigment
DIECUT  Stampin' Up Framelits - Apothecary Accents #127003
EMBELLISHMENTS   random colored aluminum dots
OTHER   white color pencil, random ribbon, white detail embossing powder, white gel pen
CARDSTOCKS tan, dark brown, white


STEPS 

1.  Cut dark brown cardstock panel to fit a standard white card in layers as shown. Set aside.
2.  Stamp figure in white pigment ink on tan panel. Heat emboss with white detail powder. 
3.  Use white color pencil to highlight figure.  Cut figure panel into rectangle.
4.  Stamp and heat emboss in white multiple elements on tan cardstock. Fussy cut leaving a border. (ALTERNATIVE to design element stamps: use a white gel pen to draw designs).
5.  Time to assemble! Adhere dark brown panel to white cardfront.  Layer tan elements and main panel with figure on to brown panel as shown.  
9.  Time to embellish!  Stamp word in white and heat emboss.  Fill in any gaps with white gel pen. Adhere ribbon as shown.


Playing along with the following Challenges:


Thanks for stopping by, and I hope you are so inspired to use what you have to make something you love!   Nancy J

December 04, 2020

BELIEVE

Holiday hello all!


Inspired by and playing along with the Challenges below:

Shabby Chic and Vintage Style


SUPPLIES

STAMPS  Hero Arts candles (partial: I omitted the flame portion),  Basicgrey flourishes, Stampin' Up! Harlequin background
DIE CUTS   Momenta #32265 R8
INKS   Distress Antique Linen, Memento Tuxedo Black, Staz-on White
MARKERS   Copic assorted greens
EMBELLISHMENTS   Jolee's Boutique flat back black faceted gems, random flat back reflective red gems, sheer gold ribbon, acetate sheet
CARDSTOCK   mirror gold, random white
OTHER   Pentel Slicci gold pen, Wink of Stella glitter brush pen


STEPS

1.  Trim acetate panel and score to side fold card size
2.  Cut 4 white cardstock panels to the size shown
3.  Stamp one white panel with harlequin background stamp and Distress Antique Linen ink
4.  Ink candles stamp with Memento Tuxedo Black ink (I omitted the flames) on previously stamped panel and again on scrap white cardstock
5.  Color the candles on scrap cardstock with black and gold pens as shown, and trim around each candle.  Adhere to image panel
6.  Color in the leaves with Copic markers and adhere flat back gems where berries are stamped
7.  Ink flourishes with black ink and stamp in desired pattern. Coat with Wink of Stella when ink is dry.
8.  Stamp large flourish in white Staz-on onto acetate cardfront
9.  Use make-up sponge to add ink to edges of cardfront with white Staz-on
10.  Apply ribbon as shown to image panel and along card fold 
11.  Die cut sentiment from mirror gold cardstock and apply over ribbon as shown
12.  Apply flat back faceted black gems as shown


 Thanks so much for being here!

October 28, 2019

Love a Good Challenge Sketch!


Coloring is all pencils.  Brown cardstock layer has metallic flecks throughout.


Stamps:  Impression Obsession "Nautilus" F4345, Ann-ticipations phrase #12081 (2002)

Inks: Memento Tuxedo Black, Stampin' Up! Early Expresso

Other: colored pencils - Prismacolor Beige, Sienna Brown & Slate Grey, Crayola Tan,  Memory Pencils EK Teal


Update: So pleased to have been a RRCB top pick with this card!


Thanks for stopping by! 
May you be blessed and may you be a blessing...  :o)


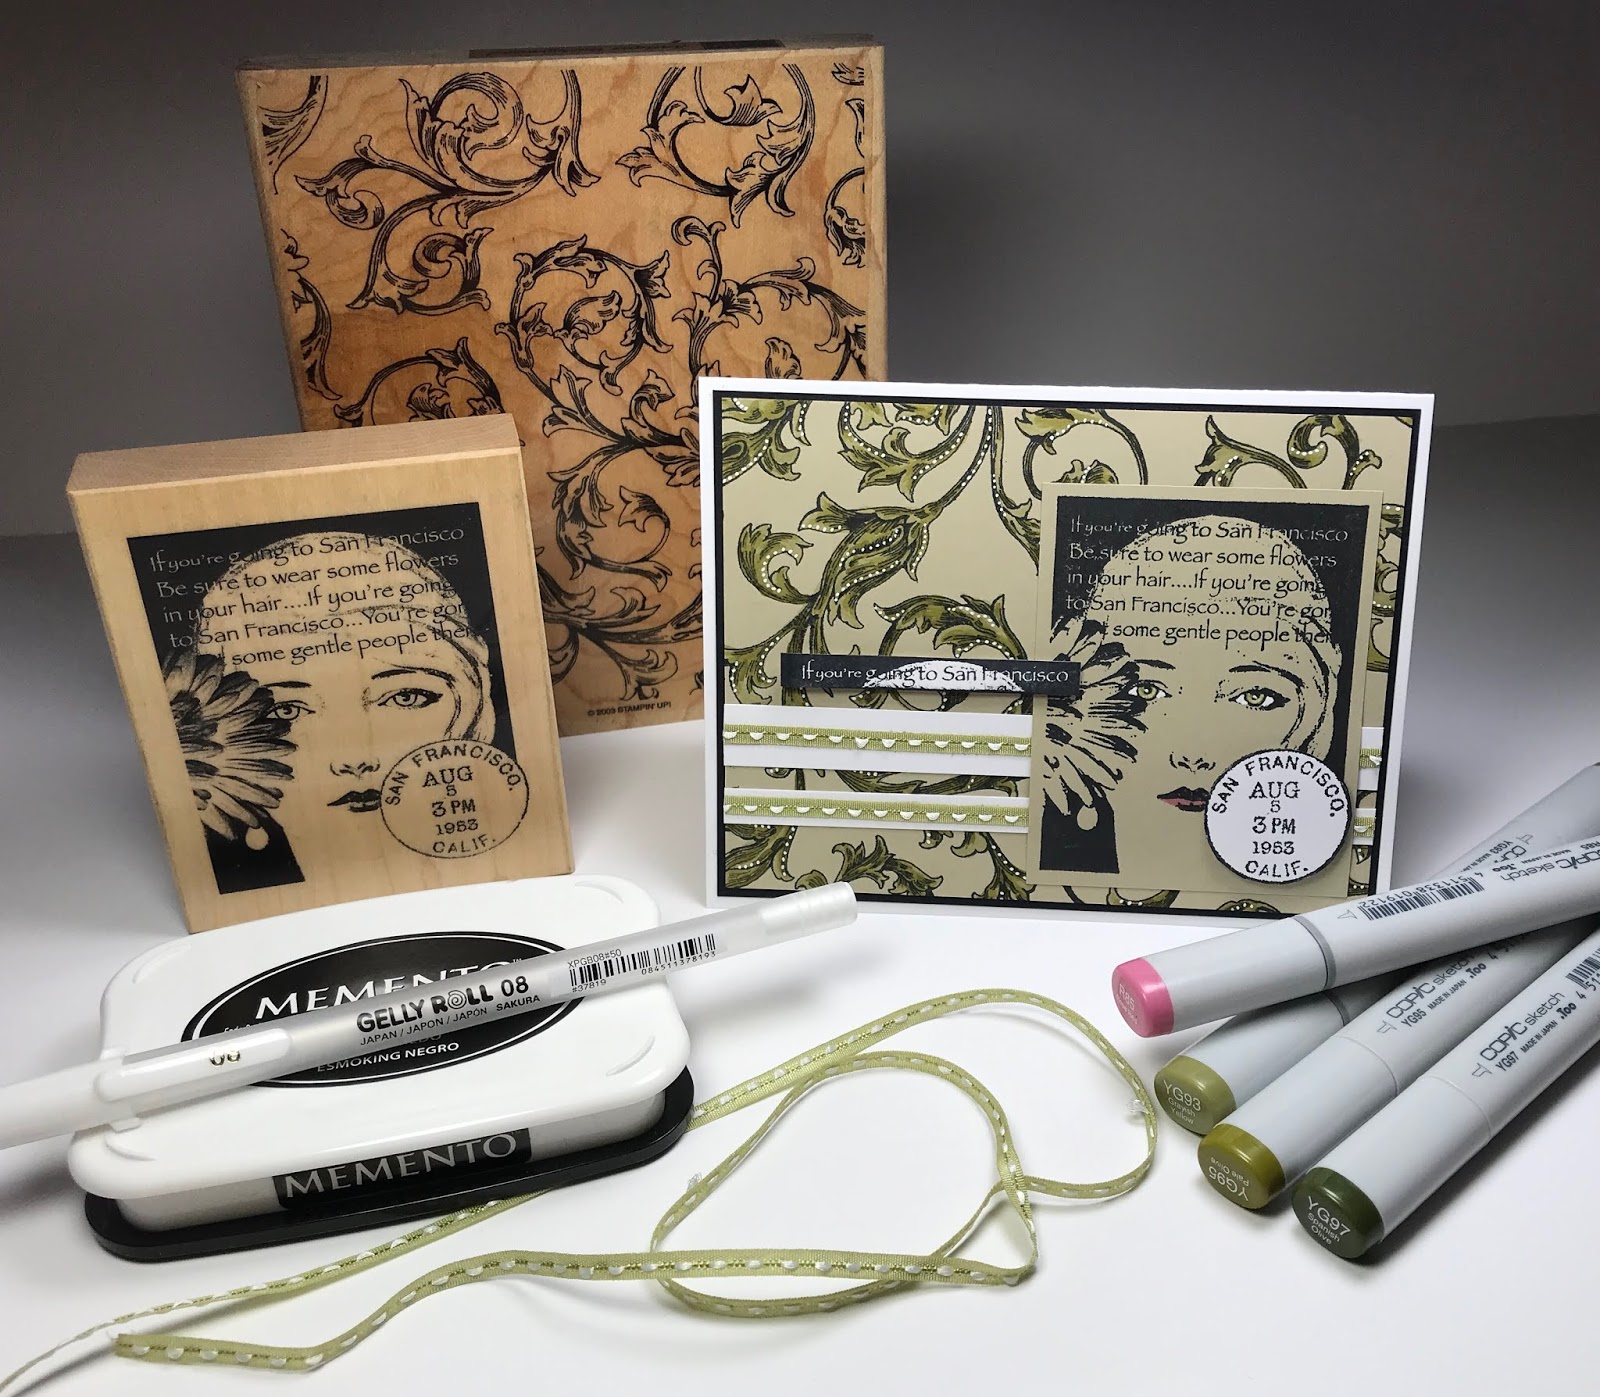
Challenge Card and It's Been Awhile!


Background is colored in with Copic markers and highlighted with an opaque white pen.  Sentiment and postmark are pop-dotted for dimension.  


Stamps: B Line Designs #BG119E "Flowers in Her Hair", Stampin' Up! "Antique Background"

Inks: Memento Tuxedo Black

Markers: Copic #YG93, YG95, YG97 & R85, Gelly Roll 08 White


Update: So happy to have a Top Cup at SSC with this card!


Thanks for stopping in!
May you be blessed and may you be a blessing....  :o)


June 11, 2011

Technique Junkies 'Try That Technique' Challenge - Giraffe

STAMPS:  cow - Delafield Stamp Co, words - unknown, row of cows - Picture Show, grass - Uptown
TECHNIQUES:  Technique Junkies - Giraffe, Sandwiched Color
INKS:  Stampin' Up! River Rock & Baja Breeze 

What a fun challenge - I finally got to use a cow stamp and this goofy word stamp!  Might be hard to see but the cow is pop-dotted.

Thanks for stopping by!

New RARE IMAGE RUBBER STAMPS sheet out now with FREE SHIPPING!

 STAMPS:  girl - Rare Image Rubber Stamps, solid circle - Hero Arts, flower - Savvy, the rest - unknown
TECHNIQUES:  Technique Junkies Paper Piecing, Embellished Circles


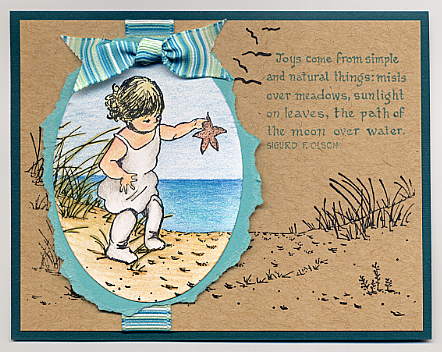
STAMPS:  child - Rare Image Rubber Stamps, scenery - Sarasota Stamps, words - (partial) Embossing Arts, seagulls - Just for Fun
TECHNIQUES:  Spotlight, colored pencils


These are just two of the little cuties featured on my newest 8 1/2" x 11" sheet of rubber called CHILDHOOD - featuring 16 adorable vintage child images in a pen-and-ink sketched style.  You can access the RARE IMAGE RUBBER STAMPS ordering and info page by clicking on the logo in the sidebar to the right.

Thanks for stopping by!

May 26, 2009

Paper Souffle Peony

Helllllooooooooo...? Anyone still there? LOL It feels like SO LONG since I've posted. I've been able to make just three cards ALL MONTH (the I Brake for Stamps with the little girl, a simple one for the monthly card-club I go to when I can, and this thank you card I made for my parents last night that I wanted to share with you). After not stamping much I worried that I wouldn't be able to stamp at all but it's always easier for me when I have someone special in mind as I put a card together. I saw the current Somerset Studio magazine while looking for something else yesterday, paged thru it, and had to have it just for two wonderful paper manipulating articles in it. One is an article on page 80 called Souffle` Papier d' Art by the ever-amazing Sandra Evertson Using her technique you can use any print or photo and a pin to prick paper with a needle and get the effect below. So quick and easy I had a decent result as soon as I sat down late last night to try it for the first time.
Click on photo for a close-up...
Card measures 5 1/2" x 4 1/4"
STAMPS: peony - Judi-kins, phrase - Hero Arts, background - 'Floral', Stampin' Up! INKS: Versamark, Distress Tattered Rose and Brushed Corduroy, SU Always Artichoke SUPPLIES: flower punch, miniature flat-backed pearls, floral ribbon, striped ribbon, pearl-head straight pin, pink crochet thread, sewing needle, textured paper, distressing tool NOTES: for the corners I stamped the background in Tattered Rose, cut it into four triangles, edged them with Brushed Corduroy, and applied them with a glue pen. I swiped Tattered Rose on cream cardstock and punched the flowers. I used an embossing stylus and the palm of my hand to round them before attaching the back centers with glue to the corner triangles, then I just applied the gem pearls to the centers. ~ The wide ribbon was preprinted and I tied it in a simple knot, inserting the green striped ribbon before tightening the knot. I tied some pink crochet floss on a pearl-head sewing pin and put it thru the knot ~ The cream colored paper and the pale pink cardfront are lightly textured.
Thanks for checking in - hope your month was great! Stay tuned - I have a little blog giveaway coming up in the next week :o)

May 07, 2009

The Sweetest Pair

Oh how I love little kittens (and big cats LOL) Isn't this one of the sweetest images ever? She looks so proud and she's being so gentle with the little kitty. If you love animals too, don't forget the two links on my sidebar - you can play a daily trivia and contribute kibble to dog and cat shelters free to you whether you get the correct answer or not - it's a win-win!!
(Click on photo for detail)
Card measures 5 1/2" x 4 1/4"
STAMPS: I Brake For Stamps - Stampinbak line
INKS: Stampin' Up! So Saffron, More Mustard, Blush Blossom, Bravo Burgundy, Ruby Red, Close to Cocoa, Staz-On Timber Brown, Adirondack Slate, Versamark SUPPLIES: Dove blender pen, heat gun, Fiskars border punch, Cuttlebug, CB folder Tapestry, hardware - SU, ribbon - Michael's, Tim Holtz Distressing Tool, white gel pen, Post-It, stencil brush - tiny SPECIALTY PAPER: glossy TECHNIQUES: resist, TJ Torn Frames NOTES: okay, late last night when I was coloring the image with the blender pen and SU inks, the hair was actually dark brown and the dress was mustard but by the time I scanned it just now it had faded out to the colors shown - probably the only almost-grey three year old ever ROTFLMBO - that's artistic license for ya! ~ the bkgd behind the girl was made by stamping the scroll in Versamark on glossy, setting it with a heat gun, then sponging first yellow and then pinkish-red over the edges (got this color scheme from a beautiful card in one of the magazines currently out - sorry, I think it was the Catch Up issue, but I'm not positive... - but the designer was Barb H and the card has a geisha on it) ~ I got the idea for the gray surrounding the image from Ank de B on the IBFS Yahoo group. I don't do her form of artwork justice but I love the effect - makes the image come more alive. Oh, made this panel by stamping the girl in Staz-On, masking, then doing the above resist technique, which I was inspired to do by Kristy C, another fabulous contributing artist over at the IBFS group. Yikes, sounds like I don't have an original thought in my head today LOL but I get so little stamp time in the summer that I get inspiration wherever I can or my stamp gears would get totally rusty! ~ just a hint on the resist technique - my Versamark had a slight reaction where it touched the Staz-On so you may want to mask more thoroughly than I did... ~ bkgd paper was made more visually textural by lightly brayering both shades of yellow ink on white cs
Hope you enjoyed this card, and thanks for stopping in!