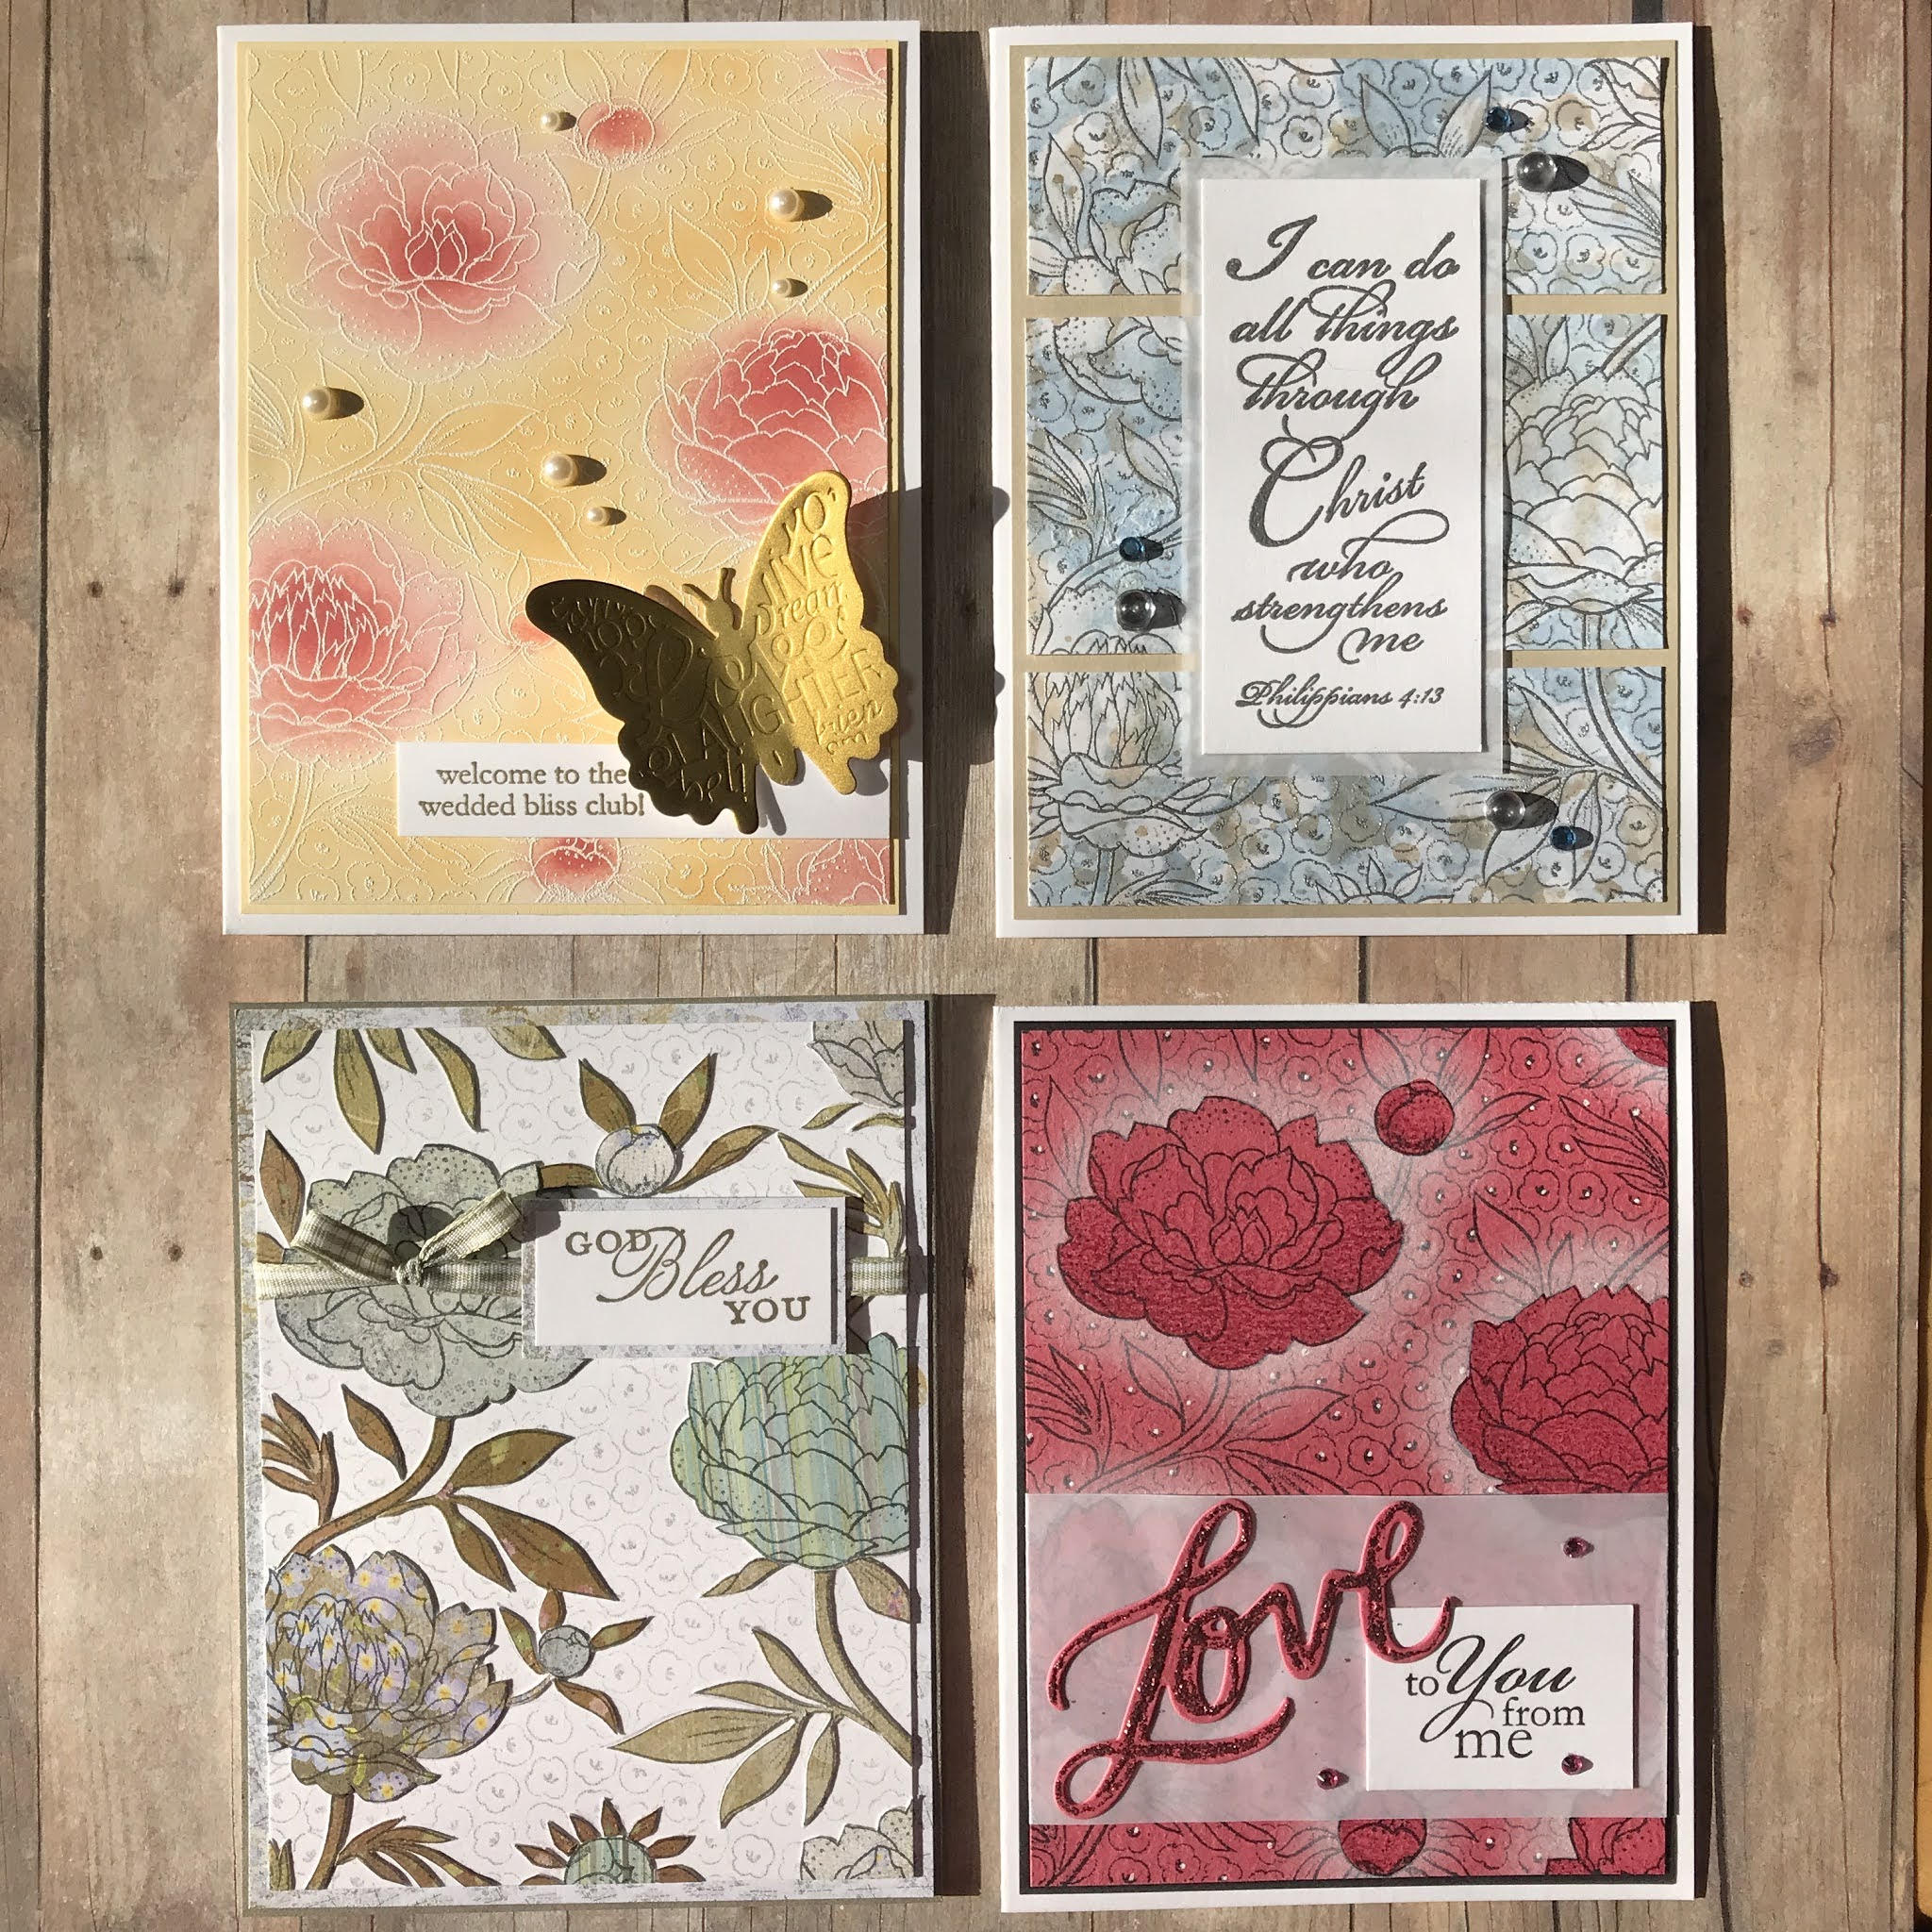
Welcome to my new series One Item, Multiple Looks!
I'm really excited to inspire myself and others to
* explore and stretch the supplies we own
* let go of anything we don't love
* choose wisely when repurchasing
* explore the endless techniques and styles available to us
I will be posting one new grouping featuring a different specific crafty item each week for at least the month of January or so. To access all posts in this series just click on the topic One Item Multiple Looks! in the sidebar Index of Posts... Hope you enjoy!
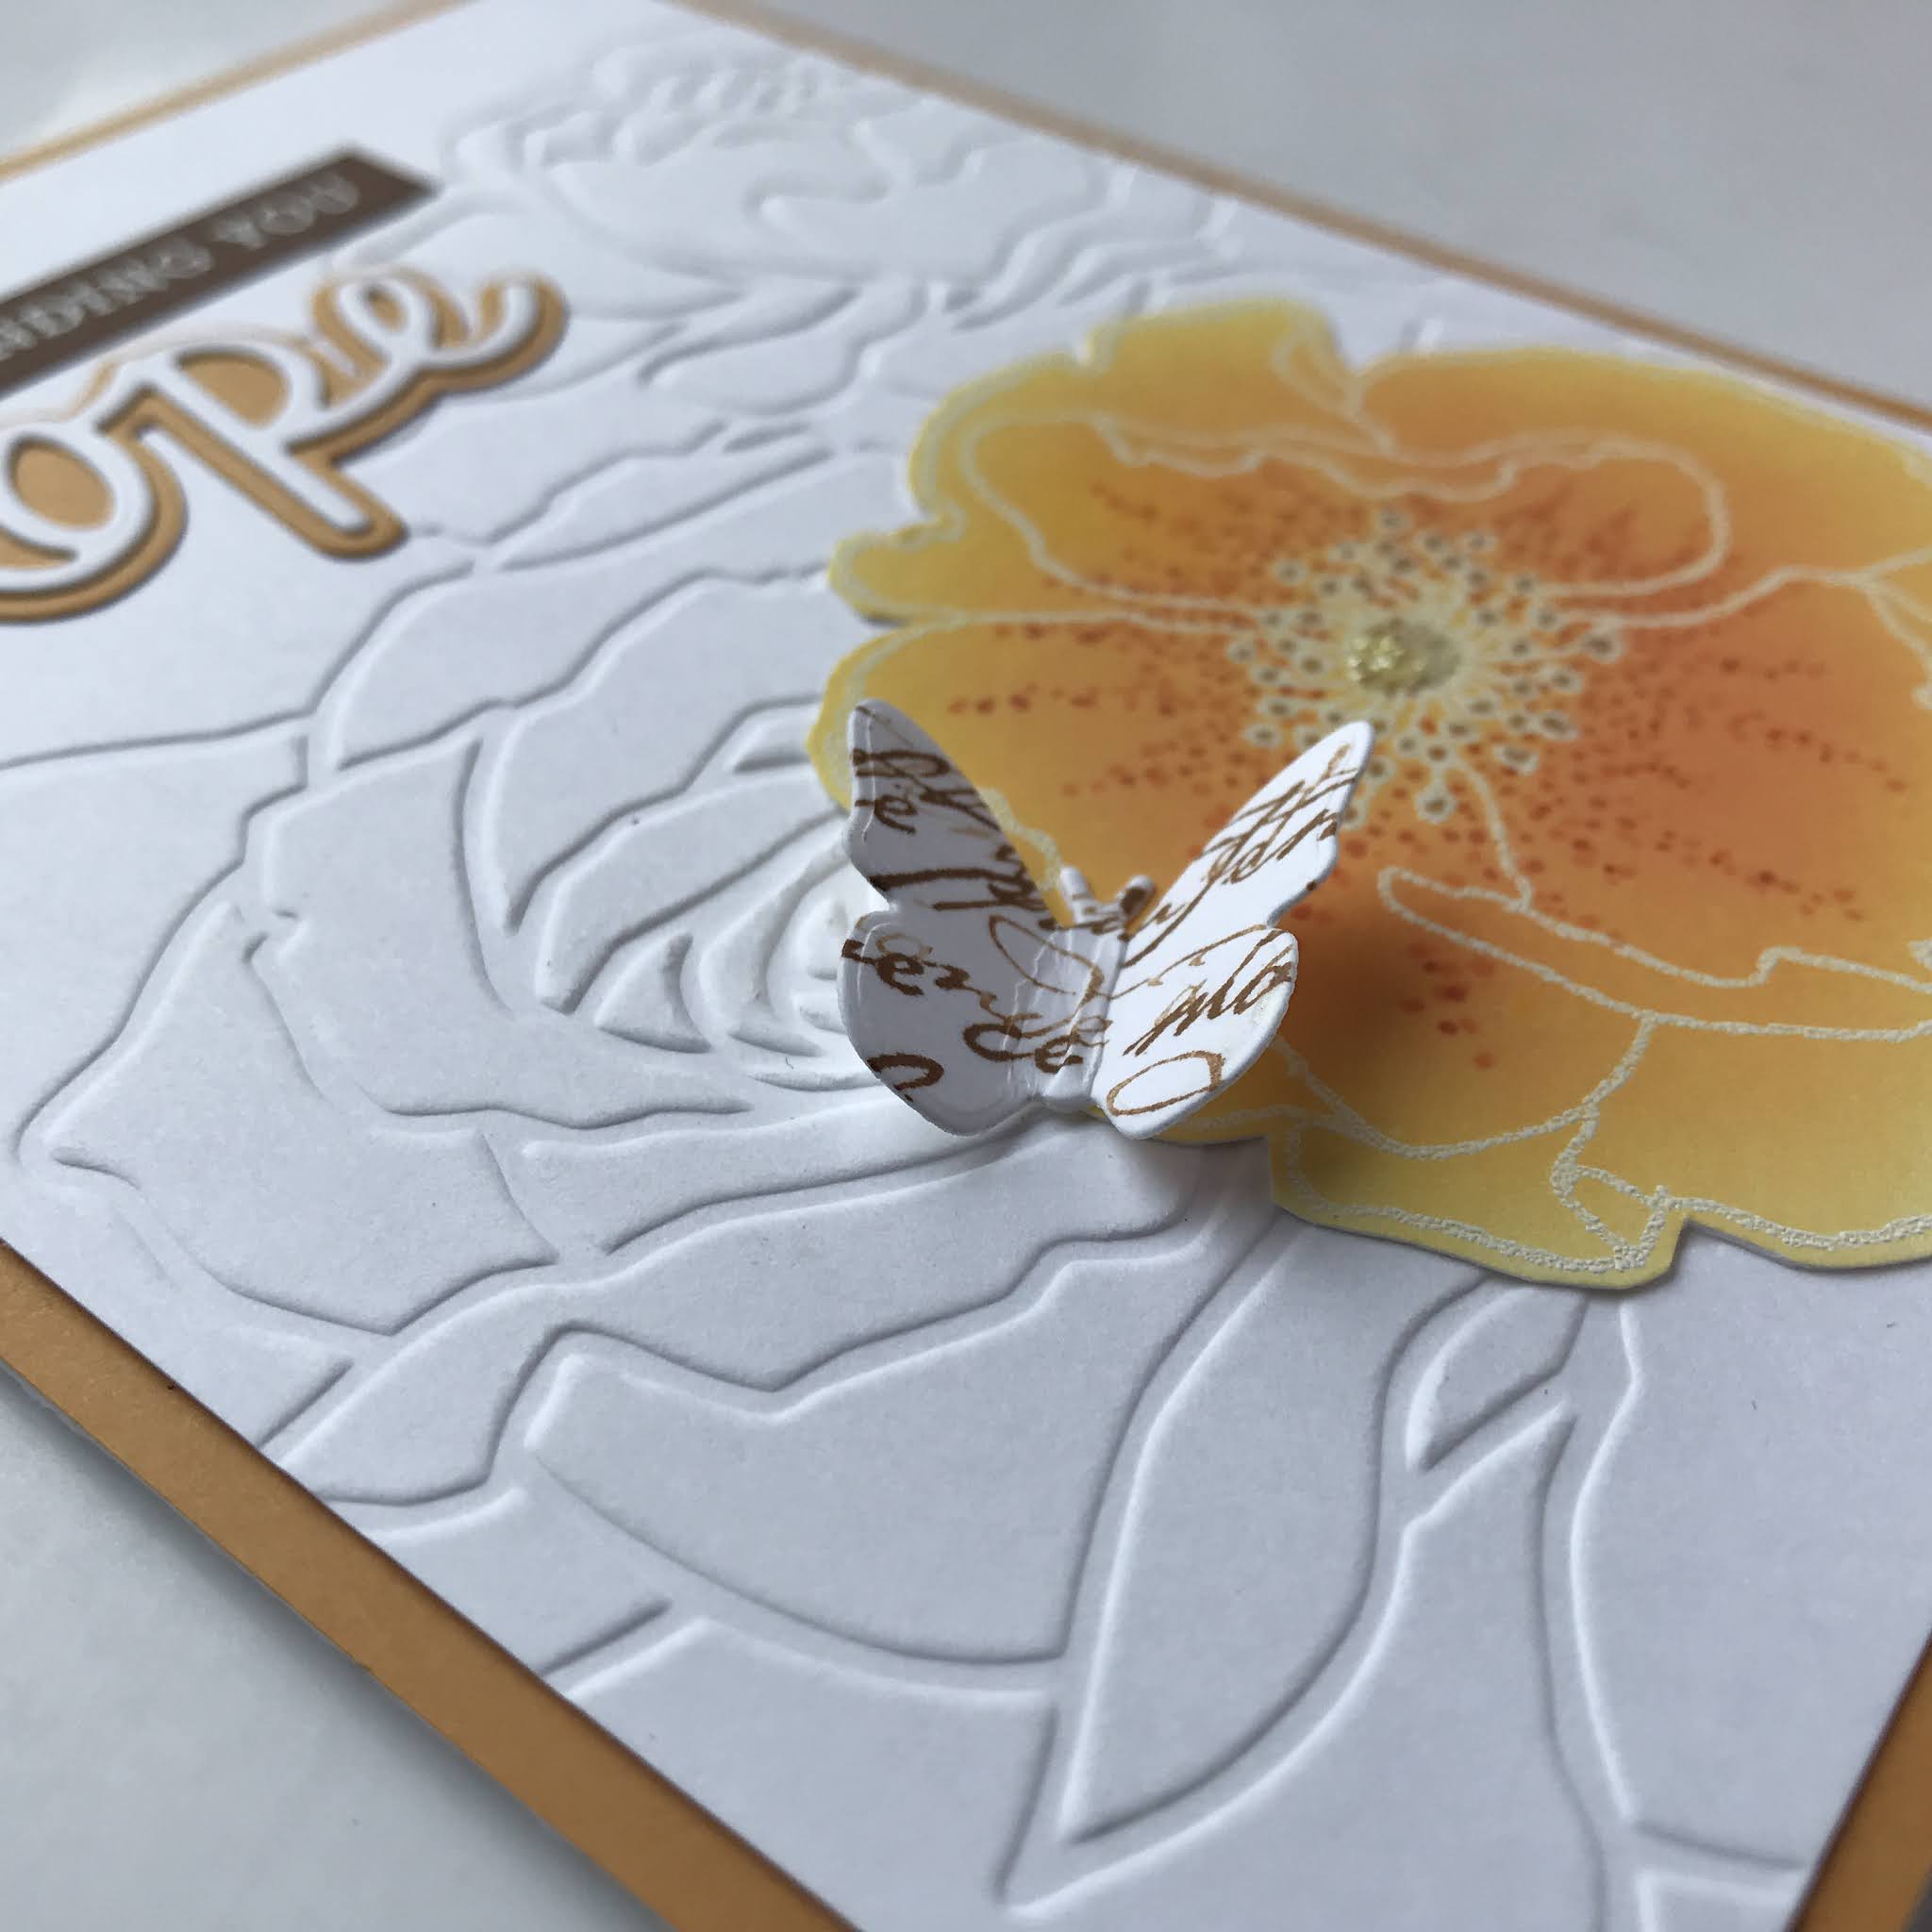
This week's grouping features a floral background stamp. Techniques feature embossing, ink blending, paper piecing and haloing.
SUPPLIES
STAMPS floral background - unmarked, please contact me if you know who made it!, words -Stampin' Up! set, also unmarked (the hazards of buying preowned LOL)
INKS Distress Oxide Spiced Marmalade and Fired Brick, Versamark
DIECUT Momenta Cut & Emboss #19803 R6
EMBELLISHMENTS Stampin' Up! flatback pearls
OTHER white and gold detail embossing powders
PAPERS white and yellow cardstock, matte gold cardstock
STEPS
1. Cut white and yellow cardstock panels to fit a standard white card in layers as shown. Set aside (Alternative to yellow cardstock: ink a white piece with the same ink color, or edge a white panel with a yellow or gold marker).
2. Using Versamark ink, stamp background image on white cardstock. Cover with white detail embossing powder and heat emboss. (Alternative: you could stamp your own background type image using single flower stamp and stamping some tiny image in between).
3. Use blending brushes and inks to blend into background as shown. Brush ink off lines with soft cloth.
4. Run matte gold cardstock through embossing/cutting machine with butterfly cut and emboss die. (Alternatives: you could emboss a sheet of cardstock and die cut a butterfly from that, or heat emboss a butterfly stamp image in gold and trim it out, etc)
5. On white scrap of cardstock, stamp sentiment in Versamark and heat emboss with gold detail powder.
6. Time to assemble! Adhere image panel to yellow panel and yellow panel to white cardfront. Apply strong glue or tape to underside of butterfly body and apply over white sentiment strip as shown. Gently bend wings upward.
7. Time to embellish! Apply flat back pearls as shown.
Playing along with the following Challenges:
Silver Embossed "Watercolor"
SUPPLIES
STAMPS floral background - unmarked (please contact me if you know who made it!), words - I Brake for Stamps
INKS Distress Ink Faded Burlap, Faded Jeans and Stormy Sky, Versamark
EMBELLISHMENTS Hero Arts and random flatback crystal gems
OTHER silver detail embossing powder
PAPERS white and tan cardstock, vellum
STEPS
1. Cut white and tan cardstock panels to fit a standard white card in layers as shown (do not trim white panel into thirds till you're finished stamping and coloring). Set aside (Alternative to tan cardstock: ink a white piece with the same ink color).
2. Using Versamark ink, stamp background image on white cardstock. Cover with silver detail embossing powder and heat emboss. (Alternative: you could stamp your own background type image using single flower stamp and stamping some tiny image in between).
3. Smoosh the blue inkpads onto nonstick surface, spritz with water and lay panel into this. Dry panel and repeat with brown ink.
4. On white scrap of cardstock, stamp sentiment in Versamark and heat emboss with silver detail powder.
5. Trim image panel into thirds.
6. Time to assemble! Adhere image panel to tan panel and tan panel to white cardfront. Apply word panel onto vellum panel as shown, and adhere to background panel.
7. Time to embellish! Apply flat back gems as shown.

Playing along with the following Challenges:
Gem of a Challenge Anything Goes (ends 1/11)

White Haloing Card
SUPPLIES
STAMPS floral background - unmarked (please contact me if you know who made it!), words - Stampin' Up! set, also unmarked (the hazards of buying preowned LOL)
INKS Versafine Onyx Black, VersaMagic Cloud White
DIECUT EK Success Word Set #54-80027
EMBELLISHMENTS random flatback gems
OTHER white gel pen, Stickles glitter in Pink, color pencils
PAPERS pink, black and white cardstock

STEPS
1. Cut pink and black cardstock panels to fit a standard white card in layers as shown. Set aside. (Alternative to black cardstock: ink a white piece with the same ink color, or edge a white panel with a black marker).
2. Using black ink, stamp background image on pink cardstock. (Alternative: you could stamp your own background type image using single flower stamp and stamping some tiny image in between).
3. Stamp flower heads on masking paper and apply to image panel. (Alternative: stamp images on copy paper, trim and apply removable adhesive to reverse.)
4. Use blending brushes or sponges to spread white pigment ink around flower heads and buds as shown. Remove masking.
5. Use colored pencils in same color family to shadow flower heads and buds as shown.
6. On white scrap of cardstock, stamp sentiment in black ink.
7. Die cut word from pink cardstock and apply glitter glue.
8. Use white gel pen to highlight tiny flower centers.
9. Time to assemble! Wrap vellum around background image panel, adhering on the reverse. Adhere image panel to black panel and black panel to white card front. Apply Love die cut and white word panel to vellum as shown.
10. Time to embellish! Apply flat back gems as shown.
Playing along with the following Challenges:
Paper Pieced Card
SUPPLIES
STAMPS floral background - unmarked, please contact me if you know who made it!, words -Stampin' Up! Trust God set
INKS Memento Tuxedo Black, Stampin' Up! Going Gray and True Thyme
OTHER ribbon
PAPERS white cardstock, unknown patterened
STEPS
1. Cut white cardstock and patterned paper panel to fit a standard white card in layers as shown. Set aside. (Alternative to patterned paper: ink a white piece of card stock with an intricate patterned stamp and colored inks, or stencil a white panel with various inks and patterns).
2. Using gray ink, stamp background image on white cardstock. (Alternative: you could stamp your own background type image using single flower stamp and stamping some tiny image in between all in the same ink color).
3. Stamp background image on various patterned paper pieces with black ink.
4. Fussy cut flowers and leaves/stems from patterned papers.
5. On white scrap of cardstock, stamp sentiment in green ink.
6. Time to assemble! Adhere all fussy cut patterned paper pieces to image stamped in gray ink on white panel. Wrap a ribbon around image panel as shown, and adhere sentiment panel as shown. Adhere image panel to patterned paper panel, and this to white card front.

Playing along with the following Challenges:
Dare 2B Artzy January Anything Goes
Thanks so much for stopping by, I'll see you here again soon!
Nancy