Search This Blog

Pages

Showing posts with label Kraft Cardstock. Show all posts

May 07, 2026

KRAFTY CIRCLE SQUARES.

 Hi friends!


Playing along with this FRESHLY MADE SKETCHES Challenge
(ends 5/11).
UPDATE!
Kim has honored me with Queen of Clean this challenge!  ❤️


I wasn’t quite sure exactly what direction I was going to head when I first saw the sketch above, but I LOLed at Kim’s mentioning she was going to do squares since there had been lots of circles previously, because I already knew I was going to fill my squares with circles 😂

After I found the paper collection I wanted to use it was just a matter of semi-precision cutting and pasting. Squares were raised slightly with heavyweight scrap card. White elements on the kraft card stock were heat embossed. This card measures approximately 4.75” square. 


SUPPLIES

Hello sentiment stamp - Gina K. Designs Petite Geranium clear set
Best you sentiment stamp - Fun Stampers Journey cling rubber set #SS-0632
splatter dots stamp - Stampin’ Up! random (1998)
patterned paper - Pebbles Spring Fling #733112
white detail embossing powder

And another card I made using my extras:


Thanks for stopping in today!


November 23, 2020

SO MUCH FUN

 Hello there!


SUPPLIES

STAMPS:  Crate Paper Snow and Cocoa, Set #355530, 2019
INKS:  Memento Tuxedo Black, Versamark
OTHER: random colored pencils, Sakura white gelly roll pen, white detail embossing powder, Pazzles Chalkin' Easy pompom


STEPS

1.   Cut kraft cardstock to fit a standard top fold card
2.   Mark off blocks lightly as shown with white pencil
3.   Stamp figures wherever desired with black ink
4.   Sketch snow drift lines lightly and fill in with white pencil, highlighted by blues
5.   Color images in with colored pencils (If you like deep black outlines, restamp with black ink using a stamp positioner, or outline with fine point permanent marker)
6.   Stamp sentiment with Versamark, cover with embossing powder and heat emboss
7.   Use white Sakura pen to add snow dots to blocks and figures
8.   Allow ‘snow’ to dry and shade in squares lightly with white pencil
9.  Glue pompom to the naughty little snowball thrower's mitt
10.  Mount kraft panel to white card front


Playing along with the following challenges:


November 19, 2020

WISH BRIGHT

Big hello!

SUPPLIES

STAMP:  Rare Image Rubber Stamps (from my own sheets of rubber - this is from the Vintage Children sheet.  See sidebar for more samples.  If you have interest is owning one you can email me nancyj208@gmail.com :o)

INKS:  Versamark, Momento Tuxedo Black

PENCILS:  assorted including Prismacolor

EMBOSSING POWDER:  PSX Silver Pearl (I know! probably an antique!)

EMBELLISHMENTS:  Stampendous Diamond Dot Stickers dots, PSX paper, rock, scissors by Duncan star 


STEPS

1.  Cut kraft cardstock to size
2.  Stamp figure in lower corner and color in with pencils
3.  Draw a faint border in blue pencil with a ruler as guide
4.  Use blue pencils to fill in sky, starting with darkest in corner
5.  Affix bling elements as shown
6.  Fill in around figure with the two darker blue pencils
7.  Ink sentiment with Versamark and stamp as shown.  
8.  Cover sentiment with silvery powder and heat emboss
9.  Affix image panel to white card base


There is some glare from the wax in the colored pencils.  Very tricky to get an angle where the silvery embossing showed in a photo without the accompanying glare. 


This image is from a stamp sheet copyright 2011 and I have been using it that long, but is still available so not sure if that counts per Challenge rules?!


Best wishes!!


October 28, 2020

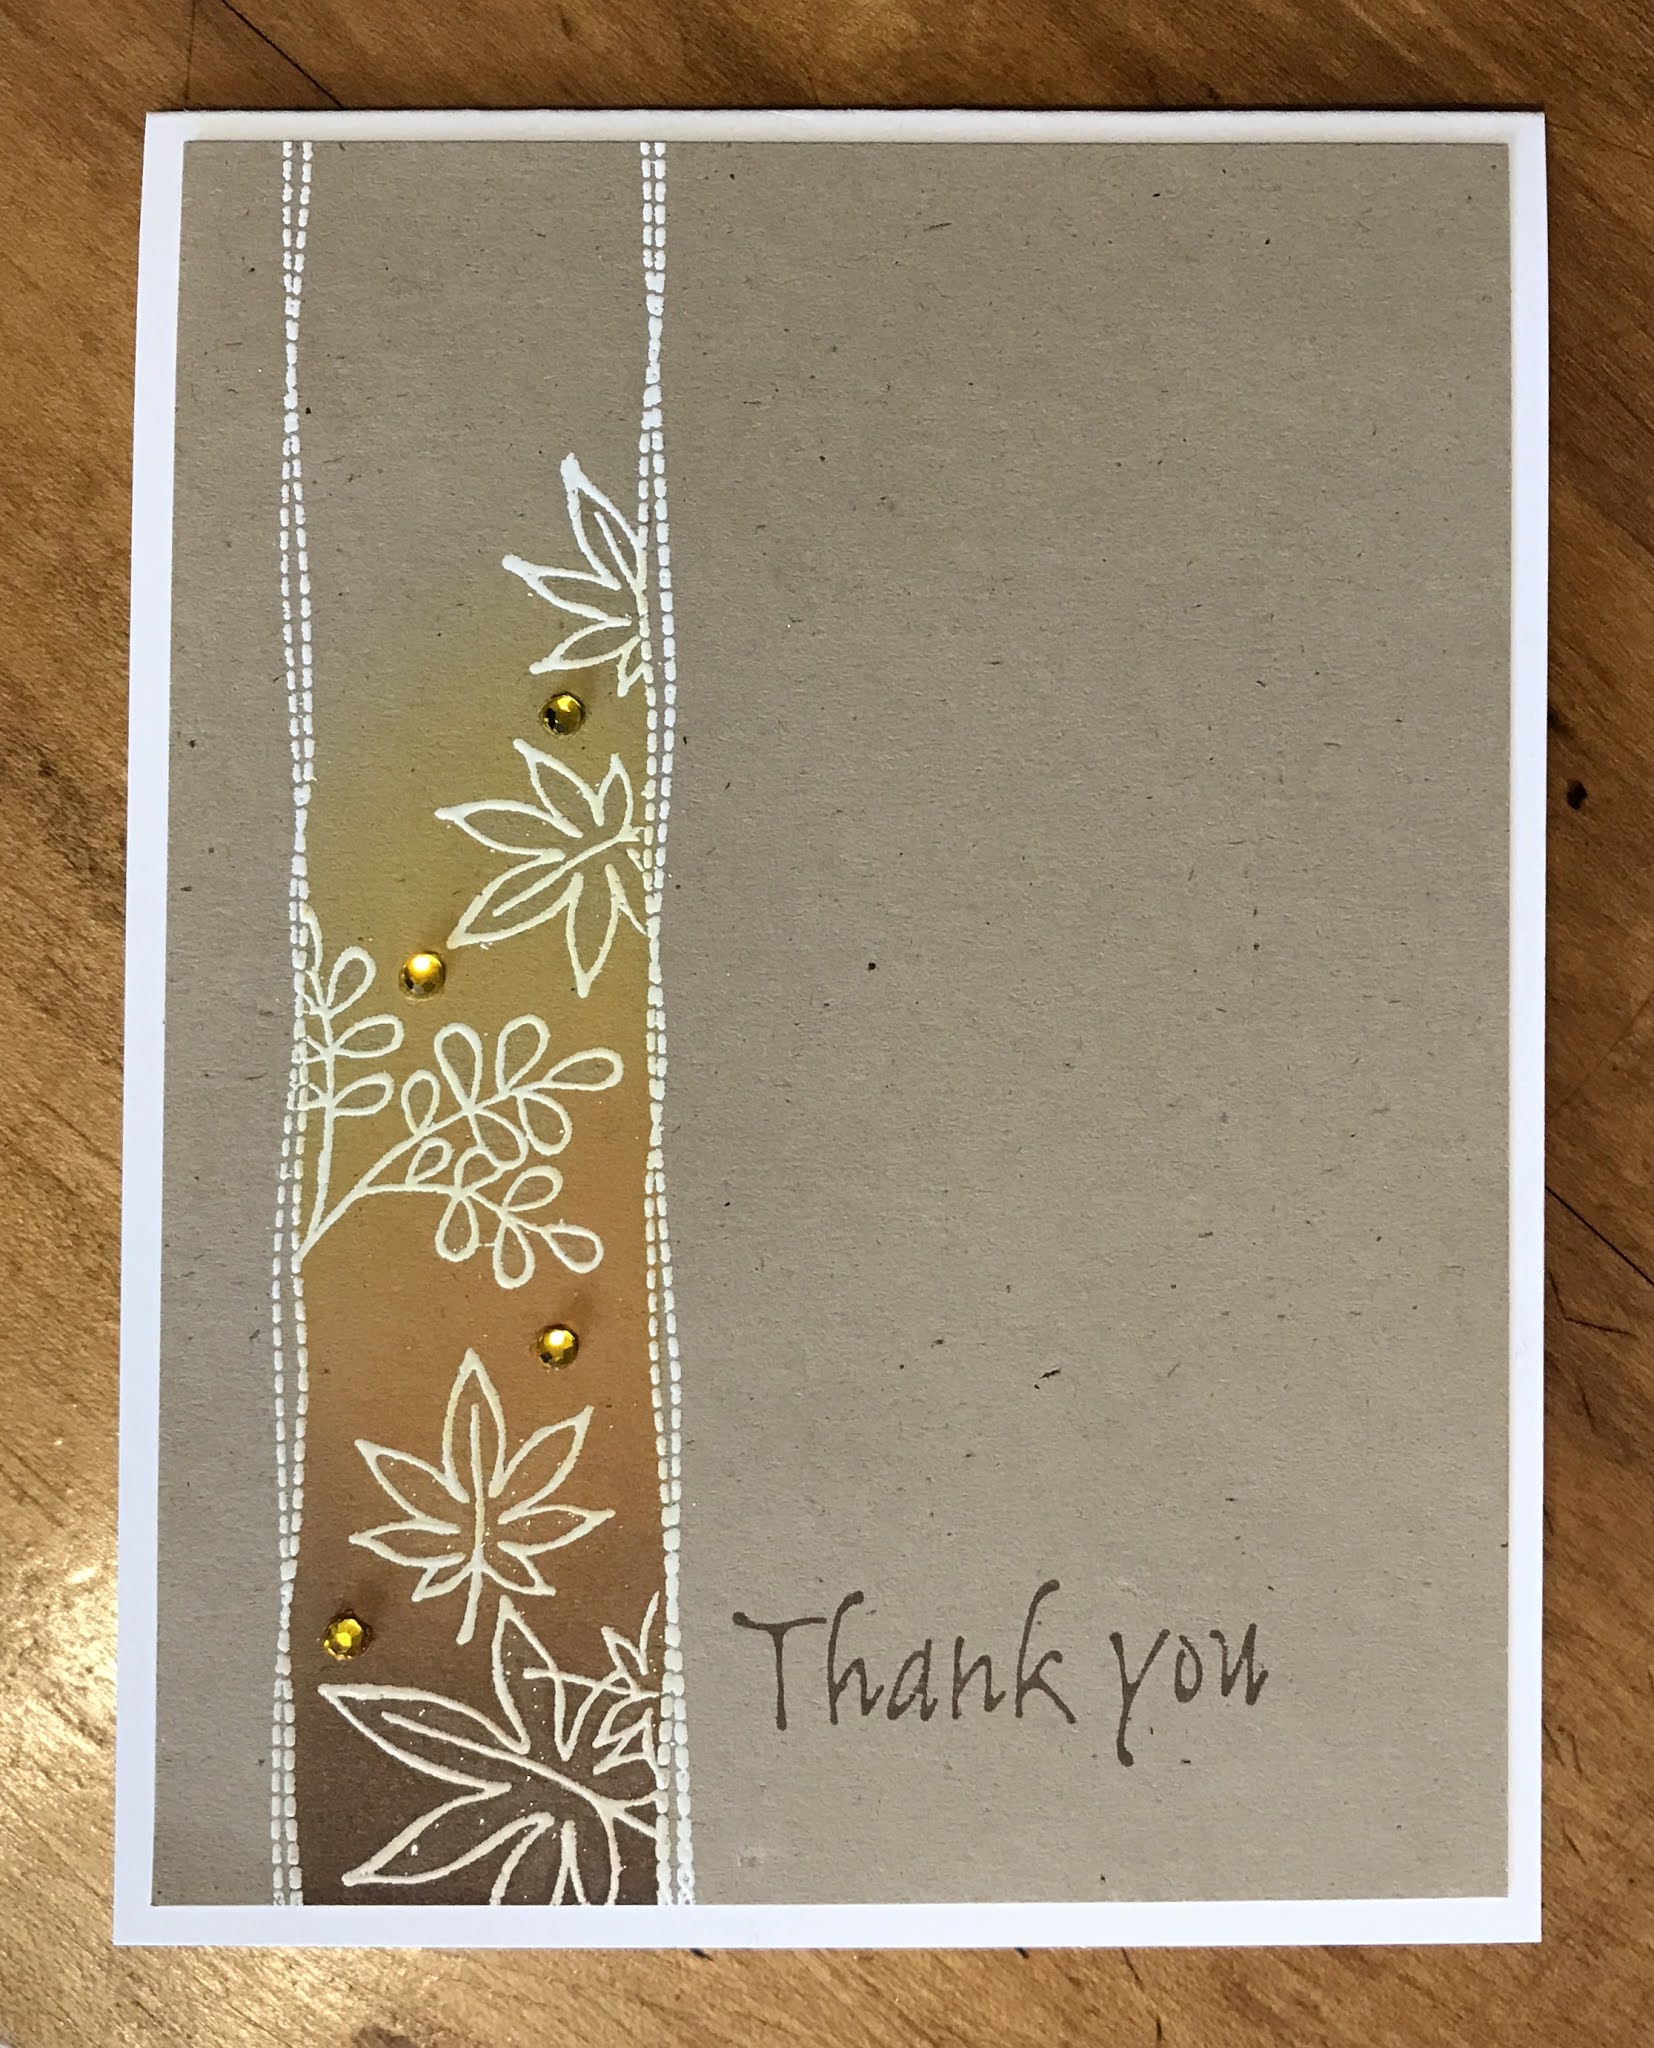
AUTUMNAL THANK YOU

Hello there!


(this kraft cardstock is lighter in person)

SUPPLIES

STAMPS - Stampin' Up! Artfully Asian set
INKS - Distress Oxide, Versamark 
PAPER - Neenah Solar White 110 lb, generic kraft
OTHER - white embossing powder, flat-back gems, liquid sparkle pen, blending brushes, heat gun for embossing


STEPS

1.  Trim kraft cardstock to fit white card front.
2.  Stamp border lines on kraft with Versamark and heat emboss with white powder.
3.  Mask border on both sides with Post It's, etc.  Stamp leaves in Versamark and heat emboss with white powder.
4.  Remask panel as above.  Using blending brushes, lay inks down in order shown.
5. Apply gems, and sparkle to leaves if desired.
6.  Stamp sentiment in darkest ink color.
7.  Affix kraft panel to white top fold card.
8.  Send card to your favorite person!


Thanks for stopping by - have a blessed rest of your day!  :o)