Search This Blog

Pages

Showing posts with label Embellishments. Show all posts

December 04, 2020

BELIEVE

Holiday hello all!


Inspired by and playing along with the Challenges below:

Shabby Chic and Vintage Style


SUPPLIES

STAMPS  Hero Arts candles (partial: I omitted the flame portion),  Basicgrey flourishes, Stampin' Up! Harlequin background
DIE CUTS   Momenta #32265 R8
INKS   Distress Antique Linen, Memento Tuxedo Black, Staz-on White
MARKERS   Copic assorted greens
EMBELLISHMENTS   Jolee's Boutique flat back black faceted gems, random flat back reflective red gems, sheer gold ribbon, acetate sheet
CARDSTOCK   mirror gold, random white
OTHER   Pentel Slicci gold pen, Wink of Stella glitter brush pen


STEPS

1.  Trim acetate panel and score to side fold card size
2.  Cut 4 white cardstock panels to the size shown
3.  Stamp one white panel with harlequin background stamp and Distress Antique Linen ink
4.  Ink candles stamp with Memento Tuxedo Black ink (I omitted the flames) on previously stamped panel and again on scrap white cardstock
5.  Color the candles on scrap cardstock with black and gold pens as shown, and trim around each candle.  Adhere to image panel
6.  Color in the leaves with Copic markers and adhere flat back gems where berries are stamped
7.  Ink flourishes with black ink and stamp in desired pattern. Coat with Wink of Stella when ink is dry.
8.  Stamp large flourish in white Staz-on onto acetate cardfront
9.  Use make-up sponge to add ink to edges of cardfront with white Staz-on
10.  Apply ribbon as shown to image panel and along card fold 
11.  Die cut sentiment from mirror gold cardstock and apply over ribbon as shown
12.  Apply flat back faceted black gems as shown


 Thanks so much for being here!

December 03, 2020

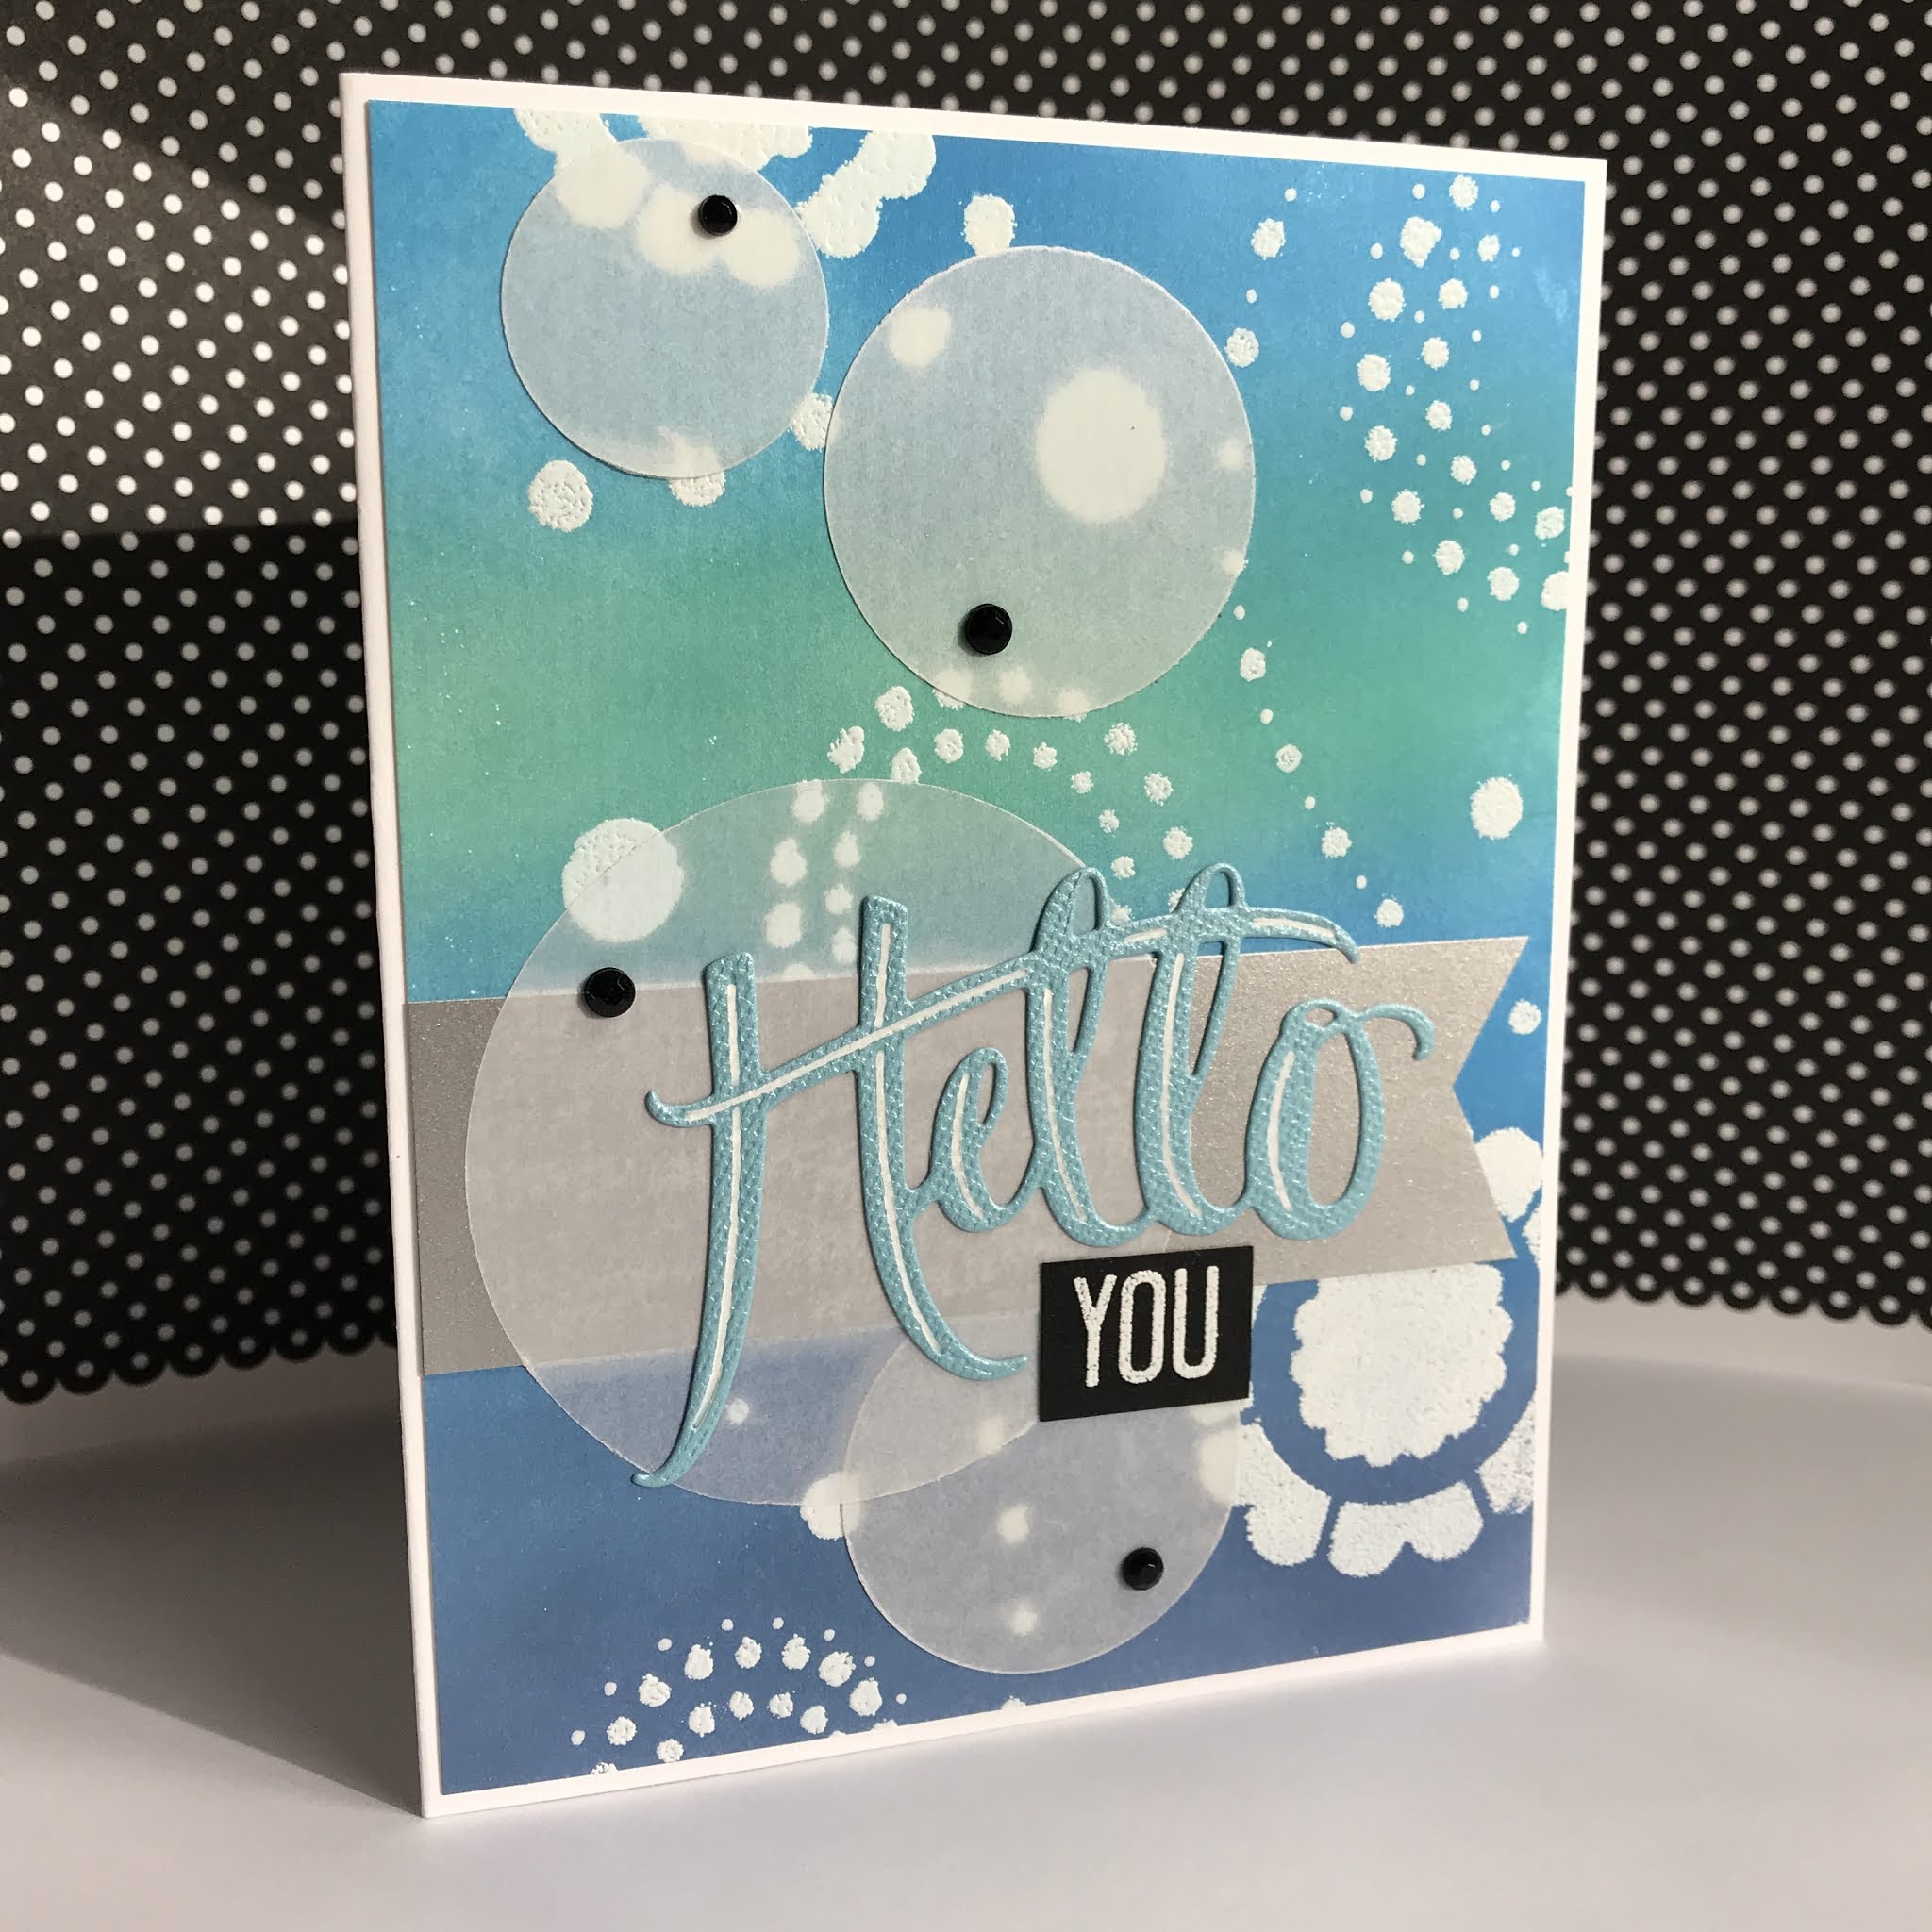
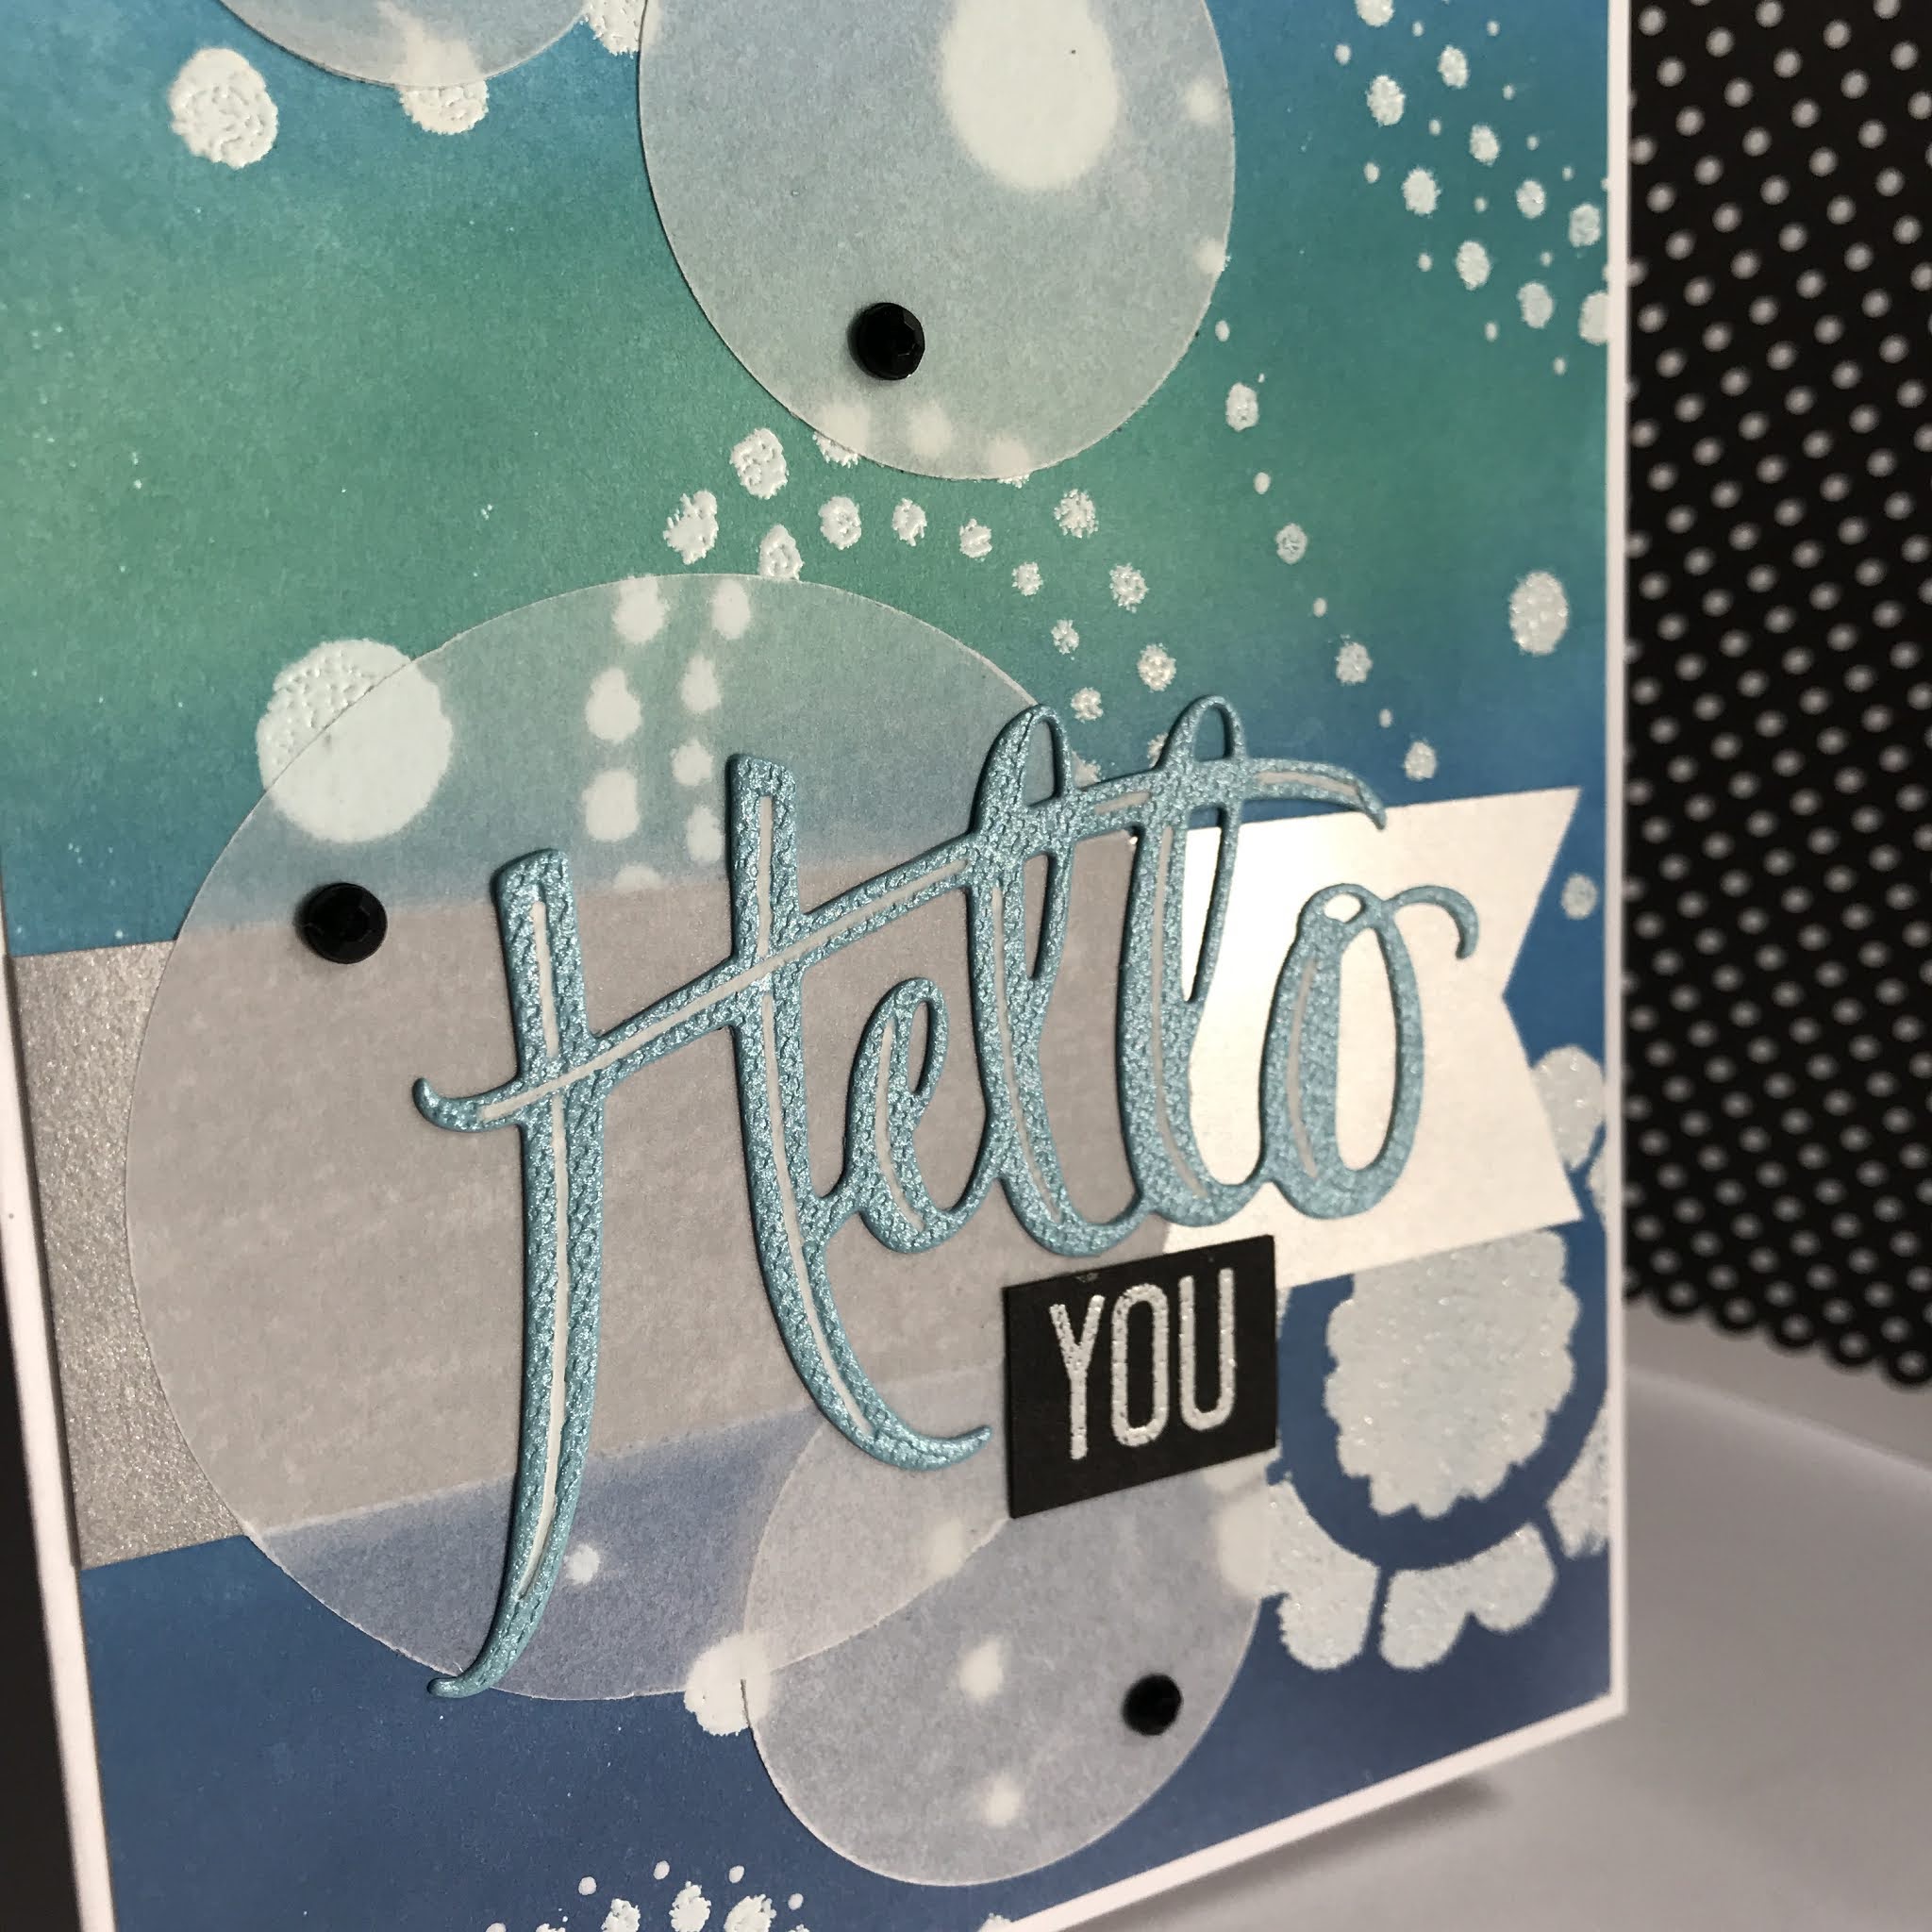
CIRCULAR HELLO

Hello you!

(Whites and vellum on this card show up less yellow in real life)


And here's a variation with snow:


SUPPLIES

STAMPS  word you (partial stamping) - Stampin' Up! "Hooray It's Your Day" set, snowflake - unknown
DIE CUT  hello - ekSUCCESS "Word Set" #54-80027, (or punches) generic circles 
STENCIL  Complements border stencil - "Galaxy" 
INKS  Versamark, Distress Oxides: Faded Jeans, Salty Ocean & Peacock Feathers
CARDSTOCKS  generic heavyweight white, black, matte silver, blue textured, vellum
OTHER  flat back faceted black gems - Jolee's Boutique, white embossing powder


STEPS

1. Lay stencil over white cardstock and sponge Versamark pad over open areas
2.  Sprinkle Versamarked images with white embossing powder and heat emboss
3.  Use blending brushes to ombre your colors over embossed images
4.  Use soft cloth to wipe color off of embossing
5.  Use circle punches or die cuts to cut circles from vellum
6.  Cut strip from silver cardstock and notch one end with scissors
7.  On black cardstock, stamp YOU with Versamark and emboss with white powder
8.  Run HELLO die with blue textured cardstock through embossing/cutting machine of choice
9.  Highlight divets in die cut with white gel pen
10.  Apply Xyron or other clear glue of choice to all circles
11.  Place elements on image panel as shown
12.  (Optional) Add snowflakes in black ink


Playing along with the following Challenges:

My something sparkly is the faceted black gems and silver paper banner  :o)


 Thanks for coming by today!

November 21, 2020

ONE DAY

A peaceful hello!

I thought this was an especially calming sentiment for the times we're in. Easy to say and hard to do, I know.


SUPPLIES

Stamps: fern - unknown (it was gifted to me unmounted on cling), sentiment - I Brake for Stamps
Ink: Distress, Versamark
Embossing Powder: Embossing Arts in Silvery Pearl
Embellishments: Stampin' Up! flat back mini pearls, random gold sequins
Cardstock:  Neenah Classic Crest Solar White 110 lb, random matte gold


STEPS

1.  Cut white and gold panels to size for a side fold white card
2.  Stamp fern in Versamark ink and heat emboss with powder
3.  Stamp sentiment in Distress ink
4.  Using blender brushes, apply inks as shown and wipe excess off image
5.  Apply sequins and pearls as shown with liquid glue
6.   Layer panels to white card front as shown


Playing along with the following Challenges:

I chose the bottom row: Sparkle and Shine, Sentiment and  Clean and Simple 

I chose the vertical row on the right: Sentiment, Emboss and Gold


Thanks much for being here today!


November 19, 2020

WISH BRIGHT

Big hello!

SUPPLIES

STAMP:  Rare Image Rubber Stamps (from my own sheets of rubber - this is from the Vintage Children sheet.  See sidebar for more samples.  If you have interest is owning one you can email me nancyj208@gmail.com :o)

INKS:  Versamark, Momento Tuxedo Black

PENCILS:  assorted including Prismacolor

EMBOSSING POWDER:  PSX Silver Pearl (I know! probably an antique!)

EMBELLISHMENTS:  Stampendous Diamond Dot Stickers dots, PSX paper, rock, scissors by Duncan star 


STEPS

1.  Cut kraft cardstock to size
2.  Stamp figure in lower corner and color in with pencils
3.  Draw a faint border in blue pencil with a ruler as guide
4.  Use blue pencils to fill in sky, starting with darkest in corner
5.  Affix bling elements as shown
6.  Fill in around figure with the two darker blue pencils
7.  Ink sentiment with Versamark and stamp as shown.  
8.  Cover sentiment with silvery powder and heat emboss
9.  Affix image panel to white card base


There is some glare from the wax in the colored pencils.  Very tricky to get an angle where the silvery embossing showed in a photo without the accompanying glare. 


This image is from a stamp sheet copyright 2011 and I have been using it that long, but is still available so not sure if that counts per Challenge rules?!


Best wishes!!


November 15, 2020

BIG SENTIMENT

Welcome to my blog!


SUPPLIES

STAMP:  DeNami 
INK:  Versamark
MARKERS:  Copic
EMBELLISHMENTS:  Stampin' Up! flat back pearls
OTHER: gold detail embossing powder


STEPS

1.  Cut white cardstock to fit top folded cardfront.
2.  Stamp words in Versamark ink.
3.  Cover ink with gold detail embossing powder and heat emboss.
4.  Fill in open word with markers, using a straight edge as a guide.
5.  Use white gel pen to add highlights to colored letters.
6.  Affix white panel to cardfront with foam tape.
7.  Add embellishments as shown.


 Thanks for visiting!

JOY BUBBLES

Welcome!


 SUPPLIES

Stamp - Inkadinkadoo Swirly #9990 joy wreath

Stencil - Taylored Expressions Bubbly #TESN07

Ink - Stampin' Up! Real Red, Versamark

Markers - Copic

Other - Gelly Roll white pen, flat back crystals, black embossing powder


STEPS

1.  Stamp joy wreath on white cardstock with Versamark ink.
2.  Cover ink with black detail embossing powder and heat emboss.
3.  Color wreath in with various alcohol ink markers.  
4.  Add highlights to berries with white pen.
5.  Tape stencil to panel and using a blending brush apply red ink as shown, fading out as you go.
6.  Apply flat back crystals with glue.
7.  Mount white panel to red topfold card.

 Your visit is much appreciated!  Be blessed  :o)

FESTIVE BLIZZARD

Welcome!!


SUPPLIES

Stamp - word "Winter" Hero Arts #C3038
Die - Momenta Set #32265 R8
Stencils - American Traditional #BL-130 Snowflakes, Plaid Folk Art 6 Pack - Dots 
Ink - Distress Ink Stormy Sky
Embossing Powder - Creations Unlimited French Lilac
Cardstock - random 
Embellishments - random flat back crystals, sequins


STEPS

1.  Cut white cardstock to size. Tape stencil on top, using low-tack tape.
2.  Using blender brush, apply ink to white cardstock, starting in corner and fading out as you go.
3.  Remove stencil and wipe card panel down with pre-embossing nonstick pad.  
4.  Lay snowflake stencil in desired positions and apply Versamark ink direct from pad.  
5.  Sprinkle snowflakes with embossing powder and heat emboss.
6.  Run "happy" die and silver paper through diecut machine.  Apply to card with glue.
7.  Stamp "winter" only in blue ink on cardfront.
8.  Glue gems and sequins to white cardstock.
9.  Mount white cardstock to topfold blue card.


 Thanks for visiting and happy crafting!!

October 28, 2020

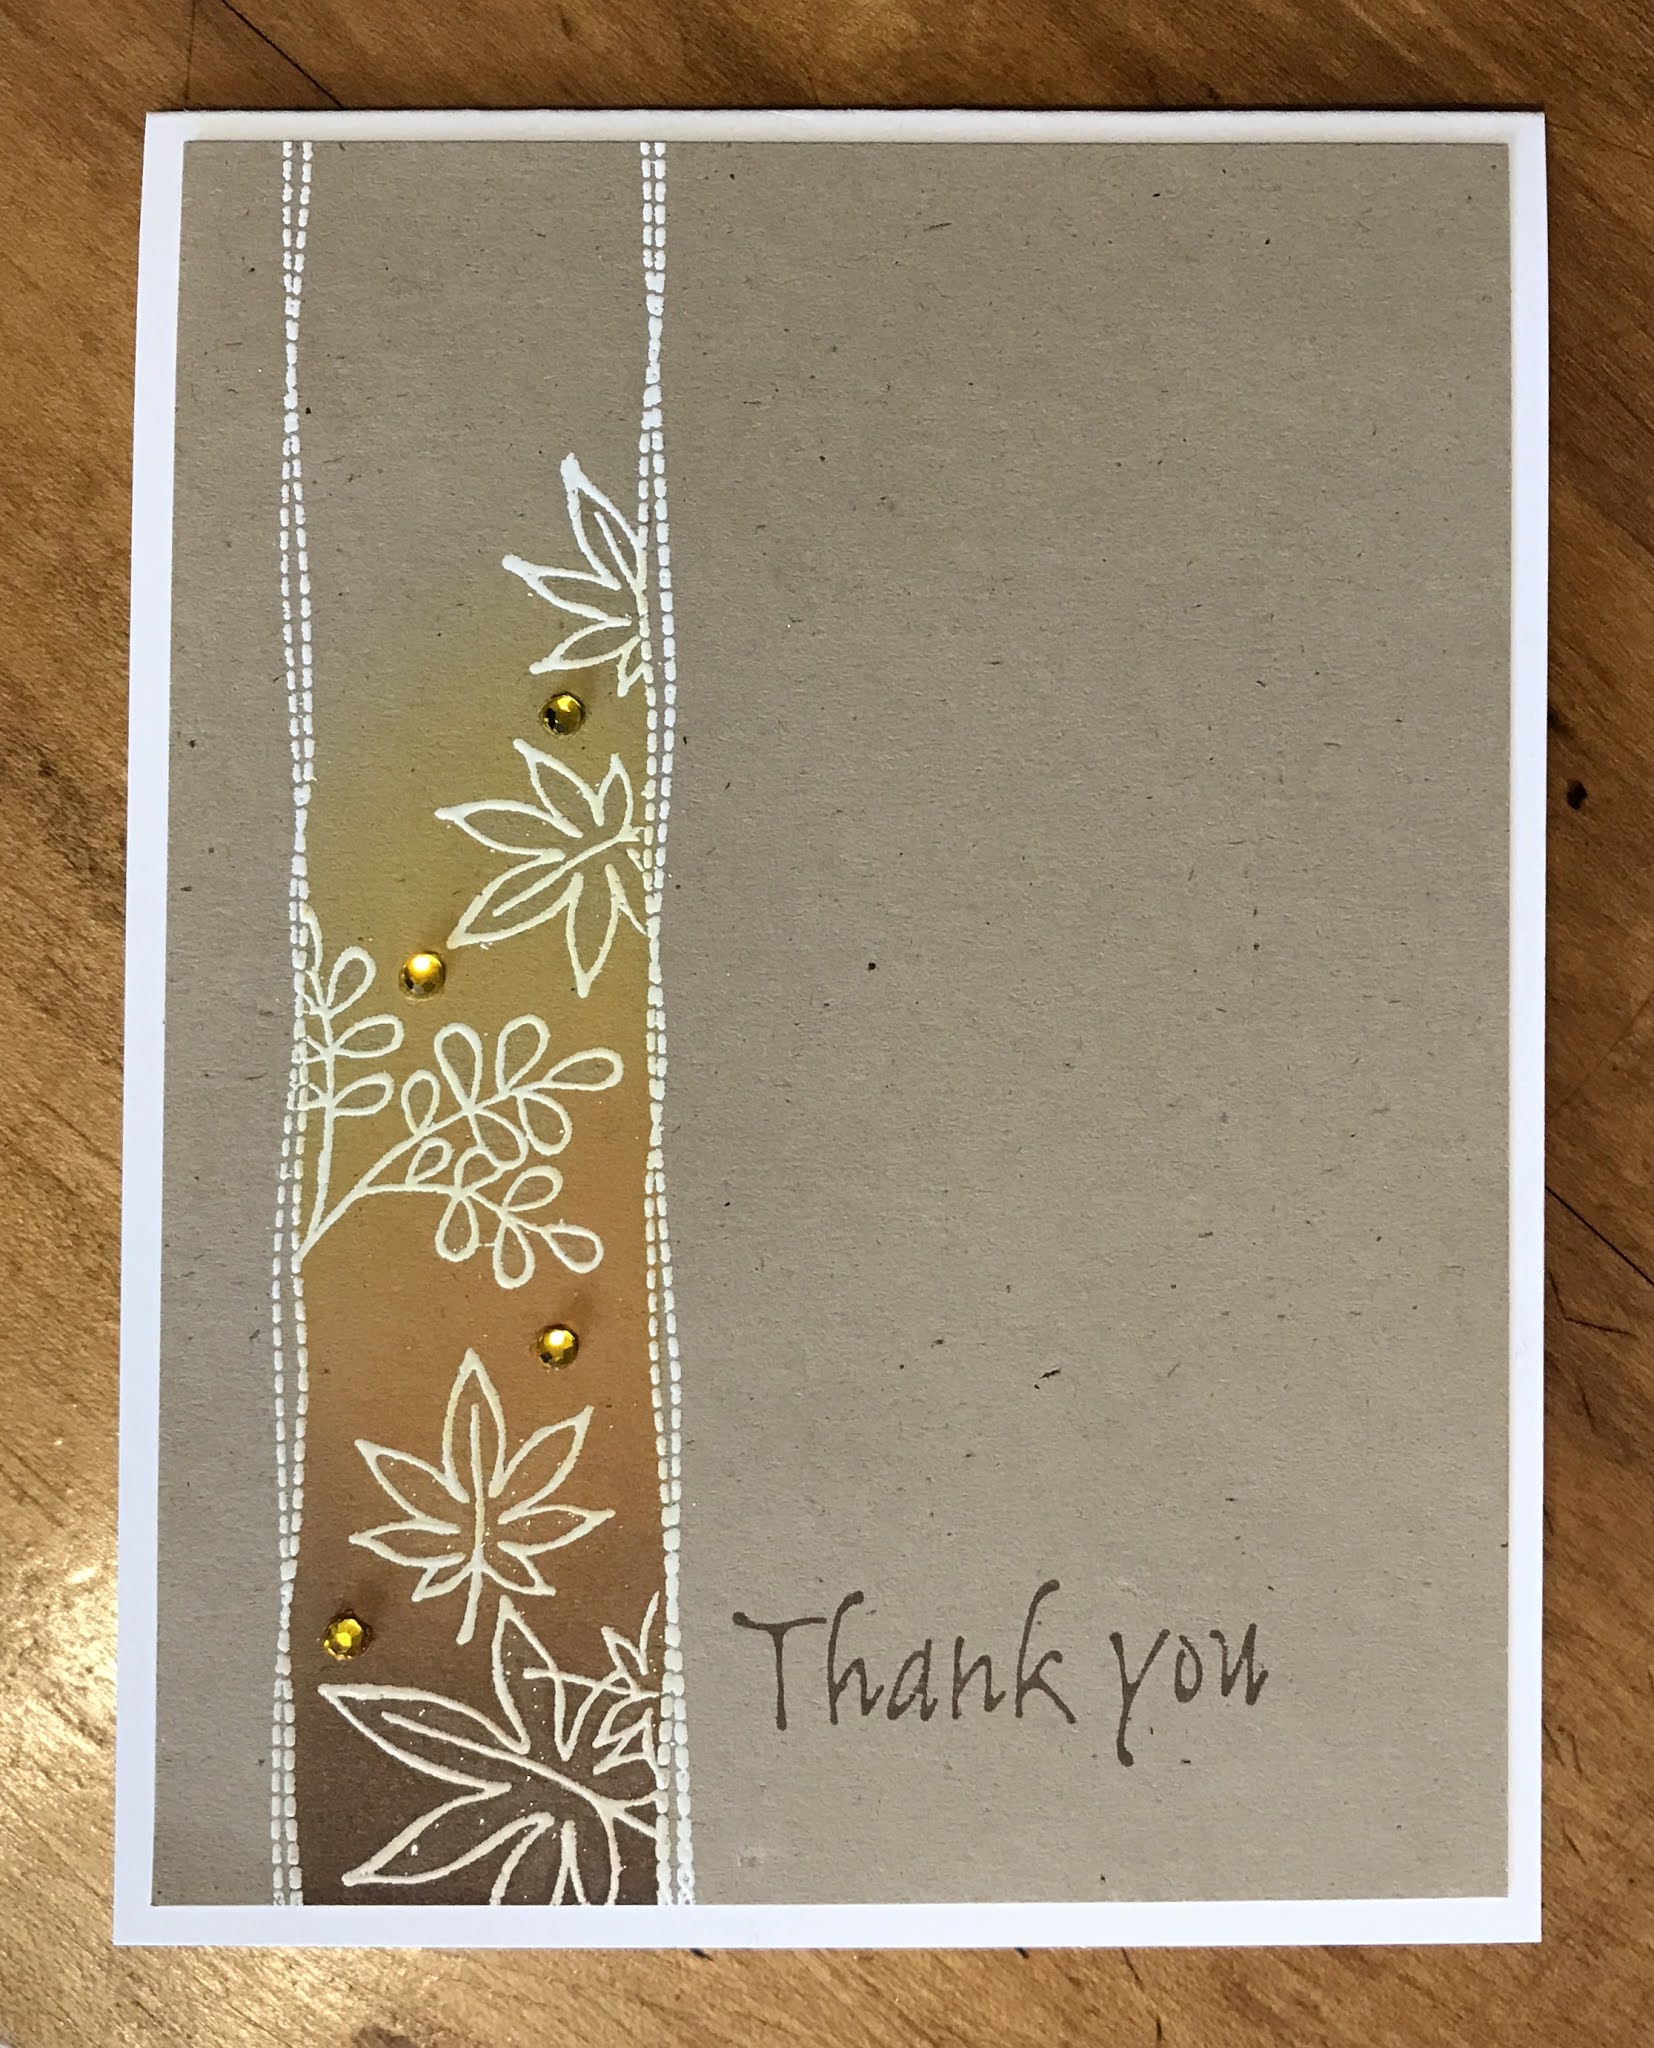
AUTUMNAL THANK YOU

Hello there!


(this kraft cardstock is lighter in person)

SUPPLIES

STAMPS - Stampin' Up! Artfully Asian set
INKS - Distress Oxide, Versamark 
PAPER - Neenah Solar White 110 lb, generic kraft
OTHER - white embossing powder, flat-back gems, liquid sparkle pen, blending brushes, heat gun for embossing


STEPS

1.  Trim kraft cardstock to fit white card front.
2.  Stamp border lines on kraft with Versamark and heat emboss with white powder.
3.  Mask border on both sides with Post It's, etc.  Stamp leaves in Versamark and heat emboss with white powder.
4.  Remask panel as above.  Using blending brushes, lay inks down in order shown.
5. Apply gems, and sparkle to leaves if desired.
6.  Stamp sentiment in darkest ink color.
7.  Affix kraft panel to white top fold card.
8.  Send card to your favorite person!


Thanks for stopping by - have a blessed rest of your day!  :o) 


October 27, 2020

REALLY SCARY HALLOWEEN CRITTERS

Hey there!


SUPPLIES:

STAMPS - Inkadinkado Ghouls & Goblins set  #98546 (2008)
INKS - Distress, Memento Tuxedo Black, Versamark
MARKERS - Copic
CARDSTOCK - Neenah Solar White 110 lb, assorted generic colored
FIXATIVES - Gina K Connect glue, 3M ATG tape
OTHER - random plastic label templates/stencils, googly eyes, flat back gems, blending brushes, white embossing powder, heat gun 


STEPS:

1. Trim white cardstock to size.
2.  Tape label template in desired position.
3.  Use blending brushes to apply Distress inks as shown.  Allow to dry.
4.  Use Memento black ink to stamp critter images on white cardstock scraps and color in with markers.
5.  Fussy cut around images.
6.  Stamp words on backgrounds as shown.  For mouse card emboss words on black panel with white powder.
7.  Place layers on card bases and affix.  
8.  Attach googly eyes with glue.  Color with alcohol markers if desired.
9.  Attach self-stick flat-backed gems and press firmly.
10.  Sit back and enjoy your cards :o)


Thanks much for visiting and have a blessed day!
Nancy
 

February 11, 2020

1 Stamp, 2 Looks * Floral Cornucopia


SUPPLIES:

Stamps - Stampendous flower arrangement, Stampin' Up! sentiment
Inks - Versamark, Memento Tuxedo Black
Markers - Copic
Other - flat back rhinestones, black detail embossing powder, acetate card (I have heard good things about Hero Arts' but I just used a transparency sheet I had on hand), Gina K. Connect glue

TECHNIQUE:

1.  Stamp image in Versamark onto white cardstock. Emboss with black powder.
2.  Color in image with Copic markers, including pale blue around image. 
3.  Stamp sentiment
4.  Apply rhinestones
5.  Trim image as shown, and cut 3 more pieces of white cardstock to match size.
6.  On acetate card, mount image panel to cardfront, another on the reverse it on the inside cover, and the same steps for the inside and back of the card.


Playing along with TTCRD Anything Goes


Another card with warm tones instead of cool:


SUPPLIES:

Stamps - Stampendous flower arrangement, Stampin' Up! sentiment
Inks - Versamark, Stampin' Up! brown
Markers - Copic
Other - flat back half pearls, gold detail embossing powder, Gina K. Connect glue, tan/ochre watercolor, white gel pen, Wink of Stella sparkle pen

TECHNIQUE:

1.  Stamp image in Versamark onto white cardstock. Emboss with gold powder.
2.  Watercolor around image and scrunch paper up if it refuses to dry flat!  Edge with brown ink pad.
3.  Color in image with Copic markers. Highlight with white gel pen and sparkle pen on main flower.
4.  Stamp sentiment in brown ink.
5.  Apply half pearls


Thanks for stopping by! 
May you be blessed today, and may you be a blessing...

Nancy

Feminine Birthday Card


SUPPLIES:

Stamps - Stampendous flower, sentiment from Stampin' Up! words set
Inks - Distress Oxide, Versamark
Other - Wink of Stella pen, pink colored pencil, white embossing powder, enameled metal dot embellishment stickers, blender brushes, Gina K. Connect Glue
Die Cuts - EKSuccess Word Set #54-80027

TECHNIQUES:

1.  Ink stamp with Versamark ink and stamp onto white cardstock. Emboss with white powder.
2.  Use blender tool to add color over embossing. I started with yellow in center, then coral, then pink, then orange, then yellow again out to the corner as shown.
3.  Make a mask of flower and cover image.  Drop water onto ink background and let dry.
4.  Remove mask and shade flower petals with colored pencil (thanks for the idea, K Werner Designs via YouTube! :o)  Fill in center with Wink of Stella sparkle pen.
5.  Die cut happy three times from white cardstock and once from black.  Use glue to adhere diecut word in a stack, slightly off-setting the black (thanks to Jennifer McQuire Ink and K Werner Designs on YouTube for demonstrating this stacking technique so well in multiple videos!)
6.  Stamp word on white cardstock using black ink and trim into rectangle.
7.  Adhere all embellishments to cardfront.

Here's another variation, same stamp and colors:


SUPPLIES:
Same as above except for Die Cut, which is Tonic Studios Essentials Will's Hand "Blessed" Miniature Moments Die Set.  Sentiment is two from American Crafts Creative Devotion #349282


Thanks for stopping by!
May you be blessed today, and may you be a blessing...

Nancy


December 14, 2019

Joy Trees


STAMPS: 
Merry Christmas phrase - Stampin' Up! Teeny Tiny Wishes set
swirls - Stampin' Up! French Flourishes background 

INKS:  
Versamark, Memento Tuxedo Black, Distress Peeled Paint, Shabby Shutters & Black Soot

OTHER:
background paper - Stampin' Up! 
die-cut Joy - Momenta
die-cut trees - Stampin' Up! Perfect Pennants
half-pearl accents - Stampin' Up!


STEPS:
1.  Die-cut pennants and blend inks as shown.  Allow to dry.
2.  Arrange into desired grouping and emboss background stamp in Versamark over all at the same time.  
3.  Melt embossing powder.
4.  Cut paper to cardfront size and adhere.
5.  Adhere trees to cardfront over paper and add Joy die-cut and half-pearls.
6.  Stamp Merry Christmas in black ink and trim cardstock as shown.  Adhere to cardfront.


Thanks for stopping by!  May you be blessed today, and may you be a blessing....