Search This Blog

Pages

Showing posts with label Vellum. Show all posts

July 27, 2026

FAUX WATERCOLOR PETALS

Hi friends!


Playing along with this BEAUTIFUL BLOSSOMS challenge 
Anything Floral Goes with Optional INSPO photo #43 (ends 8/1)


with Optional INSPO photo (ends 7/31)


I came across this beautiful technique on the YouTube channel Positively Papercraft. The video is titled 5 Ways with Vellum (from about two months ago).

It’s incredibly hard to get a true-to-life picture of this card, but I did my best. 


THE PROCESS

Starting off: To create the colored vellum paper (above) used for the flower, I colored in short stripes of various alcohol markers. When the sheet was full of color, I spayed it with isopropyl alcohol - a bit too much, I think, and a couple marker colors weren’t dark enough. My header does mention arty experiments, and I like to bring projects to you as I go along, even when they aren’t perfect. 


As the alcohol was drying, I stenciled a white panel with orange and purple inks to pick up the colors in the petals. 

After the ink was dry, I applied the double sided adhesive to the brighter side of the vellum (shown above), leaving the backing sheet on. I stamped the flower in Versamark ink on the duller side of the vellum and then heat embossed it with detail black powder.  (I think I may have been a bit too heavy-handed with the anti-static powder because some parts of the lines rubbed off and I had to fill them in with a black sharpie fine point marker.)

The flower was die cut, and applied to the card front as shown, over the stenciling. 

Finishing up: The sentiment was die cut from gold glitter card stock, and adhered as shown. As soon as it was in place, I had instantaneous gluer’s remorse - I wished I had scooted it over further into the purple to have the front of the H over the stem. But Bearly Art glue has a remarkably fast drying time on paper. A few gold flat back gems were glued on near the petals.The decorative panel was mounted to a pale purple panel, and then onto the white card front


SUPPLIES

flower stamp & die - Altenew Wonderland set
hello die - Altenew Simply Hello
distressed dots stencil - Stampers Anonymous TH Collection Bubble #THS002
alcohol markers
isopropyl alcohol
vellum
double-sided thin adhesive 
gold flat back gems
gold glitter card stock


Thanks for stopping in today!

July 09, 2026

SELFIE BEAR

 Hi friends!


Playing along with this FRESHLY MADE SKETCHES Challenge
(ends 7/13).
UPDATE:
Thrilled to get a shout-out from Cecile as a Princess of Clean!

and this CRAFT ROCKET Challenge #138 Animals
 (ends 7/31)

Well I just love Donna’s Polaroid theme! Unlimited possibilities, but you know I’m going to pick a sassy animal every chance I get 😂


THE PROCESS

Starting out: I built my little bear using kraft card stock and a couple patterned papers. He got a bit of flush on his cheeks using a mini blending brush and pink Distress ink. The phone was die cut from silver card stock, and lined with irredescent vellum. The frame was cut using a couple basic rectangle dies. I lightly blended some blue behind where his head would be.  Red stars were punched out and affixed as shown. 

Next: I needed to computer print the sentiment I had in mind, and I mounted that on some heavyweight card stock, and then to the frame

Finishing up:. The frame was foam mounted, and also the bear and phone. I actually couldn’t find a star embossing folder so apparently I don’t own one 😂 In lieu off, I punched out some larger stars and glued them down randomly. 

*TIP of the DAY*
You can use nearly any die or punch to create the look of an embossing folder. Just cut out shapes matching your background paper, and glue down tightly!


THE SUPPLIES

bear dies - Dress My Craft Cute Teddy Bear #DMCD5742
phone dies - Miniature Mobiles #DMCD7205
rectangle dies - Spellbinders Nestabilities
star punches - assorted from stash
blending brushes
random patterned paper
assorted colored card stock
silver metallic cardstock
iridescent vellum 


Thanks for stopping in today!


March 19, 2026

SPRING CIRCLES.

Hi friend!


Playing along with this Freshly Made Sketches #728 challenge (3/23).


and this Little Red Wagon Challenge #850 - Signs of Spring (3/24).


I love to have a crafty session using up scraps!  I keep all the off-cut strips in a cup near my desk, and every once in awhile I dump them all out and use this simple method. I start by placing Scrapbook.com 4” double-sided adhesive on a scrap piece of white cardstock about 8” long (this combo can be too thick for some dies to cut cleanly so you may want to try copy paper first), then I peel the protective layer back a few inches at a time as I work down the strip, laying my colored scrap strips as shown. It can be tricky at first but I have the best results if the top strip is lined up exactly with the top edge straight across. Once the strips are all laid down, the panel can be embossed, die cut or stamped on - so many options! I try to include some metallic strips in each panel for added interest. 

On this card the butterflies are two layers - a base of colored card stock and an over layer of white vellum. The sentiment is gold embossed. Two circles are foam mounted, and also the tips of some leaves. 


SUPPLIES

circle dies - Crafter’s Companion Gemini Elements 

leaf dies - Sizzix Thinlits set #664164

butterflies - Sizzix Embosslits Beautiful Wings

sentiment stamp - Creative Worship Stamps Be Encouraged 2


Thanks for stopping in today!


February 08, 2022

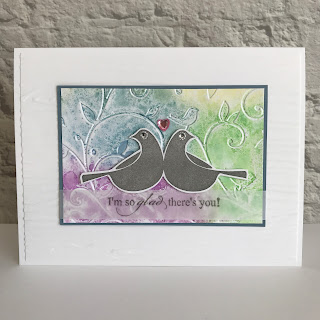
GUEST DESIGNER CARDS

Hello! 

So thrilled to be sharing these cards with you as Guest Designer at the TRY IT ON TUESDAY challenge blog.  Hope you'll head on over as soon as you get the chance, and join in with a card of your own  :o)


TECHNIQUES

inked embossing folders (colorful panel) *
basic stamping  (birds)
stamping on vellum  (sentiments) **
flat back gems  (hearts, eyes)
dry embossing  (white woodgrain, colorful panel)


* My process for the colorful panels was to cover one side of the inside embossing folder with ink.  Because I rarely clean my blending brushes they hold a lot of Distress Oxide ink.  I have one brush for each color family.  I just grabbed them from the jar and applied them to the folder in a rainbow type of order. I spritzed the panel with water and ran it through the embossing machine. This is one panel, cut in two.

** I find it's always best to use Staz On ink on vellum - I've never had it rub off, and you don't have to deal with warping from heat embossing.


SUPPLIES 

birds stamp - Fun Stampers Journey Winter Doves #SS-0523 
sentiment stamps - The Angel Company TAC #T895
embossing folder - Sizzix Big Shot Stampin' Up! Woodgrain, Cuttlebug (foliage)
inks - asst Distress Oxides, Stampin' Up! Going Gray, Staz On Gray
gems - Park Lane


Sharing these cards with the following Challenges:

Love is in the Air  (ends 2/14).

Anything Goes with Optional: Critter  (ends 3/5).


Thanks for stopping by - I love having you here!


December 06, 2021

BOLD BLUE SNOWFLAKE

  Welcome to this 29 day series of Christmas cards for the 2021 holiday season - so glad you're here with me! Hope you get lots of inspiration and entertainment right up to Christmas day...


This card actually uses the scrap white cardstock from the aqua and stripes snowflake card I posted a few days ago.  (It's pure white in real life.)


TECHNIQUES

die cutting (snowflake)
 heat embossing (sentiment)
pop dotting (sentiment panel)


SUPPLIES

snowflake die - Sizzix Originals "Snowflake #2"
sentiment stamp - Penny Black "Merriest" #3507F
embossing powder - Creations Unlimited "Twilight"


Sharing this card with the following Challenge Blog:

The Paper Players #pp570  (ends 12/10)!


Update:


Thank you for stopping in today and see you back here tomorrow!


January 28, 2021

ONE ITEM, MULTIPLE LOOKS! SERIES {#6} Featuring Flower Stamp

 Welcome to my new series One Item, Multiple Looks!  

 I'm really excited to inspire myself and others to

* explore and stretch the supplies we own 
* let go of anything we don't love
* choose wisely when repurchasing 
*  explore the endless techniques and styles available to us

I will be posting one new grouping featuring a different specific crafty item each week for at least the month of January or so.  To access all posts in this series just click on the topic One Item Multiple Looks! in the sidebar Index of Posts...  Hope you enjoy!

This week's item is a gorgeous flower stamp by Stampinback:


Blue on Kraft Card


SUPPLIES

STAMPS   flowers - Stampinback, words - Hero Arts Prayers Stamp & Cut  #DC183
INKS   Memento Tuxedo Black, Versafine Onyx Black, Versamark 
DIE   word - Hero Arts Prayers Stamp & Cut  #DC183  
EMBELLISHMENTS   random white enamel dots
OTHER   colored pencils, white gel pen, white detail embossing powder
CARDSTOCK   dark gray, kraft and white 


Let's get started!

STEPS 

1.  Cut cardstock panels to fit a standard white card in layers as shown. Set aside.
2.  Stamp flower in black Memento ink on kraft panel.  Stamp again on masking paper and fussy cut.
3.   Apply mask to stamped flower and overstamp side flowers. Remover mask.
4.  Use colored pencils to fill in flowers. Highlight with white gel pen.
5.  Use stamp positioner to stamp black outline again over main flower in Versafine ink.
6.  Run word die through cutting machine two times on white scrap cardstock. Use glue to adhere letters into a stack.
7.  Stamp words on gray cardstock with Versamark ink and heat emboss with white detail powder.  Trim into rectangles.
8.  Time to assemble!  Layer panels as shown. Adhere word die cut stack and word strips.
9.  Time to embellish!  Add enamel dots to panel.


Playing along with the following Challenges:


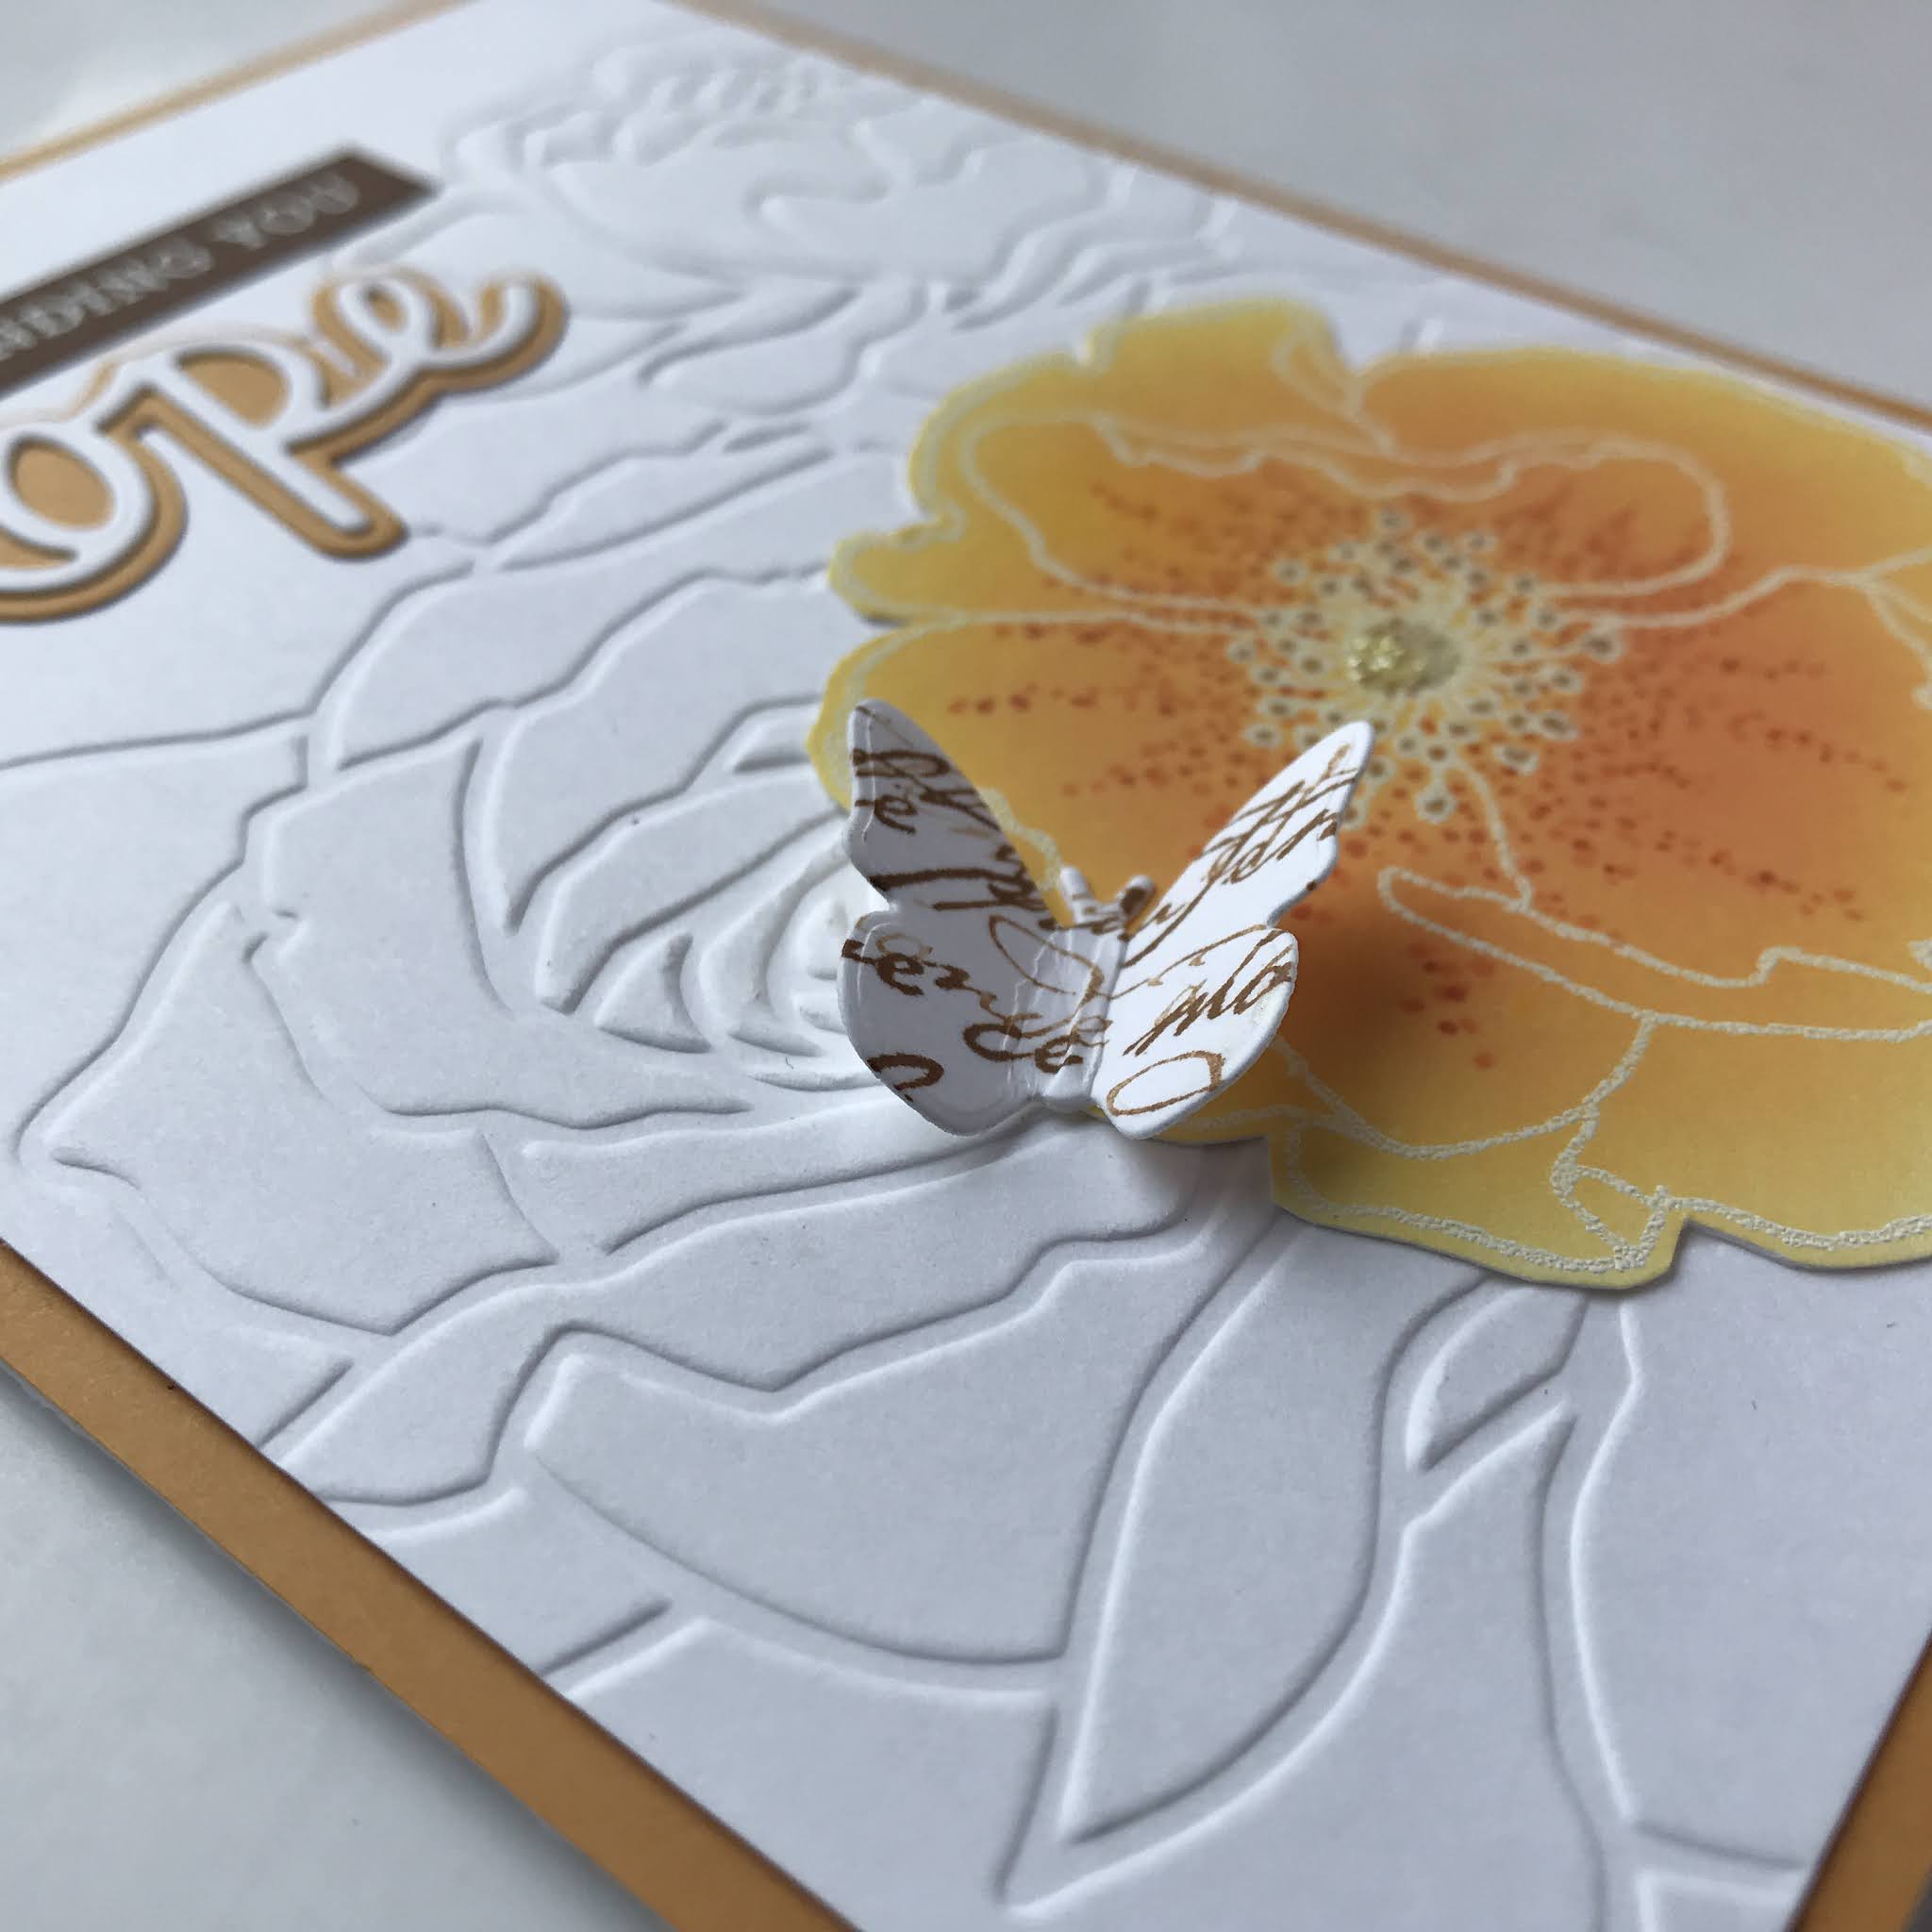
Yellow Hope Card


SUPPLIES

STAMPS  flower - Stampinback, greeting words - Hero Arts Prayers Stamp & Cut  #DC183, background words (on butterfly) - Stampin' Up! French Script
INKS  Memento Tuxedo Black, Versafine Onyx Black, Versamark, assorted Distress
MARKERS  Copic
DIE   Hope - Tonic Studios Will's Hand, butterfly - random
EMBOSSING FOLDER  Stampin' Up! 
OTHER   white embossing powder, glitter gel pen
CARDSTOCK  dark brown, mustard and white 


Let's get started!

STEPS 

1.  Cut cardstock panels to fit a standard white card in layers as shown. Set aside.
2.  Run white panel through embossing machine with flower folder.
3.  Stamp flower in Versamark ink and heat emboss with white detail embossing powder.
4.  Blend yellow and orange inks into flower as shown.  Highlight with markers and sparkle gel pen.  Fussy cut flower. 
5.  Stamp French Script in brown ink on white cardstock scrap. Run through die cut machine.
6.  Run hope through die cut machine with white and mustard scraps as shown.
7.  Stamp greeting with Versamark ink on brown cardstock scrap and heat emboss with white detail embossing powder.
8.  Time to assemble!  Adhere panels to standard white card base as shown.  Apply flower to bottom right corner. Mount butterfly by putting tape or glue only on the body.  Bend wings upward when dry.  Layer Hope die cuts and adhere as shown with word strip.


Playing along with the following Challenges:


Red Poppies Card


SUPPLIES

STAMPS  flowers - Stampinback, background words - Stampin' Up! French Script
INKS   Versafine Onyx Black, Distress Vintage Photo
DIE  Tonic Studios #1884e Will's Hand
OTHER   Nuvo Crystal Drops in Simply White, watercolors - Prima Art Philosophy Confections The Classics, white acrylic paint
PAPERS  vellum
CARDSTOCK  white, dark brown and antique cream


Let's get started!

STEPS 

1.  Cut cardstock panels to fit a standard white card in layers as shown. Set aside.
2.  Stamp flower head in black ink on lower portion of cream panel, and on masking paper.
3.  Apply mask to large flower head and overstamp tall flower stems. Stamp side flower stem on masking paper also.
4.  Leave mask on large flower, and apply mask to side flower as well.  Overstamp script in brown ink.
5.  Use watercolor and a small amount of water to color in flowers and stems.
6.  Splash white acrylic paint over panel.
7.  Run word through die cut machine with white and brown cardstocks. Glue layers together.
8.  Time to assemble!  Wrap image panel with vellum and adhere on the back side.  Adhere image panel to standard white card front.  Glue die cut word stack onto vellum.
9.  Time to embellish!  Apply crystal white drops to vellum.


White Love Card


SUPPLIES

STAMPS  flower - Stampinback
INKS   Versamark, Distress Dye
DIECUT  leaves - Sizzix Sizzlets #656064, label - Stampin' Up! Bigz Top Note #113463, word - Tonic Studios #1891e Will's Hand
EMBOSSING FOLDER   Stampin' Up! by Sizzix  
OTHER   Nuvo Crystal Drops in Simply White, Stickles Glitter Glue in Frosted Lace, white detail embossing powder
CARDSTOCK  white


Let's get started!

STEPS 

1.  Cut cardstock panel to fit a standard white card in layers as shown. 
2.  Run white panel through embossing machine for base layer background.
3.  Run white cardstock scraps through die cut machine once for label and leaves, and two times for the word.
4.  Glue words together. Apply glitter glue to word stack.
5.  Stamp flower head in Versamark and heat emboss with white detail powder.
6.  Blend ink onto flower. Fussy cut.
7.  Apply glitter glue to center of flower, and white chrystal drops to the stamens.
8.  Time to assemble! Adhere panels as shown.  Trim some leaves as desired and adhere them underneath the flower.  Glue die stack down as shown.


Playing along with the following Challenges:


Thank you so much for visiting!  I hope you enjoyed, Nancy J