Search This Blog

Pages

Showing posts with label One Item Multiple Looks! Series. Show all posts

January 28, 2021

ONE ITEM, MULTIPLE LOOKS! SERIES {#6} Featuring Flower Stamp

 Welcome to my new series One Item, Multiple Looks!  

 I'm really excited to inspire myself and others to

* explore and stretch the supplies we own 
* let go of anything we don't love
* choose wisely when repurchasing 
*  explore the endless techniques and styles available to us

I will be posting one new grouping featuring a different specific crafty item each week for at least the month of January or so.  To access all posts in this series just click on the topic One Item Multiple Looks! in the sidebar Index of Posts...  Hope you enjoy!

This week's item is a gorgeous flower stamp by Stampinback:


Blue on Kraft Card


SUPPLIES

STAMPS   flowers - Stampinback, words - Hero Arts Prayers Stamp & Cut  #DC183
INKS   Memento Tuxedo Black, Versafine Onyx Black, Versamark 
DIE   word - Hero Arts Prayers Stamp & Cut  #DC183  
EMBELLISHMENTS   random white enamel dots
OTHER   colored pencils, white gel pen, white detail embossing powder
CARDSTOCK   dark gray, kraft and white 


Let's get started!

STEPS 

1.  Cut cardstock panels to fit a standard white card in layers as shown. Set aside.
2.  Stamp flower in black Memento ink on kraft panel.  Stamp again on masking paper and fussy cut.
3.   Apply mask to stamped flower and overstamp side flowers. Remover mask.
4.  Use colored pencils to fill in flowers. Highlight with white gel pen.
5.  Use stamp positioner to stamp black outline again over main flower in Versafine ink.
6.  Run word die through cutting machine two times on white scrap cardstock. Use glue to adhere letters into a stack.
7.  Stamp words on gray cardstock with Versamark ink and heat emboss with white detail powder.  Trim into rectangles.
8.  Time to assemble!  Layer panels as shown. Adhere word die cut stack and word strips.
9.  Time to embellish!  Add enamel dots to panel.


Playing along with the following Challenges:


Yellow Hope Card


SUPPLIES

STAMPS  flower - Stampinback, greeting words - Hero Arts Prayers Stamp & Cut  #DC183, background words (on butterfly) - Stampin' Up! French Script
INKS  Memento Tuxedo Black, Versafine Onyx Black, Versamark, assorted Distress
MARKERS  Copic
DIE   Hope - Tonic Studios Will's Hand, butterfly - random
EMBOSSING FOLDER  Stampin' Up! 
OTHER   white embossing powder, glitter gel pen
CARDSTOCK  dark brown, mustard and white 


Let's get started!

STEPS 

1.  Cut cardstock panels to fit a standard white card in layers as shown. Set aside.
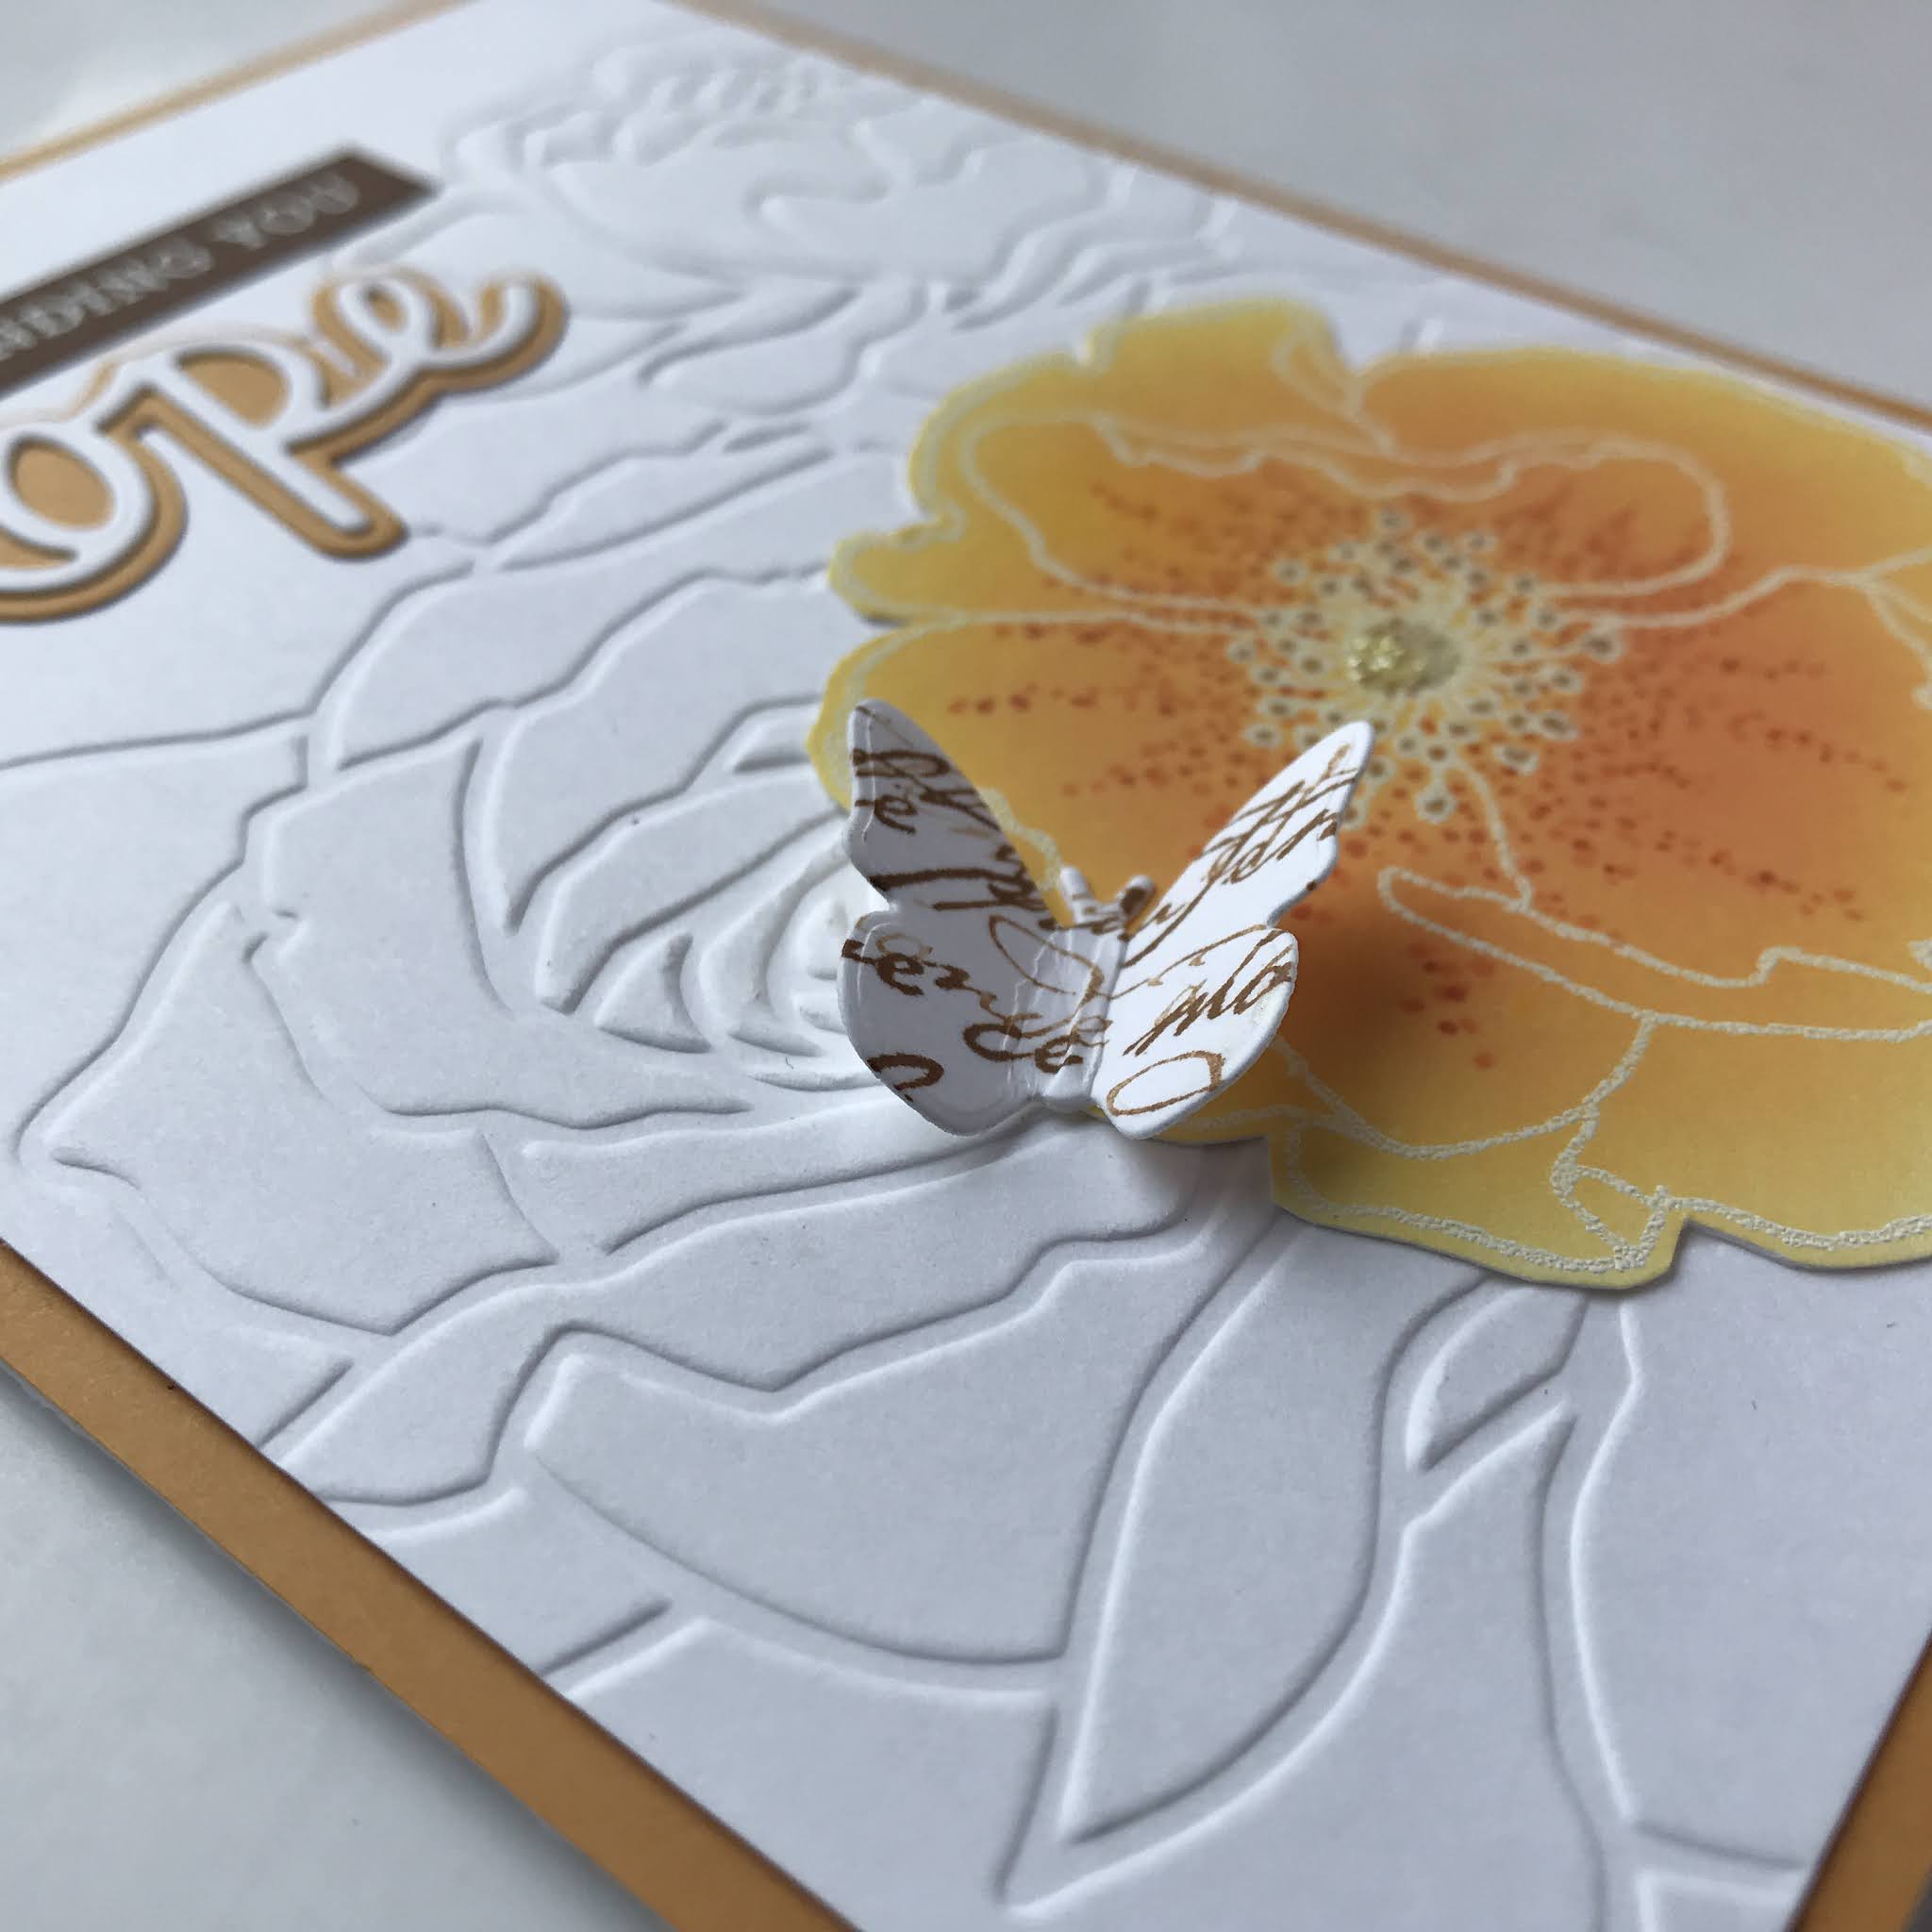
2.  Run white panel through embossing machine with flower folder.
3.  Stamp flower in Versamark ink and heat emboss with white detail embossing powder.
4.  Blend yellow and orange inks into flower as shown.  Highlight with markers and sparkle gel pen.  Fussy cut flower. 
5.  Stamp French Script in brown ink on white cardstock scrap. Run through die cut machine.
6.  Run hope through die cut machine with white and mustard scraps as shown.
7.  Stamp greeting with Versamark ink on brown cardstock scrap and heat emboss with white detail embossing powder.
8.  Time to assemble!  Adhere panels to standard white card base as shown.  Apply flower to bottom right corner. Mount butterfly by putting tape or glue only on the body.  Bend wings upward when dry.  Layer Hope die cuts and adhere as shown with word strip.


Playing along with the following Challenges:


Red Poppies Card


SUPPLIES

STAMPS  flowers - Stampinback, background words - Stampin' Up! French Script
INKS   Versafine Onyx Black, Distress Vintage Photo
DIE  Tonic Studios #1884e Will's Hand
OTHER   Nuvo Crystal Drops in Simply White, watercolors - Prima Art Philosophy Confections The Classics, white acrylic paint
PAPERS  vellum
CARDSTOCK  white, dark brown and antique cream


Let's get started!

STEPS 

1.  Cut cardstock panels to fit a standard white card in layers as shown. Set aside.
2.  Stamp flower head in black ink on lower portion of cream panel, and on masking paper.
3.  Apply mask to large flower head and overstamp tall flower stems. Stamp side flower stem on masking paper also.
4.  Leave mask on large flower, and apply mask to side flower as well.  Overstamp script in brown ink.
5.  Use watercolor and a small amount of water to color in flowers and stems.
6.  Splash white acrylic paint over panel.
7.  Run word through die cut machine with white and brown cardstocks. Glue layers together.
8.  Time to assemble!  Wrap image panel with vellum and adhere on the back side.  Adhere image panel to standard white card front.  Glue die cut word stack onto vellum.
9.  Time to embellish!  Apply crystal white drops to vellum.


White Love Card


SUPPLIES

STAMPS  flower - Stampinback
INKS   Versamark, Distress Dye
DIECUT  leaves - Sizzix Sizzlets #656064, label - Stampin' Up! Bigz Top Note #113463, word - Tonic Studios #1891e Will's Hand
EMBOSSING FOLDER   Stampin' Up! by Sizzix  
OTHER   Nuvo Crystal Drops in Simply White, Stickles Glitter Glue in Frosted Lace, white detail embossing powder
CARDSTOCK  white


Let's get started!

STEPS 

1.  Cut cardstock panel to fit a standard white card in layers as shown. 
2.  Run white panel through embossing machine for base layer background.
3.  Run white cardstock scraps through die cut machine once for label and leaves, and two times for the word.
4.  Glue words together. Apply glitter glue to word stack.
5.  Stamp flower head in Versamark and heat emboss with white detail powder.
6.  Blend ink onto flower. Fussy cut.
7.  Apply glitter glue to center of flower, and white chrystal drops to the stamens.
8.  Time to assemble! Adhere panels as shown.  Trim some leaves as desired and adhere them underneath the flower.  Glue die stack down as shown.


Playing along with the following Challenges:


Thank you so much for visiting!  I hope you enjoyed, Nancy J


January 24, 2021

ONE ITEM, MULTIPLE LOOKS! SERIES {#5} Featuring Figure Stamp

 Welcome to my new series One Item, Multiple Looks!  

 I'm really excited to inspire myself and others to

* explore and stretch the supplies we own 
* let go of anything we don't love
* choose wisely when repurchasing 
*  explore the endless techniques and styles available to us

I will be posting one new grouping featuring a different specific crafty item each week for at least the month of January or so.  To access all posts in this series just click on the topic One Item Multiple Looks! in the sidebar Index of Posts...  Hope you enjoy!

This week's item is a rubber stamp of a wonderful fashion figure from Stampinback:


Gray Cityscape Card


SUPPLIES

STAMPS  building, words and figures - Stampinback
INKS  Versafine Onyx Black, Stampin' Up! Going Gray
DIECUT  Stampin' Up Framelits - Apothecary Accents #127003
EMBELLISHMENTS   random colored aluminum dots
OTHER   Crayola 12 pack crayons, Stickles glitter glue in Frosted Lace
CARDSTOCKS dark and light gray, white


Let's get started!
STEPS 

1.  Cut cardstock panels to fit a standard white card in layers as shown. Set aside.
2.  Die cut white cardstock (ALTERNATIVE to specialty die cut: search your house for interesting borders and forms you can trace, and then fussy cut for a unique panel).
3.  Stamp buildings in gray ink on light gray panel (ALTERNATIVE to row of buildings: stamp the same building (or) tree, etc repeatedly).
4.  Stamp two background figures on white panel, and again on masking paper (ALTERNATIVE to masking paper: Post-it notes (or) copy paper with removable tape).
5.  Apply masking paper to figures and use stamp positioner to overstamp buildings in gray ink so they will line up with image already stamped on gray card (ALTERNATIVE to stamp positioner: the L shape (long and short side) from a smaller picture frame that lays flat, and a piece of thicker acetate (or) plastic from store bought packaging).
6.  Stamp main figure image on white cardstock scrap in black ink. Allow to dry and then color in with crayons.  Apply glitter glue as desired.  Fussy cut. (ALTERNATIVES: any coloring or glittering mediums you have on hand).
7.  Stamp words in black ink on white cardstock scrap. Cut into rectangle. Adhere to dark gray rectangular scrap.
8.  Time to assemble! Adhere dark gray panel to white cardfront, and layer light gray background panel on to dark gray. Adhere white die cut panel to light gray background, lining up designs.  Use foam tape to adhere figure to white die cut. Adhere word panel as shown.
9.  Time to embellish!  Add metal dots wherever desired to highlight image (ALTERNATIVE to metal dots: any form of dot-like embellishments (or) punch colored cardstock dots and apply gloss medium).
 

Playing along with the following Challenges:


Grunge Frame Card


SUPPLIES

STAMPS  figure - Stampinback, words - Innovative Stamp Creations (Women Around the World II sheet), elements - Stampin' Up! Extreme Elements and Looks Like Spring sets
INKS  Versafine Onyx Black
EMBOSSING FOLDER Sizzix Tim Holtz Alterations  
OTHER   white matte acrylic paint
CARDSTOCKS  random black, medium gray, white, pink


STEPS 

1.  Cut cardstock panels to fit a standard white card in layers as shown. Set aside.
2.  Emboss medium gray panel with folder and apply white matte acrylic paint lightly to raised area, and center as shown with foam brush. Allow to dry. (ALTERNATIVE to acrylic paint: run a white pigment pad over same areas).
3.  Stamp figure in black ink on center of embossed painted panel.
4.  Stamp words in black ink on pink cardstock and trim strip to fit across gray panel (ALTERNATIVE to the perfect words stamp: hand write (or) type (or) cut from magazine, etc).
5.  Stamp random elements with black ink around frame as shown (ALTERNATIVE to grunge elements: use black marker to hand draw doodles and shapes/patterns).
6.  Time to assemble! Adhere black panel to white cardfront, and layer gray panel on to black. Adhere pink word strip to front of card.


Playing along with the following Challenges:


Rainbow Card


SUPPLIES

STAMPS  figure - Stampinback, word circle - Autumn Leaves #AL2618 Sentiments Circles
INKS  Versafine Onyx Black, Distress Oxides, white pigment
STENCIL  Taylored Expressions #TESN07 Bubbly
EMBELLISHMENTS   random faceted mirror back flat back gems
OTHER   waterbrush
CARDSTOCKS random pink, black and white


STEPS 

1.  Cut cardstock panels to fit a standard white card in layers as shown. Set aside.
2.  On large white cardstock panel, use a blending tool and Distress Oxide inks to blend one color into each corner and in center of each side (ALTERNATIVE to Distress Oxide inks: use any pigment or dye inks (or) watercolor a panel (or) scribble markers on your acrylic block and pick up pigment with a paintbrush).
3.  Lay stencil over rainbow colored panel and apply white pigment ink lightly (ALTERNATIVE to stencil: use bubble wrap (or) old school pencil eraser to apply ink).
4.  Stamp figure in black ink onto white cardstock scrap. Use waterbrush to loosely color with Distress inks. Trim panel to rectangle. (see ALTERNATIVES on #2)
5.  Stamp circular words in black ink and trim closely (ALTERNATIVE: stamp any sentiment and punch or die cut into circle shape, adding lines, etc with a black marker or pen).
6.  Time to assemble! Adhere pink panel to white cardfront, and layer rainbow background panel. Adhere white main image rectangle panel to black rectangle and apply to background as shown.  Use foam tape to adhere word circle.
9.  Time to embellish!  Add gems to word circle.


Playing along with the following Challenges:


Monochrome Brown Card


SUPPLIES

STAMPS  figure - Stampinback, elements - Stampin' Up! title unknown - Crafter's Companion French Greetings
INKS  Colorbox Frost White pigment
DIECUT  Stampin' Up Framelits - Apothecary Accents #127003
EMBELLISHMENTS   random colored aluminum dots
OTHER   white color pencil, random ribbon, white detail embossing powder, white gel pen
CARDSTOCKS tan, dark brown, white


STEPS 

1.  Cut dark brown cardstock panel to fit a standard white card in layers as shown. Set aside.
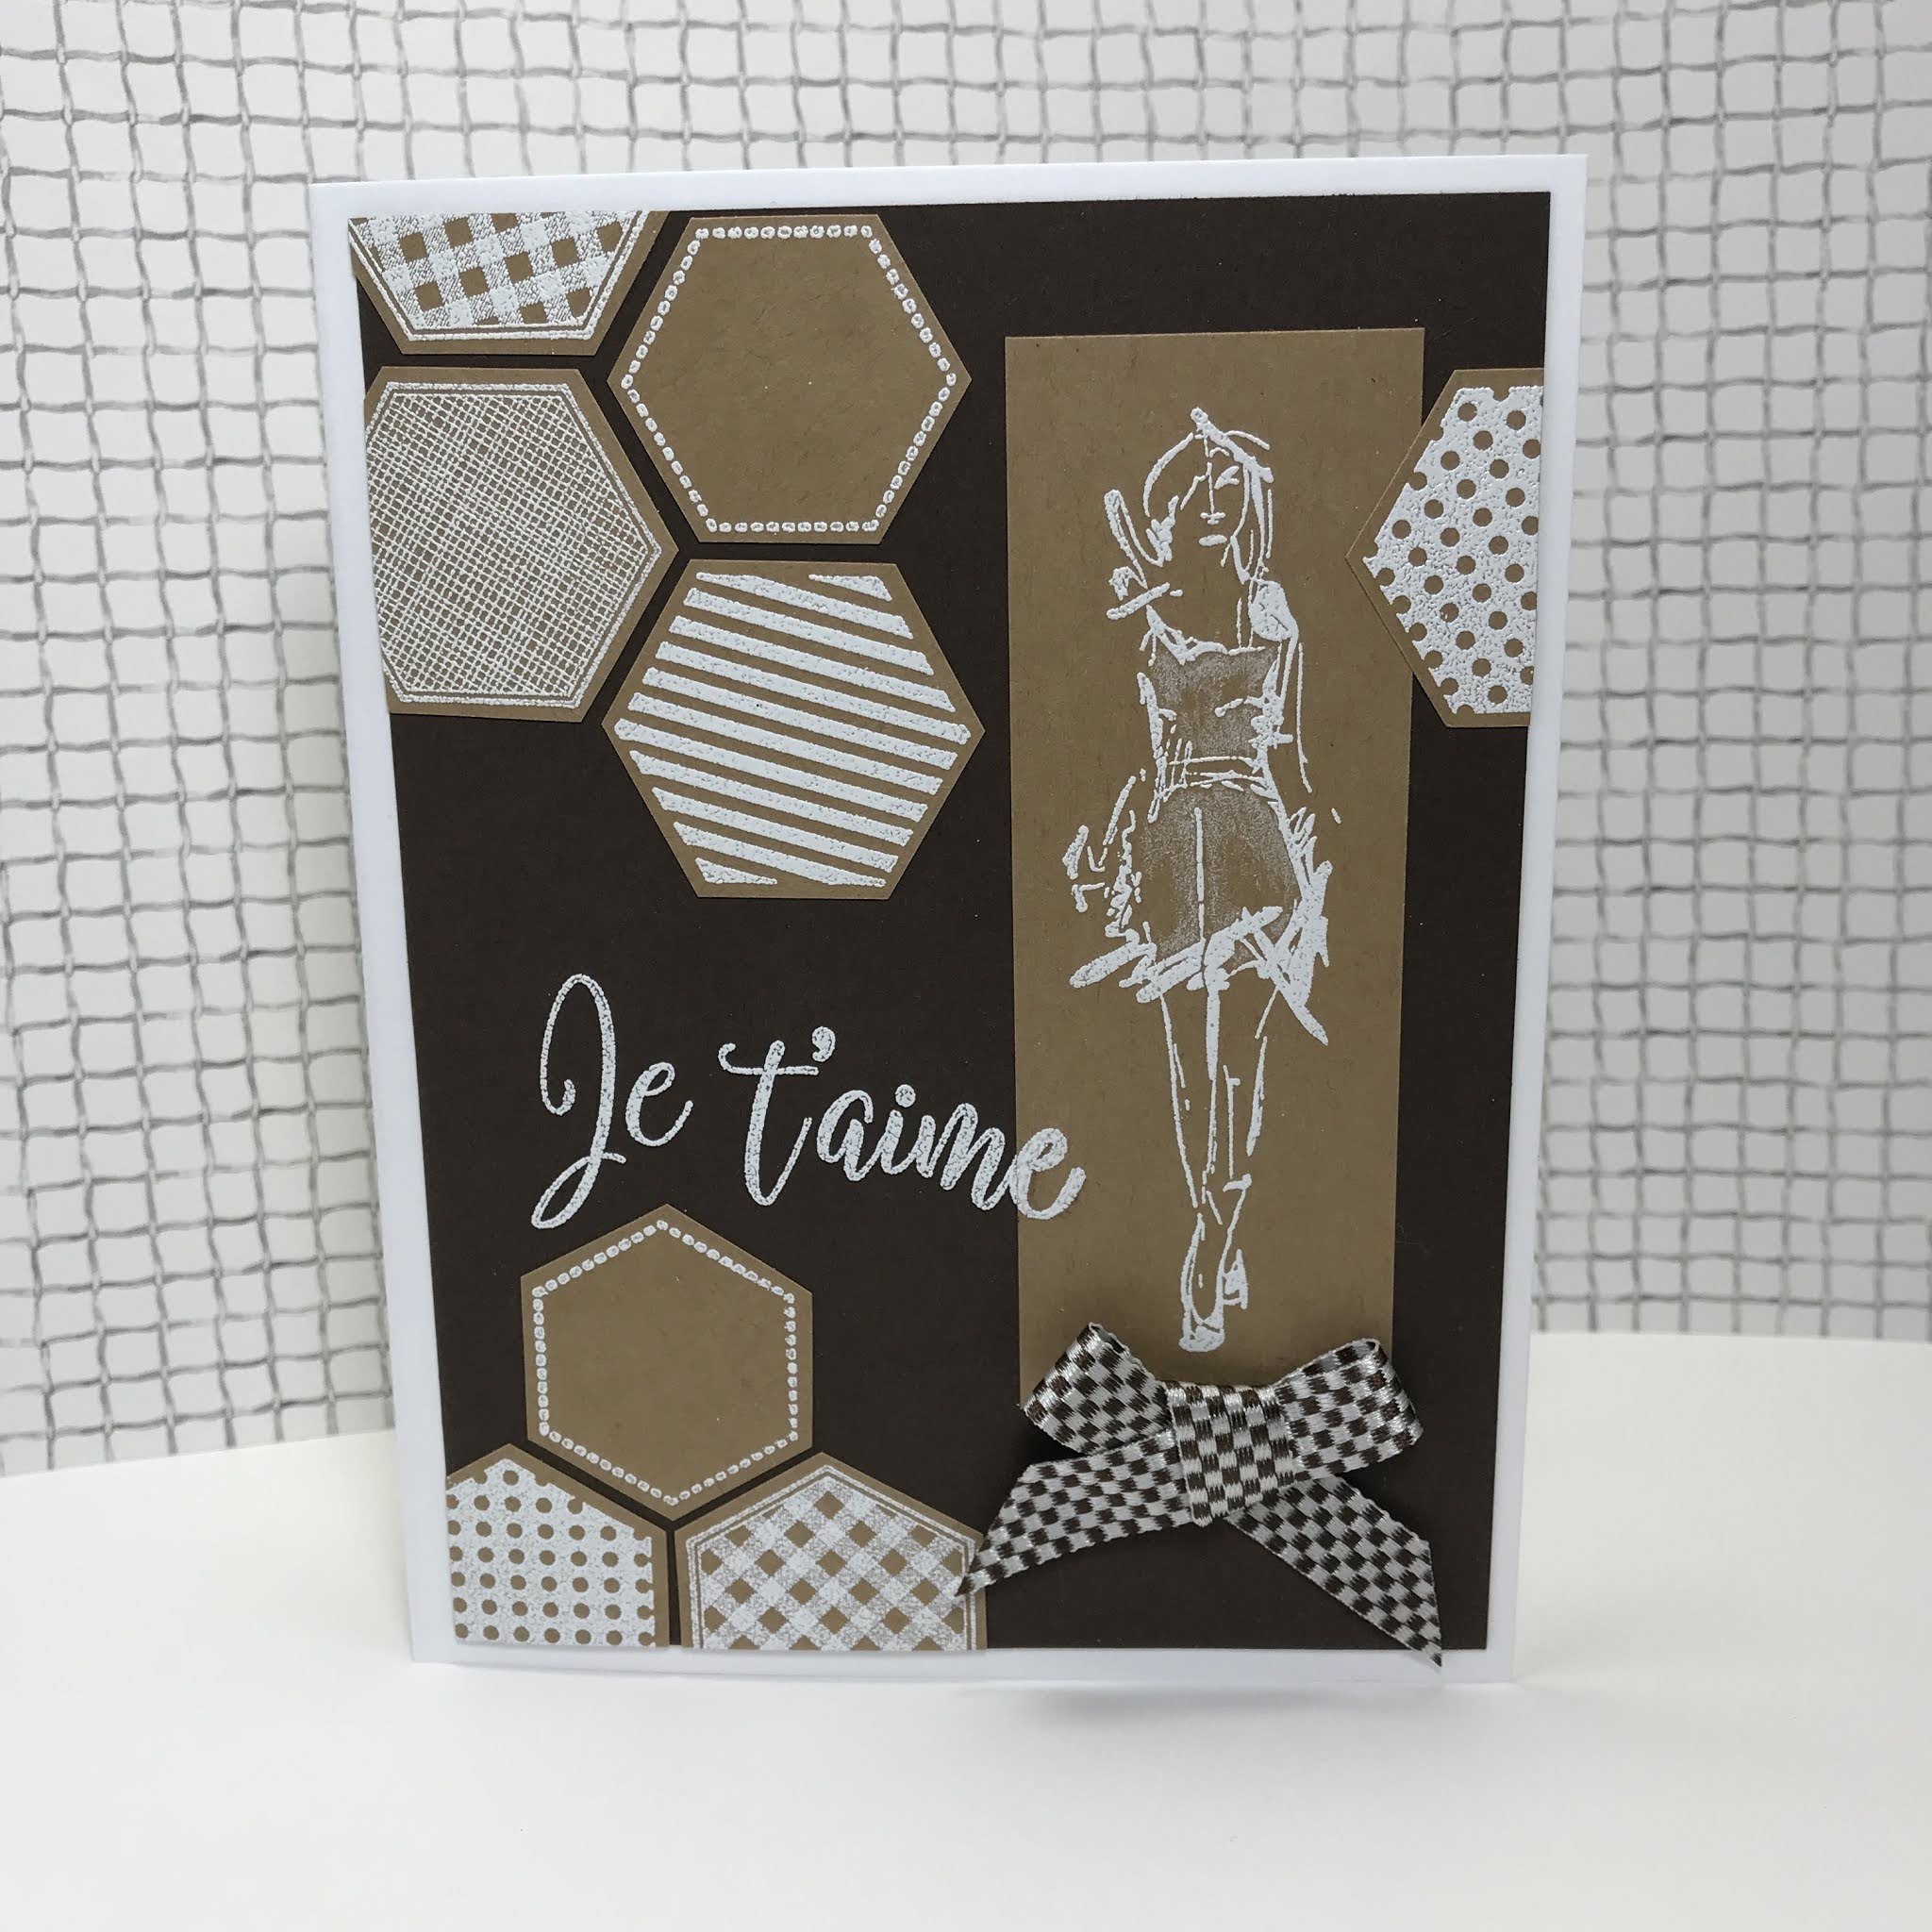
2.  Stamp figure in white pigment ink on tan panel. Heat emboss with white detail powder. 
3.  Use white color pencil to highlight figure.  Cut figure panel into rectangle.
4.  Stamp and heat emboss in white multiple elements on tan cardstock. Fussy cut leaving a border. (ALTERNATIVE to design element stamps: use a white gel pen to draw designs).
5.  Time to assemble! Adhere dark brown panel to white cardfront.  Layer tan elements and main panel with figure on to brown panel as shown.  
9.  Time to embellish!  Stamp word in white and heat emboss.  Fill in any gaps with white gel pen. Adhere ribbon as shown.


Playing along with the following Challenges:


Thanks for stopping by, and I hope you are so inspired to use what you have to make something you love!   Nancy J

January 17, 2021

ONE ITEM, MULTIPLE LOOKS! SERIES {#4} Featuring Numbers Embossing Folder

 Welcome to my new series One Item, Multiple Looks!  

 I'm really excited to inspire myself and others to

* explore and stretch the supplies we own 
* let go of anything we don't love
* choose wisely when repurchasing 
*  explore the endless techniques and styles available to us

I will be posting one new grouping featuring a different specific crafty item each week for at least the month of January or so.  To access all posts in this series just click on the topic One Item Multiple Looks! in the sidebar Index of Posts...  Hope you enjoy!

This weeks item is an embossing folder featuring a mixed numbers font by Cuttlebug:


TULLE WINDOW CARD
(first saw this idea on Jennifer McGuire's youtube channel)


SUPPLIES

STAMPS  elephant - Stampin' Up! Elebration single stamp, words - Stampin' Up! Hooray It's Your Day set
INKS  Distress dye
DIECUT  Spellbinders Nestabilities Classic Rectangle set
EMBOSSING FOLDER   Provocraft Cuttlebug 
EMBELLISHMENTS   random aluminum number 1
OTHER   white tulle, twine
CARDSTOCK  random soft shimmer pink, white


Let's get started!

STEPS 

1.  Cut pink cardstock panel to fit a standard white card in layers as shown. (ALTERNATIVE to shimmer pink cardstock: ink blend dye ink onto white cardstock and spray with a homemade shimmer mix, or use shimmery pigment ink brayered onto cardstock).
2.  Run pink cardstock through embossing machine with numbers folder. (ALTERNATIVE to an embossing folder:  stamp individual elements onto cardstock in matching ink, OR in Versamark ink and then apply clear embossing powder over top).
3.  Run pink panel through die cut machine with rectangle die placed as shown. (ALTERNATIVE to the correct size die or punch: simply measure and cut square out with a sharp blade.)
4.  Lay pink panel over card front to determine window placement. Mark corners with pencil and attach die with low-tack tape. Run white card front through die cut machine.
5.  Cut tulle slightly larger than windows and adhere to from of card.  Adhere pink panel over, aligning windows. (ALTERNATIVE to tulle: a sheet of acetate, which could be stamped with a delicate pattern in white Staz-On ink, or you could use light vellum).
6.  Stamp elephant in gray ink on white cardstock scrap and color in with Distress inks watercolor style.
7.  Stamp words in gray ink on white cardstock scrap.
8.  Fussy cut elephant and sentiment.
9.  Time to assemble! Tape or glue on the reverse any area of the elephant that will hang over the edge and adhere to panel. Pop dot the sentiment.  Tie twine through the metal number holes, place foam tape on the reverse and adhere (ALTERNATIVE to metal number: trim number from a scrap of gray cardstock embossed with numbers, and then add metallic or shimmer to it with whatever you have on hand)

.


PENNANTS CARD


SUPPLIES

STAMPS  fox - Stampin' Up! Storybook Friends set, words - Stampin' Up! Hooray It's Your Day and Happiest Birthday Wishes sets
INKS  Memento Tuxedo Black, Versafine Onyx Black
MARKERS Copic
PUNCH pennants - Stampin' Up!
EMBOSSING FOLDER   Provocraft Cuttlebug 
OTHER   twine
CARDSTOCK   random orange and white
PATTERNED PAPERS unknown, possibly older Stampin' Up!


STEPS 

1.  Cut white cardstock and patterned paper panels to fit a standard white card in layers as shown. (ALTERNATIVE to patterned paper: emboss off white cardstock with pattern using clear embossing powder and then ink blend or brayer dye ink over).
2.  Run white rectangle scrap cardstock through embossing machine with numbers folder. (ALTERNATIVE to an embossing folder: stamp individual images in Versamark ink on white panel and then apply white embossing powder over top).
3.  Stamp fox image on white cardstock scrap using Memento Tuxedo Black ink and color in with Copic markers. (ALTERNATIVE to Copic markers: use any coloring medium on hand, being careful to choose the correct black ink.) Fussy cut fox and flag, discarding pole.
4.  Punch pennants from patterned paper (ALTERNATIVE to specialty punch: cut triangles utilizing a pencil and ruler or Scor-Pal, etc). 
5.  Score and fold tops of pennants over a piece of twine and glue in place. Tie ends of twine into decorative knots. 
5.  Using Versamark black ink, stamp words on scrap orange cardstock and cut into rectangles.
6.  Stamp fox in Versafine black ink on large white cardstock panel. Apply fussy cut and colored image over this along with tiny flag. 
7.  Time to assemble! Adhere panels and pennant elements as shown.


Playing along with the following challenges:


I'm always so calm and happy with vintage greenish-blue and yellowy-orange!


FILMSTRIP CARD


SUPPLIES

STAMPS  dog - Rare Image Rubber Stamps Pets sheet (see sidebar), cake - Stampin' Up! unknown, frame - Artistic Outpost, words - Stampin' Up! Double Line Favorites and It's Your Birthday sets
INKS  Versafine Onyx Black, Distress Oxide Frayed Burlap
EMBOSSING FOLDER   Provocraft Cuttlebug 
PUNCH circle - Stampin' Up!
OTHER   pompom, acetate, colored pencils
CARDSTOCK   random white, black and red
PATTERNED PAPERS unknown, possibly older Stampin' Up!


STEPS 

1.  Cut red and black cardstock panels to fit a standard white card in layers as shown. 
2.  Run red rectangle scrap cardstock through embossing machine with numbers folder. Brush black ink pad lightly over the top to highlight the numbers. (ALTERNATIVE to an embossing folder: stamp individual images in Versamark ink on panel and then apply colored embossing powder over top).
3.  Stamp dog image on white cardstock scrap using black ink and color tongue in with colored pencil.  Fussy cut.
4.  Using a stamp positioner, stamp film strip box four times to make a row as shown (I wanted an aged look so I stamped the black ink off once before applying to panel). 
5.  Stamp cake slice in boxes and color in with colored pencil.
6.  Stamp sentiment box in one section with Frayed Burlap ink.
7.  Stamp sentiment in Versamark ink on black cardstock strip and emboss with white powder. 
8.  Cut, punch or die cut circle and triangle from patterned papers (ALTERNATIVE to patterned paper: emboss off white cardstock with pattern using clear embossing powder and then ink blend or brayer dye ink over).
9.  Time to assemble! Adhere panels and elements as shown. I applied a strip of acetate over the filmstrip to add to the feeling, and used some foam tape towards the ends on the Happy Birthday strip to account for the added thickness of the strip and circle.


Playing along with the following Challenges:


                         Papercraft Challenges #66 Heat or Dry Embossing (ends 1/14)


STRIPED CARD


SUPPLIES

STAMPS  numbers and frame - Stampin' Up! Memorable Moments set
DIE CUT  happy - EKSuccess Word Set #54-80027
INKS Versamark
EMBOSSING FOLDER   Provocraft Cuttlebug 
OTHER   acetate, rhinestone brads, silver detail embossing folder
CARDSTOCK  white, metallic silver
STENCIL  older random stripes


STEPS 

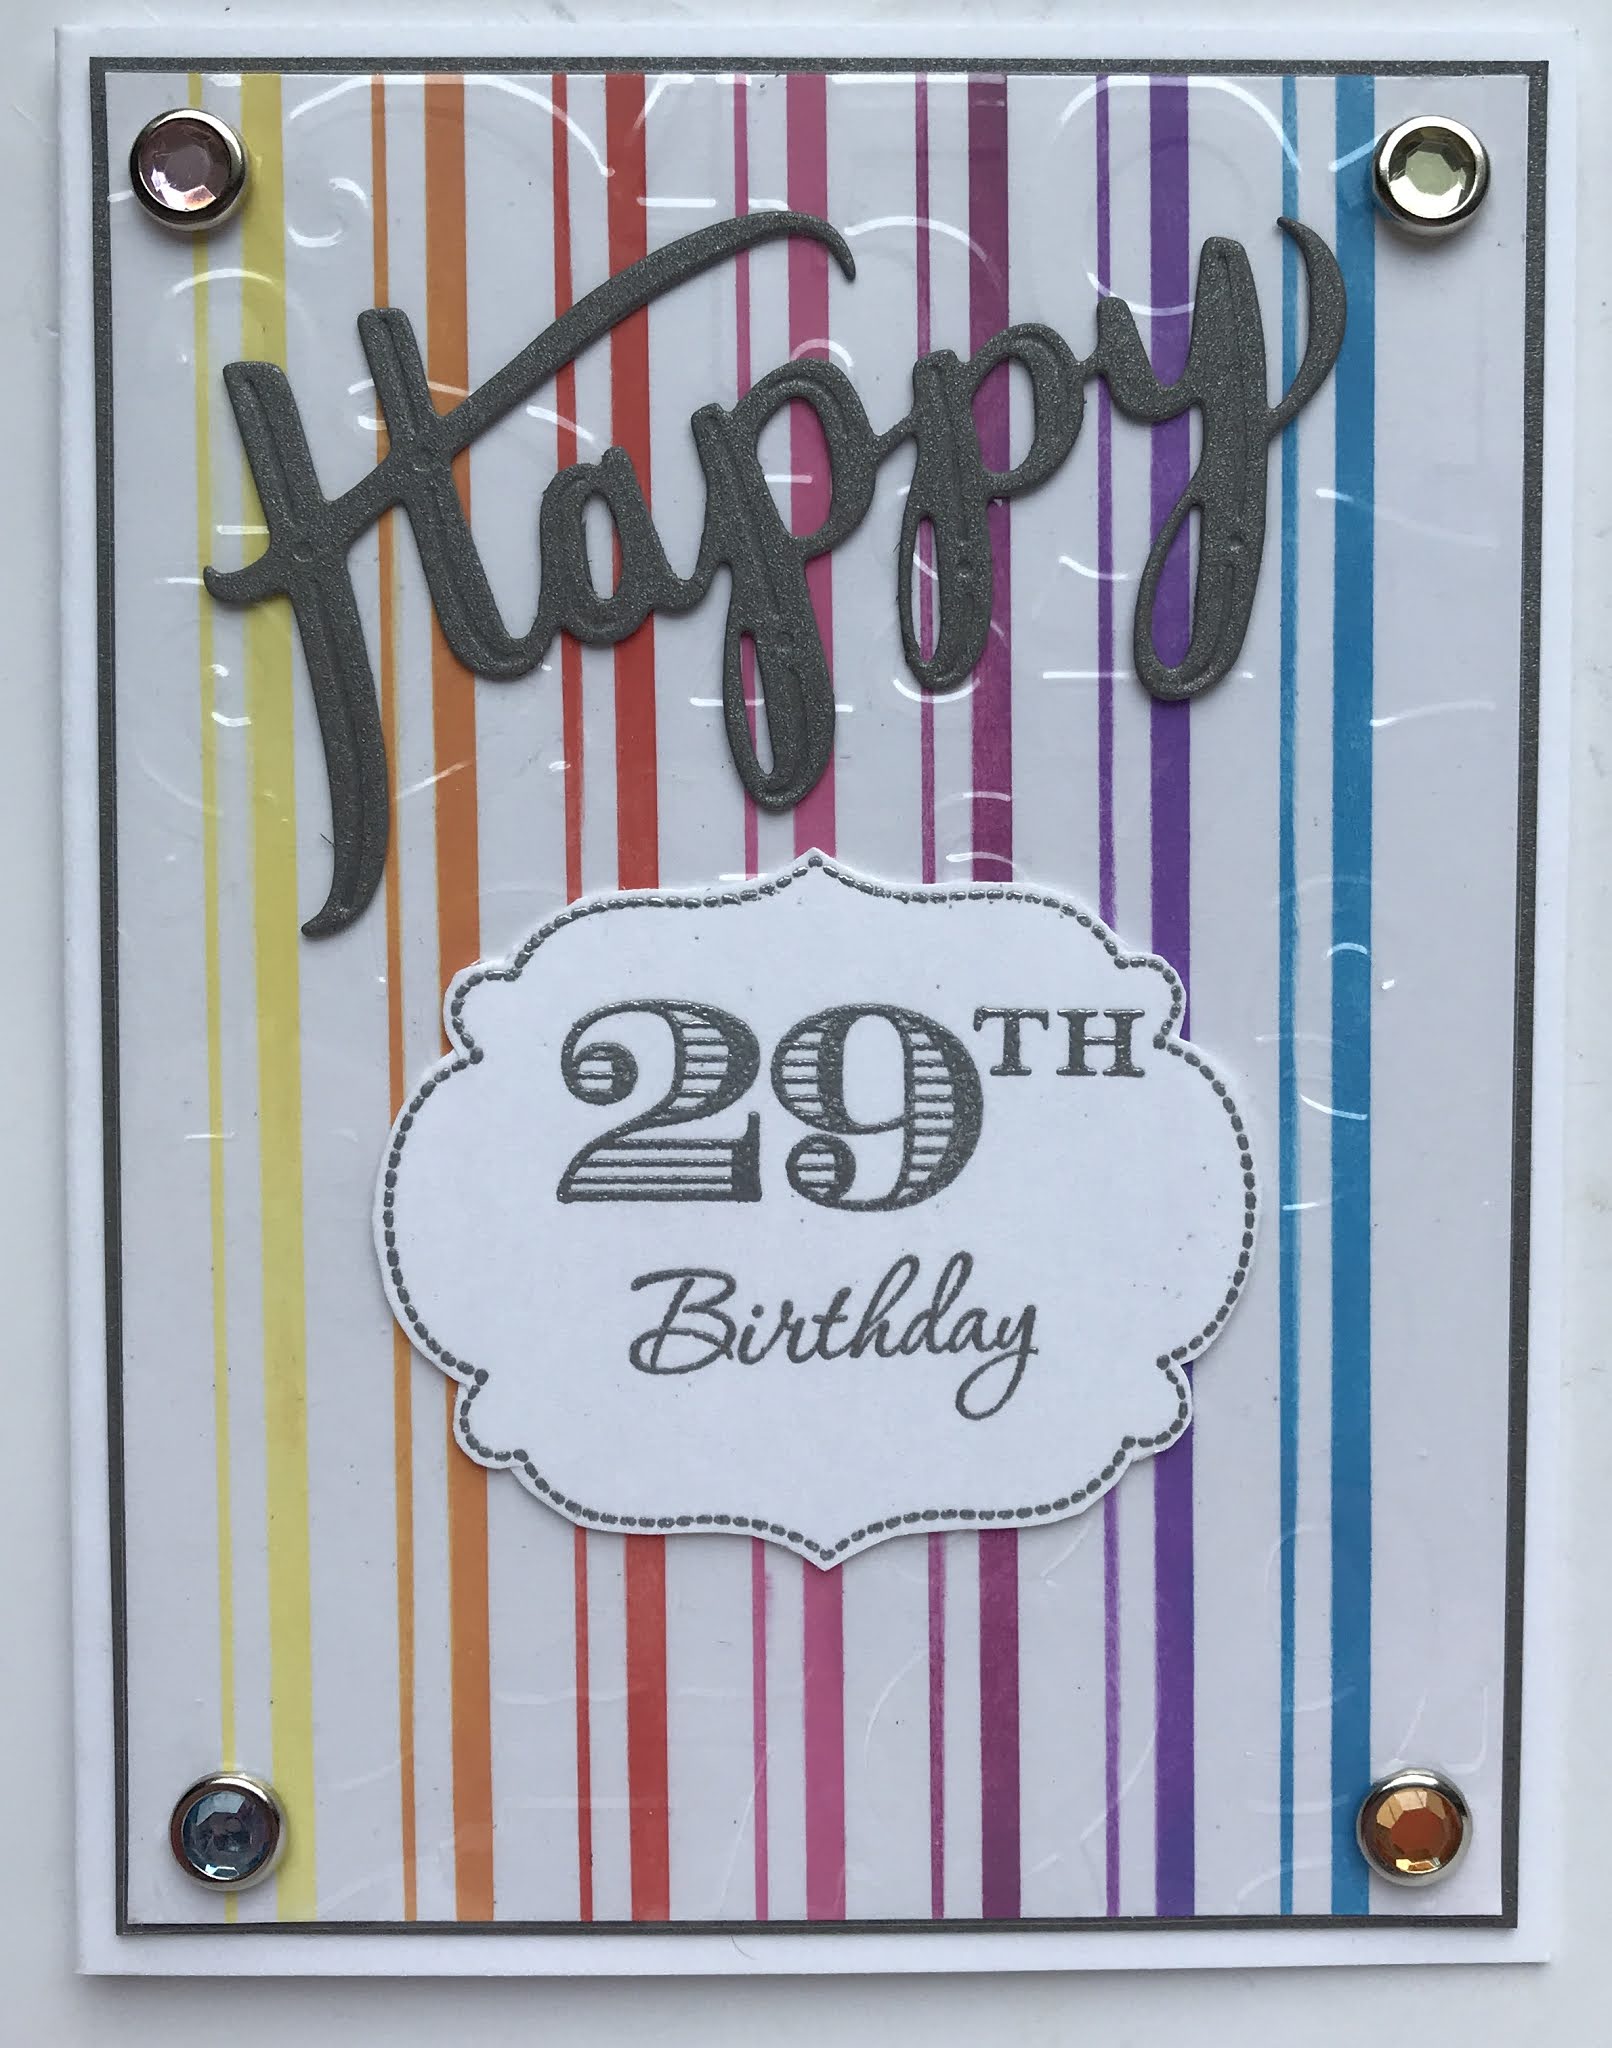
1.  Cut white and silver cardstock panels and acetate panel to fit a standard white card in layers as shown. 
2.  Run acetate through embossing machine with numbers folder. (ALTERNATIVE to acetate panel: many plastic packaging pieces can be cut down and run through with a folder.)
3.  Stamp frame, numbers and word on white cardstock scrap using Versamark ink and heat emboss with detail silver powder.  Fussy cut.
4.  Die cut Happy from matte silver cardstock (ALTERNATIVE to metallic cardstock: spray shimmer mist onto dark gray cardstock, or run a glimmery inkpad across gray cardstock).
5.  Lay stencil over white panel and blocking off all other stripes, ink blend yellow into panel.  Proceed with rainbow colors. (ALTERNATIVE to striped stencil: patterned paper OR use a ruler and marker OR lay down pieces of scrap cardstock cut into strips as shown.)
6.  Time to assemble! Adhere panels and elements to white card front as shown. 


Playing along with the following Challenges:


Thanks for stopping by!
Nancy